How to Install a Cosco Scenera Extend Rear-Facing
The short answer
A rear-facing Cosco Scenera Extend is generally installed the way most US convertible car seats are. You route either the vehicle's lower anchors (part of the LATCH system, short for Lower Anchors and Tethers for Children) or the vehicle seat belt through the seat's rear-facing belt path. You then set the recline the seat requires and tighten until the seat barely moves at the belt path. The details that matter most, such as which belt path is marked for rear-facing, the recline method, child weight and height limits, and the lower-anchor weight limit, are set by the seat's own manual and labels. They are not covered here.
Two caveats change how you should read this guide. First, no confirmed specifications for the Scenera Extend were available for this article: no weight or height limits, dimensions, model years or recline angles. Second, Cosco's widely sold Scenera model is usually marketed as the Scenera Next. If your seat's label shows a different model name or number, follow the manual that matches that exact label.
What to confirm before you start
Find the model name, model number and date of manufacture on the label on the seat's shell, and match them to your manual. Check the rear-facing weight and height limits printed on the seat, and confirm your child is within them. Read the vehicle owner's manual section on child restraints. It shows which seating positions have lower anchors and whether a center position can use them. Check the seat's expiration date or useful-life statement, and its crash history. Replace any seat that has been in a crash if the manufacturer's guidance calls for it. Identify the rear-facing belt path on the shell, which is normally marked by color or labeling, and keep it separate from the forward-facing path.
Choosing lower anchors or the seat belt
Both methods are designed to provide equivalent protection when done correctly. The better choice is the one that gives a tight, correct installation in your particular vehicle. Use one method, not both at once, unless the seat's manual specifically allows it.
Method | How it works | What to check; Lower anchors | The seat's lower-anchor connectors clip onto metal bars at the crease of the vehicle seat. | The seat manual's child weight limit for lower-anchor use. Once a child passes it, switch to a seat-belt installation. Vehicle seat belt | The lap and shoulder belt is threaded through the rear-facing belt path and buckled. | The belt must be locked so it cannot loosen. Most US vehicles lock it when you pull the belt all the way out and let it retract. Some seats include a built-in lock-off. Check your vehicle and seat manuals.
General installation sequence
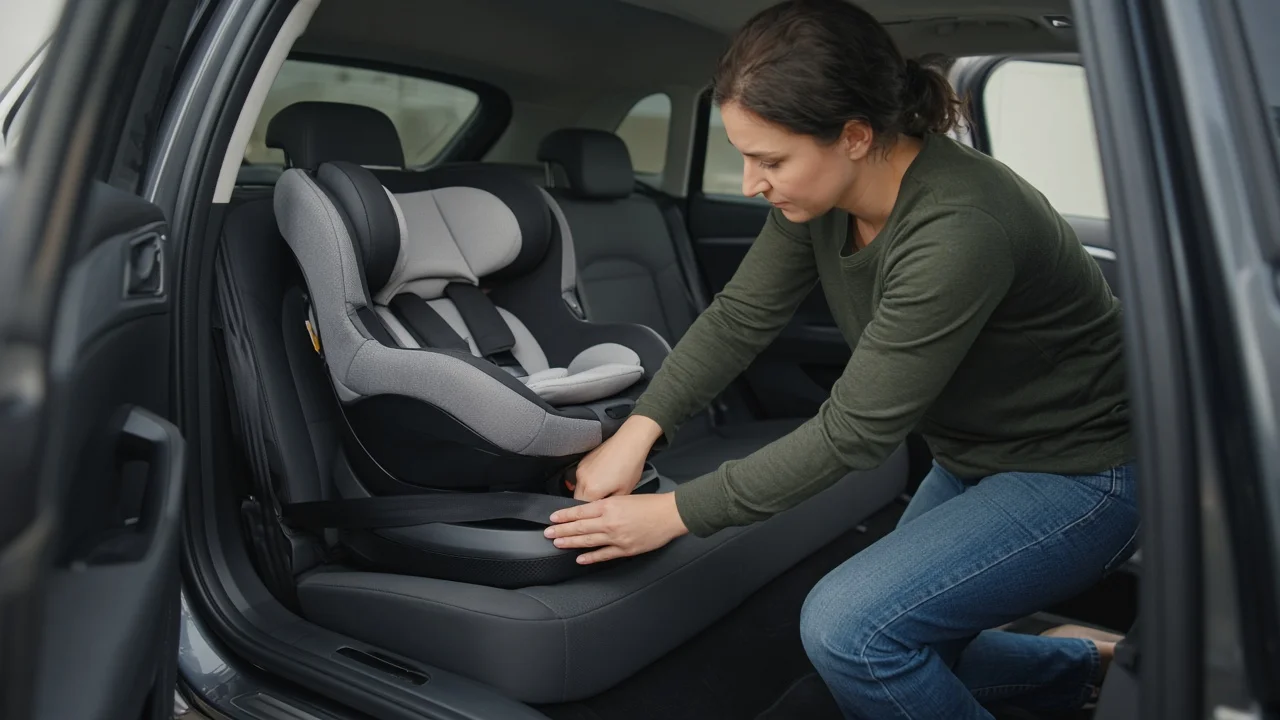
Place the seat rear-facing in a seating position the vehicle manual approves for a child restraint. Set the recline position the seat's manual specifies for rear-facing, then check the recline or level indicator once the seat is on the vehicle seat. Route the lower-anchor strap or the vehicle seat belt through the rear-facing belt path only. Make sure it lies flat and is not twisted. Attach the lower-anchor connectors, or buckle and lock the seat belt. Press down firmly into the seat near the belt path while pulling the strap or belt tight. Recheck the recline indicator, because tightening can shift the angle. Test for movement at the belt path, as described below.
How tight is tight enough
Widely used US guidance says an installed car seat should not move more than about one inch side to side or front to back. Test it by gripping the seat at the belt path, not at the top of the shell. The top of a rear-facing seat may move more than the base, and that alone does not mean the installation is loose. If the seat moves too much at the belt path, take out slack and recheck.
Harnessing the child rear-facing
For rear-facing, the harness straps should come from slots at or just below the child's shoulders. The harness should be snug enough that you cannot pinch a horizontal fold of strap at the child's collarbone. The chest clip, if the seat has one, typically sits at armpit level. Bulky coats can prevent a snug harness. Dress the child in thinner layers and add a blanket over the buckled harness if needed.
Gaps this guide cannot fill
This article does not state specific limits, angles or vehicle-fit results for the Cosco Scenera Extend, because none were confirmed. It also does not reflect any hands-on testing. Whether a top tether is used rear-facing, whether the seat accepts a separate base or accessory, and how it fits in a particular vehicle all depend on the exact model and should be confirmed in the manual. If you are unsure about the result, a certified Child Passenger Safety Technician (CPST) can check the installation in your vehicle.