Coolant Leaking from the Engine Block: Diagnostic Checks
Direct answer
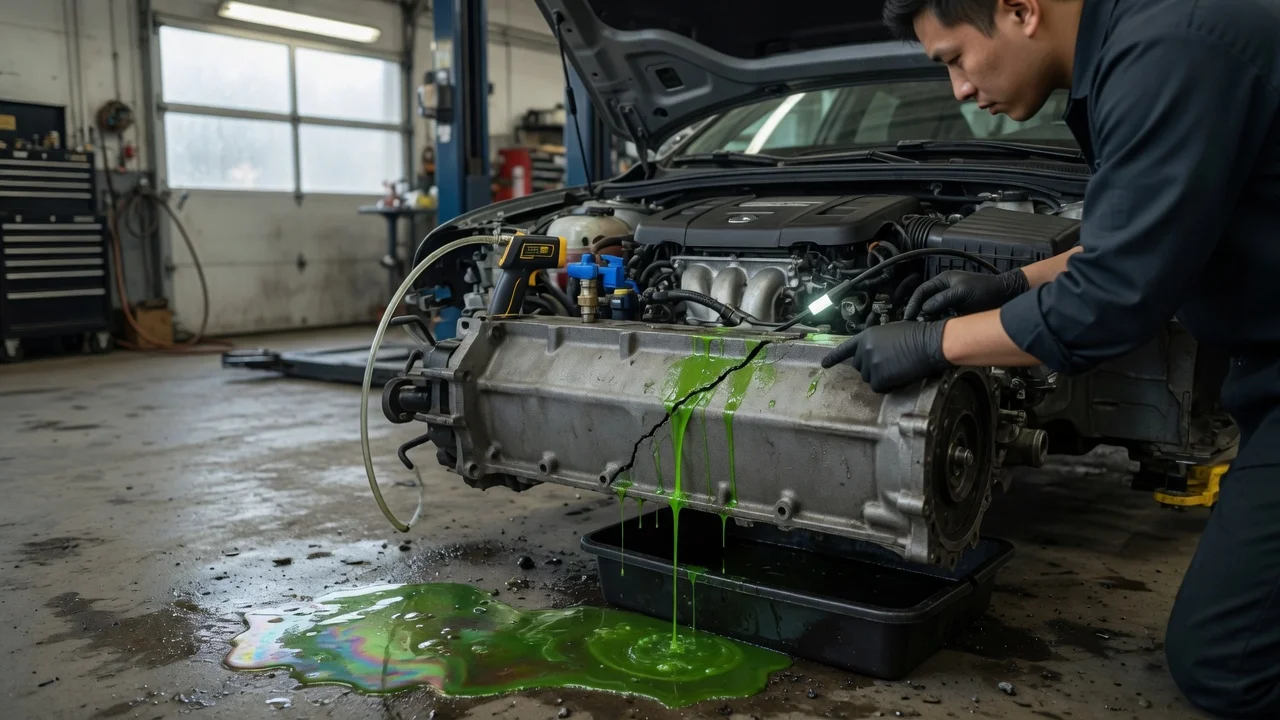
Coolant leaking from the engine block area can come from the block itself or from nearby parts that drip onto the block. The most important first distinction is between a leak originating in the block, such as a failed core plug or cracked casting or gasket failure, and a leak running down from the intake manifold, cylinder head, water pump, thermostat housing, heater hose, radiator hose, or a cooling-system fitting. Until the leak path is traced from its highest wet point, a puddle under the middle of the engine is not proof that the block is cracked.
Start with the engine cold and safe
Do not open the coolant reservoir or radiator cap while the engine is hot. Pressurized coolant can spray and cause burns. Work with the engine cold, the ignition off, and the vehicle parked on a level surface. Use the parking brake and wheel chocks if you need to inspect underneath. Identify whether the liquid is actually coolant first: coolant commonly has a sweet odor and a green, orange, pink, blue, yellow, or similar dye depending on the specified fluid. Water alone under the car can be air-conditioning condensate, which is normal.
Confirm the fluid and the leak point
Check the coolant level in the expansion tank or radiator only when the system has cooled. A dropping level supports an external leak, but a small loss over a long period may not be visible until the leak is active. Look at the highest wet or stained point on the engine rather than the lowest puddle. Coolant runs downhill and can travel along hoses, wiring looms, brackets, and the oil pan before it falls. If the trail begins at a hose clamp, fitting, thermostat housing, water pump, or intake manifold joint, that component is the suspected source, not necessarily the block.
Engine block core plugs
Core plugs, also called freeze plugs or expansion plugs, are pressed into holes in the block. A leaking or pushed-out core plug can look like the block itself is leaking because the wet area is on the side of the block. Rust-colored staining around a plug, a slow seep, or a displaced plug point to the plug as the repair item. Coolant that appears higher on the block can still be running from an intake manifold gasket, a cylinder head gasket, or a coolant passage fitting above the plug.
Cylinder head gasket and intake gasket leaks
A head gasket can fail in several ways, and the visible result is not always an external block leak. Coolant may weep externally at the gasket line, enter a cylinder, mix with engine oil, or escape into the combustion chamber. External coolant at the head-to-block joint should be traced to the exact gasket edge before blaming the block. An intake manifold gasket can also leak coolant externally, especially on engines with coolant passages through the intake manifold. These leaks can drip onto the block and imitate a block casting leak.
Pressure testing and leak tracing
A cooling-system pressure tester can help find a leak that only opens under operating pressure. Follow the tool maker's pressure limits and the vehicle manufacturer's test specification. With the engine cold and the system filled, pressurize to the specified test value and watch the gauge and the suspected area. A falling gauge with no visible external leak may indicate an internal leak, such as coolant entering the combustion chamber or crankcase. A visible drip under pressure lets you trace the path back to the highest wet point.
How to distinguish a block leak from nearby leaks
Hose or fitting leak: wetness starts at the clamp, fitting, or hose end and runs downward; the block is dry above that point. Water pump leak: seepage appears near the pump body, weep hole, or pump gasket; the belt area may be wet and the leak may increase with the pump spinning. Thermostat housing or radiator hose: the stain begins at the housing gasket, hose neck, or hose connection. Intake manifold gasket: coolant appears along the manifold-to-head or manifold-to-block joint, above the lower block surface. Head gasket: seepage tracks along the head-to-block line; overheating, white exhaust smoke, milky oil, or misfire may accompany it. Core plug: the wet point is the plug face or its pressed edge, often with corrosion at the same location. Block casting leak: a crack or porosity leaks from the block surface itself, usually after the higher joints, plugs, and attached parts have been ruled out.
Other signs that change the diagnosis
White exhaust vapor that smells sweet, coolant loss with no visible puddle, a rising oil level, or milky oil are signs of an internal path rather than a simple external block seep. Misfire after cold start, bubbles appearing in the radiator or expansion tank during a proper test, or exhaust gas detected by a suitable tester can support a combustion-to-coolant breach in the head gasket or another internal failure. A fault code for a misfire or engine temperature concern identifies affected cylinders or system behavior but does not by itself prove which gasket, sealing surface, or casting is faulty.
Test order and why it matters
Step | What you learn | What it leaves unresolved; Inspect the highest wet point when cold | Whether an attached part or upper joint explains the trail | Leaks that open only under heat or pressure; Check coolant level and condition | Fluid loss and contamination clues | Internal losses without visible seepage; Pressure test the cooling system | Whether pressure causes a visible leak or unexplained drop | The exact internal sealing surface behind a hidden leak; Inspect core plugs, gasket lines, pump, and fittings | Whether a replaceable external component is the source | Cracks hidden behind brackets, insulation, or cladding
When a block crack is the remaining explanation
Treat a cracked block as the diagnosis only after the upper coolant joints, gasket lines, hoses, fittings, water pump, and core plugs have been inspected and the leak is confirmed to come from the block material itself. A crack may be visible only when the engine is at operating temperature, under load, or after cooling, so a cold inspection can miss it. Some cracks are repairable depending on location, material, and access, while others require block replacement. The exact repair option depends on the engine family, crack position, and whether the crack reaches a cylinder bore, oil passage, or main-bearing area.
Practical next steps
First identify whether the fluid is coolant and find its highest traceable point. If the loss is rapid, overheating is occurring, or the oil is milky, do not continue driving. If the leak is slow and the level can be maintained with the correct pre-mixed coolant or the specified mixture, you may be able to reach a repair shop, but the root cause still needs proper identification. Do not add stop-leak products as a substitute for diagnosis, and do not mix coolant types unless the manufacturer permits it.
Limits of this guide
Test pressures, coolant specifications, plug locations, and sealing designs vary by engine family, model year, and market. The checks described here are general diagnostic steps and are not a substitution for the vehicle-specific service information. A pressure test result that is normal when cold may not represent the system under heat load, and a visible leak at one location does not completely rule out a second leak. Use the applicable service data for the engine before replacing a part based on the leak pattern alone.