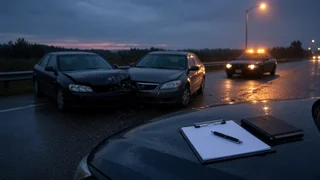
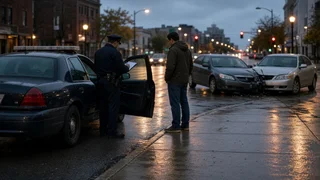
How to prepare a car damage report after a collision
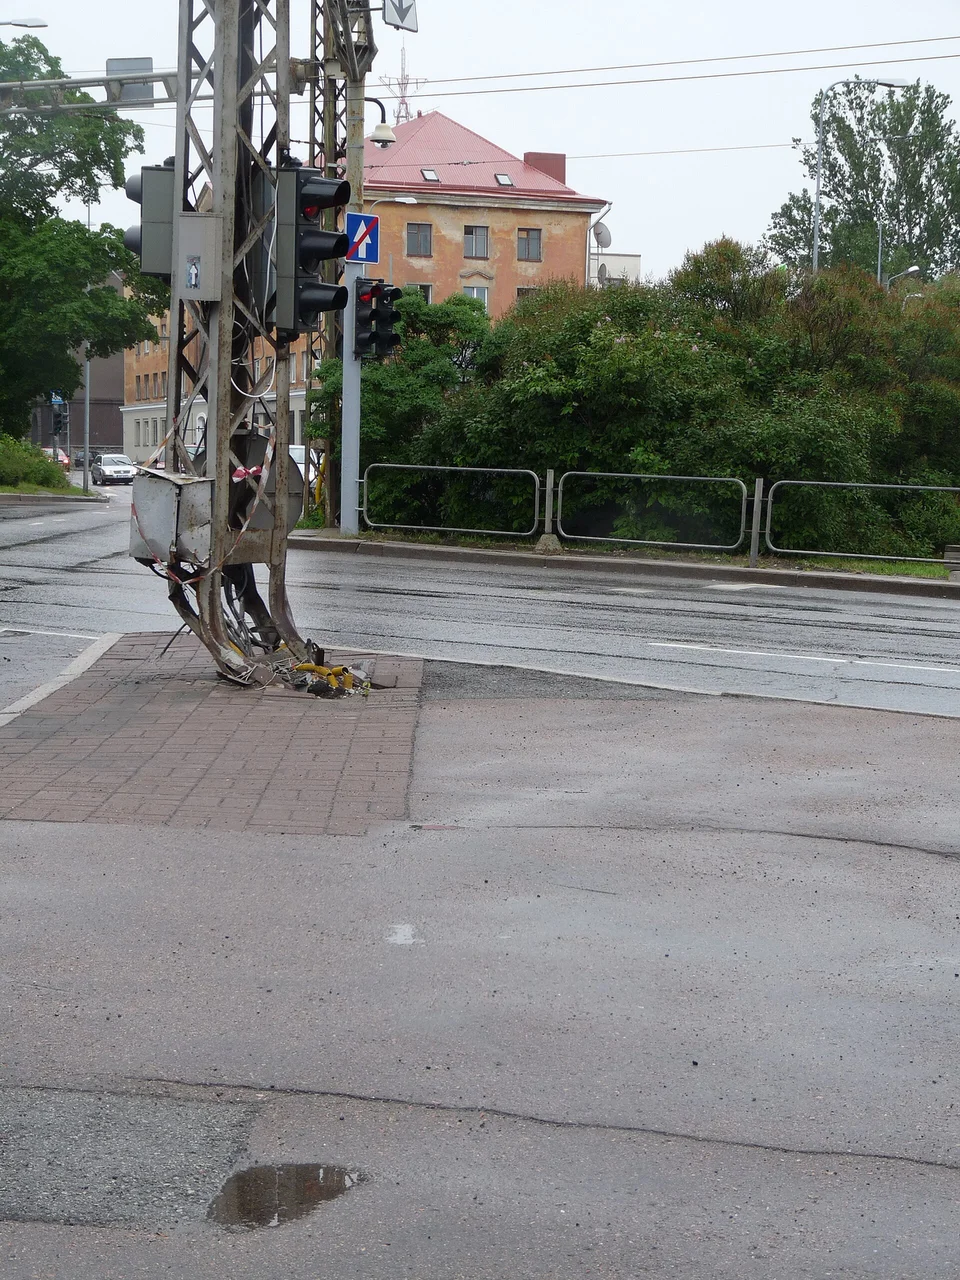
A car damage report is a written and photographic record of the collision and of every vehicle's condition afterward, made as soon as it is safe to do so. To prepare one, secure the scene, record the basic facts (when, where, who, and how it happened), photograph the scene and each vehicle from wide to close range, describe the damage panel by panel, note any warning lights or driving symptoms, and organize everything into one dated document with your photos attached. Your safety comes first. If anyone is hurt, a vehicle is on fire or leaking fuel, or traffic is in danger, call emergency services before you document anything.
What a car damage report is and what it is not
Your personal damage report is your own evidence file. Several other documents serve different purposes, and your report supports them but does not replace them. A police crash report is written by a responding officer or filed with a law enforcement agency. An insurance claim is the formal request you submit to an insurer, usually on the insurer's own forms or app. A repair estimate is a body shop's or adjuster's itemized assessment of parts and labor. A thorough personal report makes each of these faster to complete and easier to check.
Two conditions change what you need to do. First, many US states require drivers to report crashes to police or the state motor vehicle agency when there is an injury, a death, or property damage above a set amount. The thresholds, deadlines, and forms vary by state. This guide does not cover any specific state's rules, so check with your state motor vehicle agency or local police. Second, your insurance policy sets its own notice requirements. Most policies call for prompt notice, so read your policy or contact your insurer for the exact terms.
What you need
A phone or camera with enough battery and storage, with date and time stamps enabled; A notepad and pen, or a notes app, as a backup to photos; Your driver's license, vehicle registration, and proof of insurance; A flashlight for low light or for looking under bumpers and into wheel wells; A tape measure or ruler to show the size of damage in photos (optional but useful); Hazard warning devices such as triangles or flares, if your vehicle carries them
Step-by-step: documenting the collision
Step 1: Make the scene safe
Turn on your hazard lights. If the vehicles can be driven safely and your local rules allow it, move them out of traffic. Take a few quick photos of their positions first if you can do so without risk. Place warning devices according to your owner's manual and local guidance. Call emergency services if anyone is injured, if you see or smell fuel or smoke, or if the vehicles cannot be moved and are blocking traffic.
Stop conditions: do not restart or drive a vehicle that is leaking fuel, smoking, or showing fire. Do not stand between vehicles or in a live traffic lane to take photos. If the scene is not safe, your documentation can wait. Your record is still valuable when completed later from a safe position.
Step 2: Write down the basic facts immediately
Memory fades quickly, so record the essentials while they are fresh: the date and time, the exact location (street names, nearest intersection, mile marker, or landmark), each vehicle's direction of travel, weather, road surface, lighting, and traffic conditions. Then write a short, factual sequence of events. Describe what you saw and did, not who you think was at fault.
Step 3: Collect information from everyone involved
Other drivers: full name, phone number, driver's license number, insurance company and policy number; Vehicle owners, if different from the drivers; Each vehicle: make, model, color, license plate and state, and the vehicle identification number (VIN) if you can see it; Passengers and witnesses: names and phone numbers, plus a brief note of what each says they saw; Responding officers: name, badge number, agency, and the report or incident number
Photographing the other driver's license, insurance card, and plate reduces transcription errors, but ask for permission first. Keep your conversation with the other parties factual and courteous. Avoid speculating about fault at the scene.
Step 4: Photograph the scene from wide to close
Work from the big picture down to the details. Start with wide shots that show all vehicles and their positions relative to lanes, signs, and signals. Then take mid-range shots of each vehicle that show all four sides, including the undamaged ones. Capture the license plates, debris fields, skid marks, fluid on the road, damaged property such as fences or poles, traffic signals, posted signs, and anything that limited visibility. A slow video walk-around of each vehicle is a useful addition. Do not edit, crop, or filter the originals. Keep them exactly as captured.
Step 5: Describe the damage panel by panel
Go around each vehicle in a fixed order, for example clockwise from the front. Record each damaged area by location, type, and approximate size. Close-up photos should include a tape measure or ruler for scale, and you should also take a slightly wider shot so the close-up can be placed on the vehicle.
Location: name the part and side, such as front bumper cover (driver side), passenger front fender, rear quarter panel, tailgate, or side mirror. In the US, driver side and passenger side are clearer than left and right. Type: scratch, scuff, paint transfer, dent, crease (a sharp fold in the metal), crack, puncture, broken or missing part. Fit: note uneven panel gaps (the spacing between adjacent body panels such as a door and fender), doors or the hood that no longer line up, and parts pushed out of position. Scale: record measured length or width where you can, rather than estimating.
Visible damage often understates the real damage. A plastic bumper cover can spring back while the reinforcement bar or energy absorbers behind it are crushed. Modern vehicles are also built with crumple zones, structures designed to deform and absorb crash energy. Damage there may not be obvious from the outside. Record what you can see and note that hidden damage is possible. Do not try to diagnose it yourself.
Step 6: Check for functional damage without taking risks
From a safe position, and only while the vehicle is stationary, note anything that does not work or look right. Record symptoms; leave the diagnosis to a professional.
Warning lights on the instrument cluster, such as airbag, ABS, check-engine, or driver-assistance warnings (photograph the cluster); Headlights, taillights, turn signals, and brake lights that are broken or not working; Tires and wheels: cuts, bulges, flat tires, bent rims, or a wheel sitting at an odd angle; Fluids pooling under the vehicle, and their color and location; Doors, hood, trunk, and windows that will not open, close, or latch; Cracked glass, damaged mirrors, and damaged camera or sensor areas in bumpers, mirrors, or behind the windshield
Hazards at this step: do not touch hot engine parts or leaking fluids, and do not reach into areas around a deployed airbag. If the vehicle pulls sharply, makes grinding or scraping noises, shows a steering wheel that is no longer centered, has leaking fluids, or has any deployed airbag, do not drive it. Arrange a tow and a professional inspection.
Step 7: Record the interior and safety systems
Photograph the interior if anything changed. Look for deployed airbags (front, side, knee, or curtain), seatbelts that no longer retract or have locked, broken trim, and loose items that may have caused damage. Note any injuries reported by anyone involved, but do not assess them yourself. Injuries need medical evaluation, and some symptoms appear later.
Step 8: Separate pre-existing damage
If your vehicle had dents, scratches, or cracks before the collision, list them separately and label them as pre-existing. Older dated photos of the vehicle help here if you have them. Clear separation prevents disputes and keeps the report credible.
Step 9: Assemble the written report
Combine your notes into one document soon after the incident, while details are still clear. A simple structure like the one below keeps it complete and easy for an adjuster or officer to follow.
CAR DAMAGE REPORT; 1) Incident summary; Date / time: Location: Weather / road / lighting: Sequence of events (factual): 2) Parties; Your details (name, contact, license, insurer, policy no.): Other driver(s) and owner(s): Passengers / witnesses: Police agency, officer, report no.: 3) Vehicles; Vehicle A: year, make, model, color, plate, VIN; Vehicle B: year, make, model, color, plate, VIN; 4) Damage log (per vehicle); Area | Type | Size | Photo file name(s); 5) Functional issues and warning lights; 6) Airbags / seatbelts / interior; 7) Pre-existing damage (labeled separately); 8) Towing, storage location, and repair facility (if any); 9) Photo and video index; Prepared by: Date prepared:
Step 10: Organize, back up, and submit
Rename or index photo files so each one matches an entry in the damage log, and keep the unedited originals. Store copies in at least two places, such as your phone and a cloud or computer backup. Notify your insurer as your policy requires. File any police or state report your jurisdiction requires. Keep a copy of everything you submit and note the date you submitted it and to whom.
Step 11: Get a professional inspection
Your report records what is visible. A qualified collision repair facility or insurance adjuster determines the full extent of the damage, often after removing panels. If hidden damage is found later, it is normally added to the claim as a supplement. Your original photos help show that it came from the same collision.
Damage that requires qualified service
Some systems should not be assessed or repaired by owners after a collision. Repairs should follow the vehicle manufacturer's repair procedures for your specific model, year, and equipment. These procedures differ between vehicles, so do not apply one vehicle's guidance to another.
System | Why it needs a professional | What to record in your report; Airbags and seatbelt pretensioners (supplemental restraint system, or SRS) | Deployed or triggered components must be replaced and the system checked; modules can be hazardous to handle | Which airbags deployed, whether the airbag warning light is on, seatbelts that no longer retract; Frame or unibody structure | Structural damage affects crash protection and alignment and must be measured with specialized equipment | Uneven panel gaps, doors that will not close, vehicle sitting unevenly; Steering, suspension, and wheels | Bent components affect control and tire wear | Pulling, an off-center steering wheel, wheels at odd angles, noises; Driver-assistance sensors and cameras (ADAS) | Sensors in bumpers, mirrors, grilles, or the windshield may need recalibration after repairs, as specified by the manufacturer | Warning messages, damage near sensor or camera locations; Fuel system and high-voltage systems in hybrids or EVs | Fire and electrical hazards | Fuel smell or leaks; any high-voltage or battery warning shown on the dash
Completion check
The incident summary includes date, time, exact location, conditions, and a factual sequence of events; Contact, license, insurance, and vehicle details are recorded for every driver and vehicle, and police report details are included if police responded; Wide, mid-range, and close-up photos cover the scene and all sides of every vehicle, including plates; Each damaged area is logged by location, type, and size, and matched to photo file names; Warning lights, functional problems, airbag deployment, and seatbelt issues are noted; Pre-existing damage is listed separately; Original photos are unedited and backed up in two places; The insurer has been notified, and any report required by your state has been filed, with copies and submission dates kept; A professional inspection is arranged for anything beyond surface damage
Limits of this guide
This guide covers general documentation practice. It does not give state-specific reporting thresholds, deadlines, or forms, and it does not give insurer-specific claim procedures. Those were not available for this article and vary across the US. Confirm them with your state motor vehicle agency, local police, and your insurance policy. Technical points about safety systems and repairs depend on the vehicle, so rely on the manufacturer's instructions for your model and a qualified repair professional.