Buy 3M auto body repair products
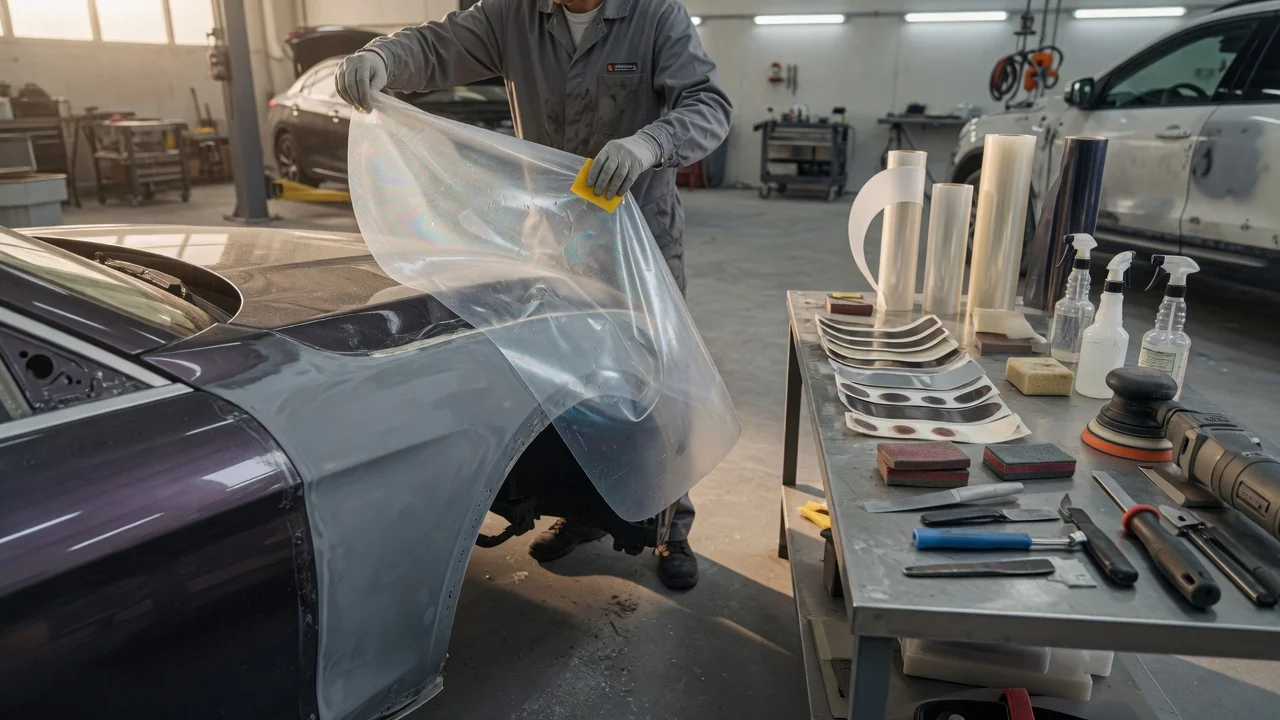
What to buy for a 3M body repair
Buy 3M auto body products by the job on the car, not by brand name alone. 3M and its Bondo consumer line cover fillers, glazing putties, fiberglass repair, abrasives, adhesives, seam sealers, and paint-prep materials. The right kit or can depends on whether you are filling a dent, rebuilding a hole, bonding a panel, sealing a joint, or finishing a surface for primer. Structural rust-through, torn metal, and crash damage that changes panel alignment need inspection and, when required, professional collision repair before any filler is applied.
How the 3M body-repair lineup is organized
3M sells professional collision products and Bondo-branded do-it-yourself products that follow the same repair sequence. A staged system is a set of materials meant to be used in order: metal or plastic prep, bulk fill, skim or glaze, then primer and paint. Mixing stages, or jumping from a deep fill straight to finish putty, leaves weak spots, pinholes, or a repair that telegraphs through the paint.
Abrasives and prep: discs, sheets, and scuff pads used to remove paint, feather edges, and key the surface so filler or adhesive can bond. Bulk body filler: two-part polyester filler for dents and shallow metal loss after the panel is sound. Fiberglass filler or cloth systems: used when a hole or torn area must be bridged, not merely skimmed. Glazing or finishing putty: a finer material for pinholes, sand scratches, and low spots after the bulk fill is shaped. Adhesives and panel bonders: for plastic repair, emblem bonding, or professionally specified panel replacement. Seam sealers and coatings: to restore joint sealing and chip protection after the metalwork is closed. Masking and paint-prep: tape, film, and related products used once the bodywork is ready for primer.
The Stage 3 Bondo four-piece kit
A Bondo Stage 3 four-piece canned kit is a finishing-stage package, not a start-to-finish collision kit. Stage 3 in this sequence is the skim and glaze step after bulk filler has already been applied, cured, and sanded to shape. Buy it when the dent or hole is already filled and you still see pinholes, sand marks, or shallow lows that would show under primer. It is the wrong purchase if bare metal is still open, if rust has not been treated, or if the damage still needs fiberglass or a heavy fill.
Read the can labels for the exact contents of the four-piece set you are holding. Typical Stage 3 kits pair a finishing filler or glazing putty with hardener and related application items, but kit makeup can change by market and package. Match the chemistry on the label to the filler already on the panel, and follow the mix ratio and working time printed on that package. Do not assume one Bondo kit covers every earlier stage.
Match the product to the panel and the damage
Steel, aluminum, and plastic bumpers do not take the same repair path. Polyester body filler is intended for prepared metal after rust and oil are removed. Plastic bumper covers generally need a plastic-repair adhesive or a filler labeled for flexible plastic; a rigid metal filler on a flexing cover will crack. Aluminum needs the prep and filler chemistry specified for aluminum so galvanic problems and adhesion failures are avoided. Unresolved differences in substrate, existing coating, and whether the panel is still structurally sound change which 3M or Bondo product is suitable.
Small ding or shallow dent in sound steel: clean to a feathered edge, apply bulk filler, sand, then glaze if needed. Hole, tear, or rust-through: stop and confirm the metal can be repaired or must be replaced; filler does not restore strength. Plastic bumper scuff or crack: use a plastic-repair system labeled for that substrate, then flexible finishing materials. Seam, weld joint, or inner cavity: use the matching sealer or coating, not body filler packed into a joint. Ready for color: finishing putty and primer only after the shape is correct in good light.
What to check on the package before you pay
Confirm the product is sold for automotive bodywork on your substrate, that the hardener is included or listed as a required companion, and that remaining working time and sanding steps match the size of the repair. Check the use-by or manufacture date on catalyzed fillers and adhesives; old hardener or stale resin can fail to cure. If you already started a repair with another brand of filler, stay with a compatible finishing product or remove the old material rather than stacking unrelated chemistries.
Professional 3M collision adhesives and panel-bonding products are specified to OEM-style repair procedures. Those are not interchangeable with consumer Bondo filler kits. If the vehicle needs a bonded outer panel, a structural adhesive, or a documented weld-bond process, use the 3M product named in that procedure and the matching surface prep. A four-piece Stage 3 kit does not substitute for that work.
A practical buying order
Start with prep abrasives and a clean, dry, well-lit workspace. Add bulk filler or a fiberglass system only after the panel is sound. Add a Stage 3 glazing or finishing kit only after the bulk fill is shaped. Keep primer, sealer, and paint as later purchases so you are not forcing a finish coat over a repair that still needs sanding. If the damage is larger than a localized cosmetic repair, or if you cannot tell whether the metal is structurally intact, have a collision shop inspect the panel before buying filler.