Brake Pad Replacement Tools: Choosing a Piston Compression Tool
The Short Answer
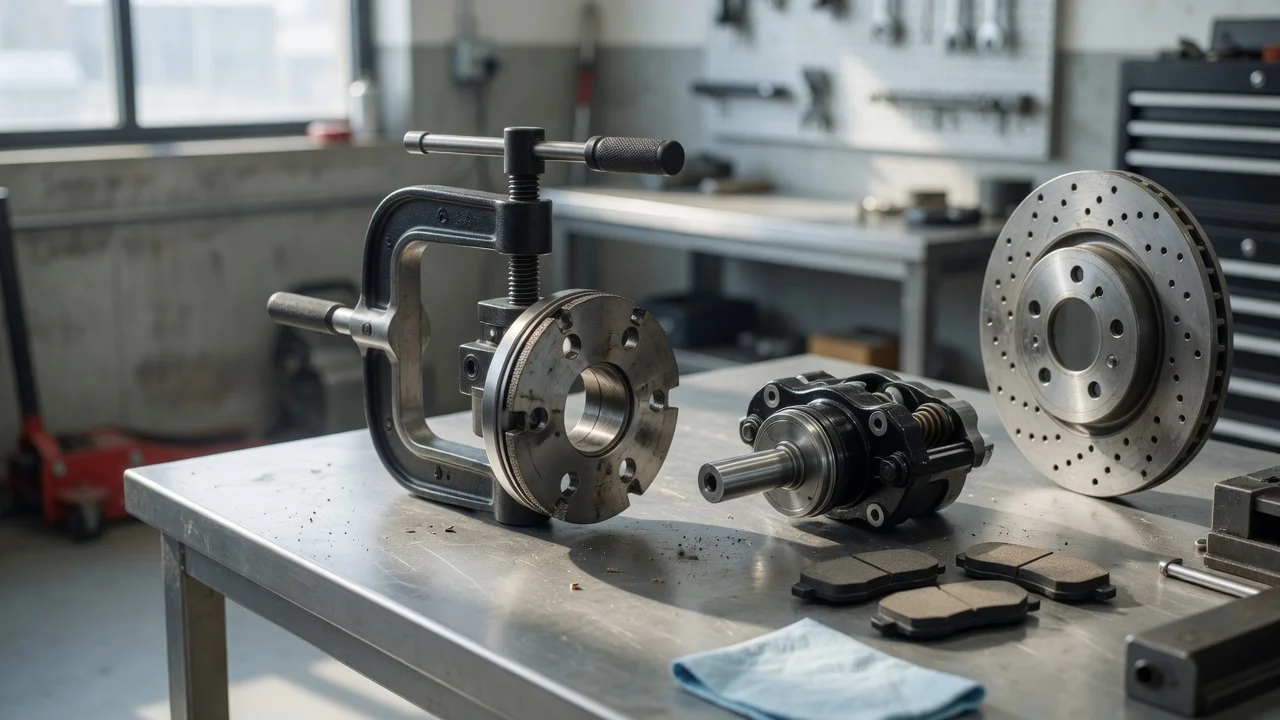
The right compression tool depends on two things: how the caliper is built, and whether its piston has to be pushed straight back or turned as it retracts. For a sliding caliper with a single piston, a simple screw-type compressor is usually enough. For calipers with two or more pistons, a ratcheting pad spreader works better because it pushes all the pistons back evenly. Many rear calipers have a built-in mechanical parking brake. Most of these need a wind-back tool that turns the piston while pushing it, and forcing such a piston straight back can damage the internal adjuster. Vehicles with an electronic parking brake add one more step. The system usually has to be put into a service mode, either with a scan tool or a manufacturer procedure, before the piston can be retracted.
Which of these cases applies depends on the model, model year, axle and trim, so the vehicle's service information is the final authority. This guide compares tool types by design and intended use. No product test results, specifications or prices were supplied for it, so it does not rank specific brands or kits or give cost comparisons.
Why the Piston Needs Compressing
As brake pads wear, the caliper piston gradually moves out of its bore to keep the pads against the rotor. New pads are thicker, so they will not fit over the rotor until the piston is pushed back. Pushing it back sends brake fluid toward the master cylinder reservoir. That fluid return matters when you use any compression tool, as covered in the section on use below.
Identify Your Caliper First
• Sliding (floating) caliper: the piston or pistons sit on the inboard side only. Most have one piston, and some have two. The caliper body slides on guide pins to clamp both pads. • Fixed caliper: opposed pistons sit on both sides of the rotor, and the body does not slide. These are often found on performance and heavier applications. • Rear caliper with an integrated mechanical parking brake: the piston is threaded onto an internal adjuster. Many of these must be rotated while being pushed in. The rotation direction varies by design. • Caliper with an electronic parking brake: an electric motor drives the piston. The system normally has to be placed in service mode before retraction, and forcing the piston can damage the actuator.
The Main Tool Types Compared
Tool type | Best suited to | Strengths | Limitations; Screw-type single-piston compressor (C-clamp style) | Single-piston sliding calipers | Simple design, slow and controlled force | Works on one piston at a time; can tilt pistons in multi-piston calipers; cannot rotate wind-back pistons; Ratcheting caliper or pad spreader | Twin- and multi-piston calipers, and many single-piston calipers | Pushes pistons back evenly with the caliper still mounted; ratchet action allows one-handed use | Needs enough space between the pads to insert the jaws; jaw range must suit the caliper; not suitable for wind-back pistons; Plier-style pad spreader | Fixed opposed-piston calipers with pads in place | Quick to use in the gap between pads | Less mechanical advantage than a ratcheting or screw tool, so stiff pistons can be harder to move; Manual wind-back (rewind) kit | Rear calipers with an integrated mechanical parking brake | Turns and pushes the piston at the same time; adapter plates match different piston-face notch patterns | Adapter must match the piston face; rotation direction must be correct; slower than straight compression; Combination kit | Owners working on several different vehicles | Combines a compressor with wind-back adapters in one set | Bulkier; adapter coverage varies by kit, so fitment must be checked against each vehicle
Which Option Fits Your Priorities
If you service only one vehicle, buy the tool that matches its calipers on each axle. That is often a front spreader or compressor plus a rear wind-back tool. If you work on a variety of vehicles, a combination kit makes more sense, but only if its adapters match the pistons you will meet.
• Front single-piston sliding calipers only: a screw-type compressor or a ratcheting spreader. The spreader is faster and keeps the caliper on the vehicle. • Multi-piston or fixed calipers: a ratcheting spreader or a plier-style spreader, so all pistons retract together without tilting. • Rear calipers with a mechanical parking brake: a wind-back tool with the correct adapter. A straight compressor is not a substitute on designs that require rotation. • Electronic parking brake: a scan tool or the documented service procedure to retract the motor first. The mechanical compression tool comes second, if one is needed at all. • Mixed vehicles or occasional jobs: a combination kit, after you confirm adapter coverage for the vehicles involved.
What to Check Before Buying
• Adapter fit: wind-back adapters must match the notch or pin pattern on the piston face. • Rotation direction: some vehicles need clockwise rotation and others counterclockwise. Make sure the tool can turn in the direction your calipers need. • Jaw opening and reach: a spreader must fit between the pads and open far enough to fully retract the pistons. • Access: rear calipers and tight wheel wells can limit tool length and handle swing. • Contact surfaces: flat, broad faces spread the load and are less likely to mark the piston or tilt it in its bore.
Using a Compression Tool Without Causing Damage
• Check the fluid reservoir before you start. Returning fluid can raise the level enough to overflow, and brake fluid damages paint. • Some service procedures say to open the bleeder screw while compressing, so old fluid is not pushed back toward the ABS hydraulic unit. Follow the manufacturer's instructions for your vehicle. • Press evenly on the piston face. An old pad or a flat plate can act as a spacer so the piston does not tilt. • Keep tools off the rubber dust boot, and do not lever the piston back with a screwdriver against the rotor. • Never force a wind-back piston straight in, and never force an electronic parking brake piston without first retracting it through service mode. • After fitting the new pads, pump the brake pedal until it is firm before you drive. The pistons need to move back out to meet the pads.