Both Tail Lights Not Working: Shared Causes and Safe Checks
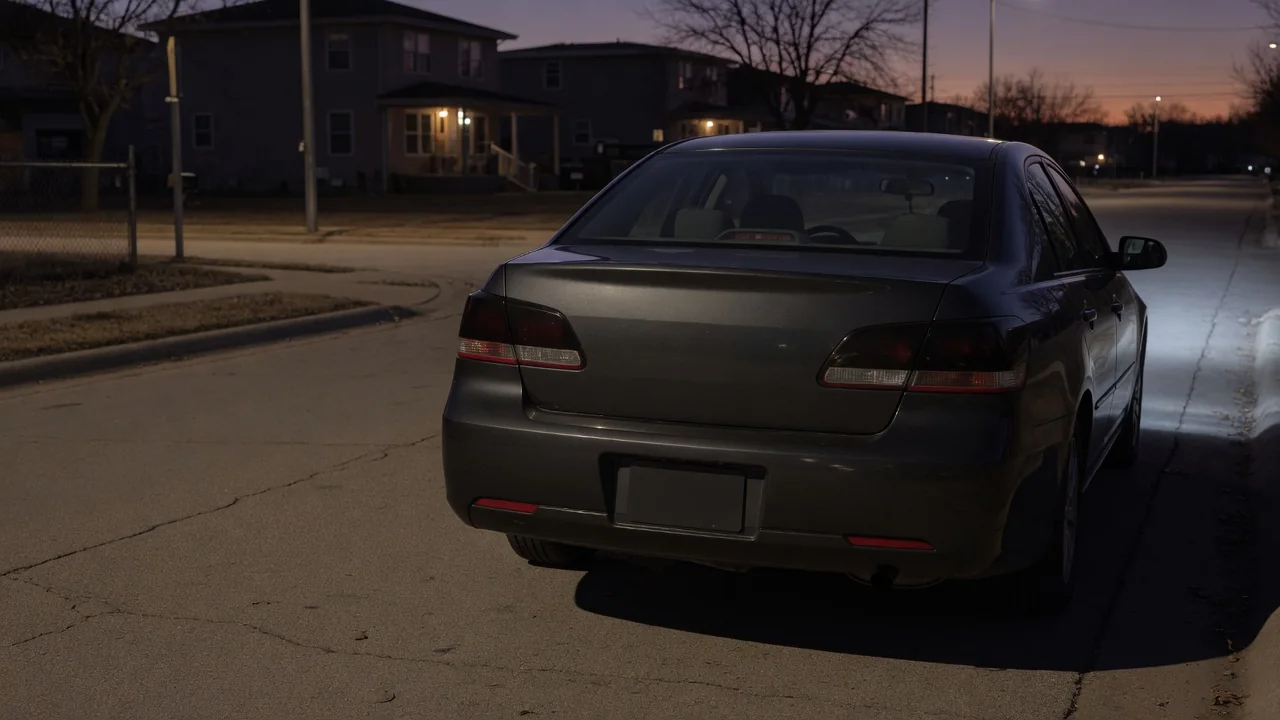
When both tail lights are not working at once, the cause is rarely two burned-out bulbs. More often a fuse, switch, ground or wiring fault shared by both lamps is involved, and sometimes a recent stereo or LED install is the trigger. This guide explains why both tail lights fail together, which checks are safe at home, and when professional diagnosis makes sense.
Why Both Tail Lights Failing Together Points to a Shared Cause
Two filaments or two LED units quitting at the same moment is possible, but it is far less likely than one fault in something both lamps share. That shared item might be a tail light fuse, a switch, a ground connection or a section of harness. It also helps to separate the circuits people often blend together. Running or tail lights, brake lights, turn signals and license plate lights are usually fed differently, even though some vehicles combine two functions in a single dual-filament bulb or one LED assembly.
If you are asking why both of your tail lights are not working, start by noting what still does work. Brake lights that illuminate normally suggest the bulbs and their grounds are at least partly sound, pointing toward the park light circuit instead. Dark plate lights or dash lights alongside the tail lights hint at a wider exterior lighting circuit problem. Wiring layouts differ by make, model and year, so check the owner's manual or a service manual before assuming how your particular circuit is built.
Safe First Checks When Both Tail Lights Are Out
Begin by confirming the symptom. Ask a helper to stand behind the vehicle, or back up to a garage door or window and watch the reflection, while you move the headlight switch through every position, including auto mode. Then locate the fuse chart in the owner's manual and find the fuses listed for tail, park or exterior lighting. Pull each one and look at the metal strip inside; a broken or burned strip means the fuse has opened. Replace it only with one of the same rating.
With the lights switched off, look at the rear lamp assembly on each side. Green or white crust in a corroded socket, melted plastic, loose connectors or water pooled inside the housing are all meaningful clues. If instrument or dash lighting is dark too, the fault likely sits upstream of the tail lights rather than at the rear of the vehicle. Never bypass a fuse, fit a higher-rated one or jump wires to test a circuit, because the fuse is what protects the wiring from overheating.
Common Shared Failure Points Behind Both Tail Lights
The headlight switch is one part both sides depend on, and worn contacts or a faulty position can interrupt the park light feed while the headlights still work. On vehicles with automatic lighting, the ambient light sensor or its signal may also be involved. A poor shared ground is another candidate, as is a corroded connector in the trunk, tailgate or bumper harness, where moisture and road salt collect. Because both lamps often return through common wiring, one bad connection can darken the pair.
Wiring that flexes is vulnerable too. Trunk lid wiring and liftgate hinge looms bend every time the panel opens, and insulation can chafe through over time; the same applies near trailer hitch wiring. Trailer adapters and aftermarket accessories tapped into the tail circuit can create shorts that blow the shared fuse. Many newer vehicles also switch exterior lights through a body control module or dedicated lighting module rather than a simple switch, and confirming a fault there generally requires professional scan tools.
Tail Lights Not Working After Installing a Stereo
Tail lights not working after installing a stereo is a pattern worth taking seriously. Many aftermarket head unit harnesses include an illumination wire or dimmer wire that tells the radio when the exterior lights are on. That wire often ties into the same circuit that powers the park and tail lights, so connecting it to the wrong terminal, or letting it short to metal, can affect that circuit. Telltale signs are lights that worked before, a tail or dash light fuse that blows, and a problem that began right after the radio went in.
Check the related fuse first, then have the installer or a qualified technician compare the wiring harness adapter and any splices against the vehicle's wiring diagram. Some vehicles carry lighting and dimming signals over a data network instead of a simple wire, so an incorrect interface module may also cause lighting trouble. Avoid cutting or re-splicing wires blindly, since each guess adds another possible fault. Keep the original harness and factory radio connectors intact so the installation can be undone if needed.
Cruise Control Not Working After Installing LED Tail Lights
Cruise control not working after installing LED tail lights sounds unrelated, yet the two systems are connected on many vehicles. Cruise control typically watches the brake light switch or brake light circuit so it can cancel when the pedal is pressed, and a change in that circuit can stop it from engaging. LEDs draw far less current than incandescent bulbs, and some vehicles' bulb-out monitoring reads that low draw as a failed lamp. The result may be a bulb-out warning, hyperflash on the turn signals or disabled features.
An LED load resistor or decoder is sometimes used to restore the expected electrical load, but these parts produce heat and must be sized and mounted correctly, away from plastic and wiring, so professional installation is advised. Behavior varies widely, so confirm how your make, model and year handles brake circuit monitoring rather than assuming a universal cause. Refitting the original lamps is a simple test: if cruise control returns, the LED swap is the likely trigger; if not, the brake light switch and other causes deserve attention.
Driving Safety and When to Get Professional Diagnosis
Tail lights exist so drivers behind can see the vehicle and judge its distance. Driving at night, in rain or in fog without them makes the vehicle much harder to see and may violate local lighting laws, so limit driving to daylight until the fault is fixed. Seek professional testing if a replacement fuse blows again, connectors show heat damage, a lighting module is suspected or several electrical systems misbehave together. A repeatedly blowing fuse signals a short that needs to be found, not a weak fuse.
A shop will typically measure voltage and ground quality at the sockets under load, trace the circuit with the wiring diagram and review module scan data where it applies. Any stored fault code is evidence to interpret alongside those tests, not proof that a part has failed. Bring notes on recent repairs, accessory installs and exactly which lights work, because that history shortens diagnosis. A visual inspection at home can rule out obvious problems, but it cannot confirm intermittent wiring faults or module issues.