How to Bleed a Car Cooling System
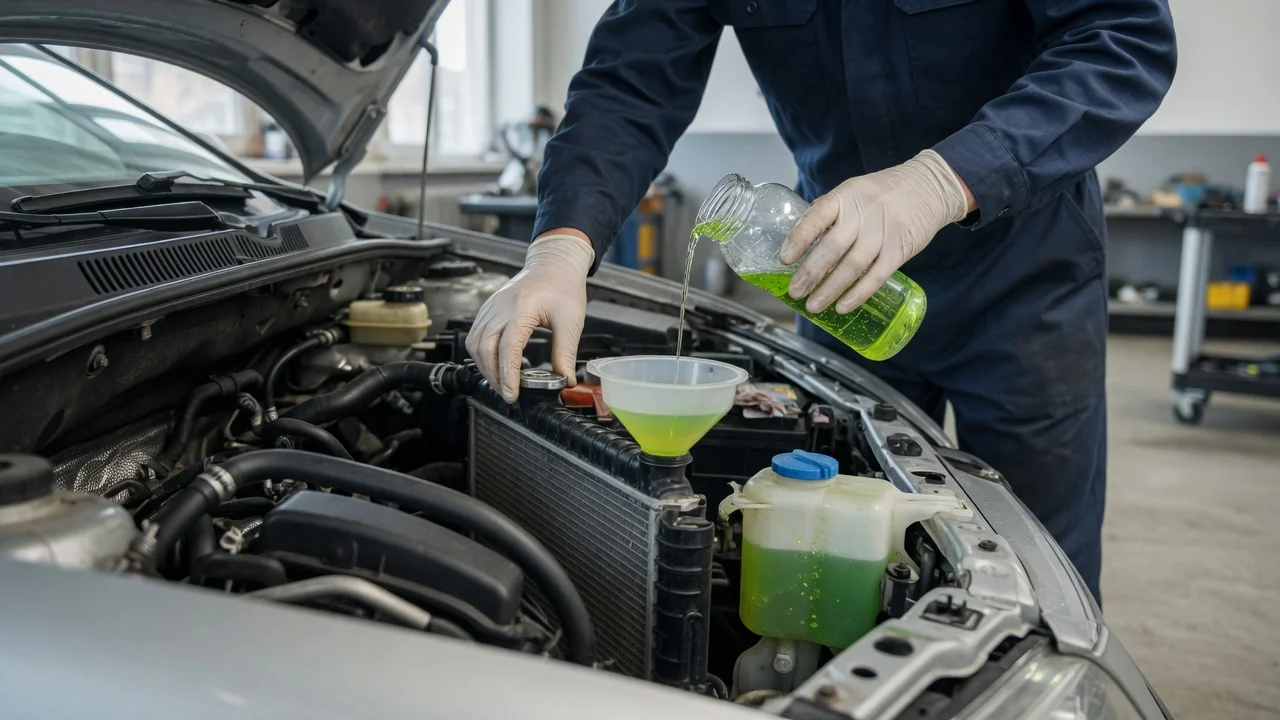
What bleeding a cooling system means
Bleeding a car cooling system means removing trapped air from the radiator, heater core and coolant passages so the engine can maintain a stable temperature. Air pockets reduce coolant flow and can cause erratic temperature readings, poor cabin heat or localized overheating. The procedure applies to refilling after a coolant drain, replacing a thermostat, water pump or radiator hose, and to some cases of persistent cooling trouble. The exact method depends on whether the vehicle has a pressurized expansion tank, a non-pressurized overflow reservoir, a radiator cap on the radiator itself, or factory bleed valves.
Before you begin
Park on level ground and let the engine cool completely; opening a hot system can spray scalding coolant. Use the coolant type and concentration specified for your model year, engine and market; mixing incompatible coolants can cause gelling or corrosion. Have a funnel that seals well into the fill neck or expansion tank, a drain pan, clean rags, gloves and eye protection. Check the owner's manual or workshop data for bleed valve locations and the recommended fill or bleed sequence.
General bleeding procedure
The following steps cover the common manual method with a radiator cap or expansion tank. Stop if the engine begins to overheat, if coolant is not being drawn in, or if hot coolant is present under pressure; allow the system to cool and recheck the fill level.
Confirm the cooling system is sealed, including the radiator cap or expansion tank cap, hoses, drain plug and block drain if one was opened. Set the cabin heater to maximum heat and the blower to low or off; this opens the heater control valve on many vehicles so coolant can reach the heater core. Fill the system slowly through the radiator neck or expansion tank to the recommended cold-fill mark. Pouring slowly reduces trapped air. Leave the cap off if the design allows open-funnel bleeding; otherwise fill, secure the cap and use a bleed valve where fitted. Start the engine and let it idle. Watch the coolant level in the funnel or tank; it may drop as the thermostat opens and air escapes. Squeeze the upper radiator hose gently with a gloved hand to help move trapped air toward the fill point. Avoid the fan and drive belt. Open a factory bleed valve, if equipped, with the engine idling and close it when a steady stream of coolant with no air bubbles appears. Follow the manufacturer's sequence and torque if specified. Keep the engine idling until the radiator fan cycles on and the lower radiator hose becomes warm, indicating the thermostat has opened and coolant is circulating. Top up the coolant to the correct level and refit the cap. Run the engine again briefly, then shut it off and allow it to cool.
Completion check
With the engine cold, recheck the coolant level at the radiator or expansion tank and top up to the cold mark if needed. Start the engine and verify cabin heat is warm and steady at idle. Watch the temperature gauge during a short drive; it should rise to the normal operating range and remain stable without spikes. Inspect under the vehicle and around hoses for leaks after the first heat cycle. Check the coolant level again after one or two full heat-up and cool-down cycles, always when cold.
Precautions and service boundaries
Do not remove a radiator cap or expansion tank cap while the engine is hot; the system is pressurized and can vent violently. On some vehicles, especially those with complex valving, electric water pumps, rear heater cores or sealed systems, the manual procedure will not fully remove air. In those cases a vacuum-fill tool or a guided electronic pump cycle may be required. If the temperature remains unstable, the heater stays cold after repeated bleeding, or you see coolant loss without an external leak, stop driving and have the system pressure-tested and diagnosed by a qualified workshop.