Convert 1990 Mustang Rear Brakes to Disc
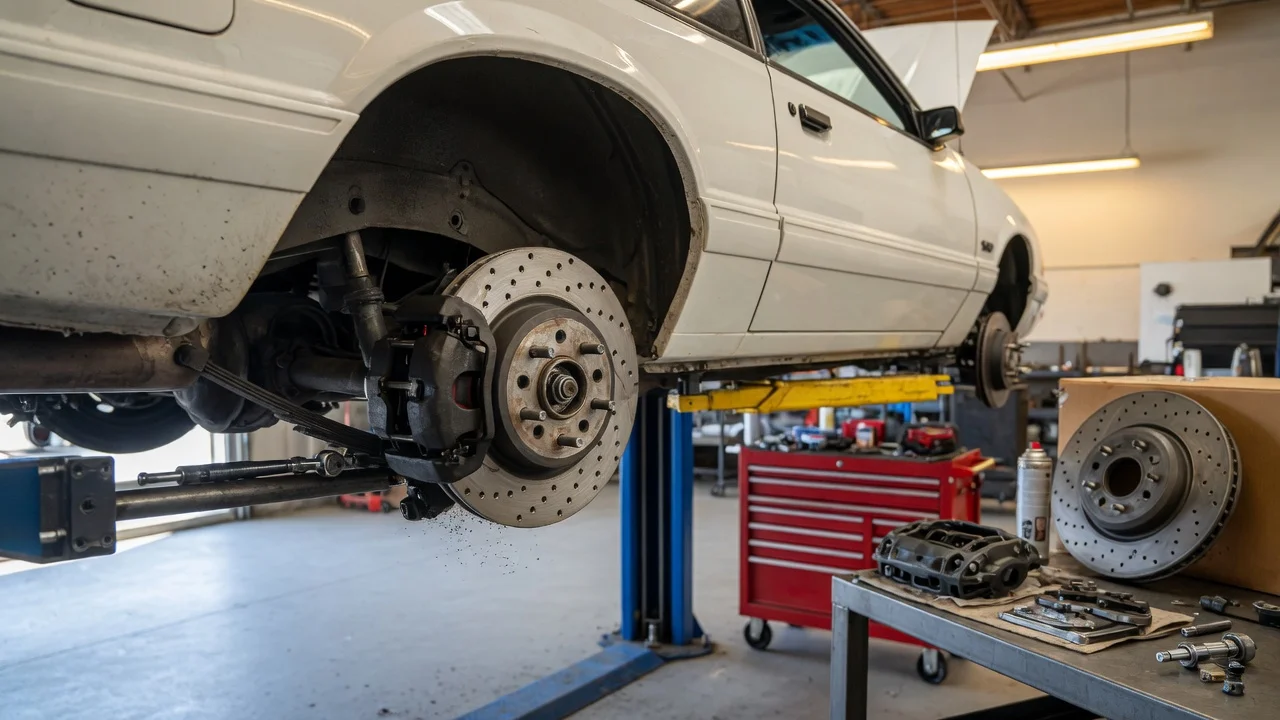
The Short Answer
A 1990 Mustang can be converted from rear drum brakes to rear disc brakes, and it is a common upgrade for Fox-body cars, which Ford built from 1979 to 1993. A complete conversion involves more than swapping the drums for rotors and calipers. You also have to account for the rear axle you have, the wheel bolt pattern, the brake hydraulics (especially front-to-rear balance), the parking brake, and whether your wheels will clear the new calipers.
Most owners take one of three routes: a purpose-built aftermarket kit, a parts-swap using factory rear disc hardware from a later or higher-spec Mustang, or replacing the whole rear axle with one that already has discs. Which route makes sense depends mainly on whether you want to keep the original four-lug wheels.
Factors That Change the Answer
Rear axle type: in 1990, V8 Mustangs generally used the 8.8-inch rear axle, while four-cylinder cars typically used the smaller 7.5-inch axle. Most rear disc conversion hardware is designed around the 8.8-inch axle. Before buying parts, confirm which axle your car has from the axle tag or the build information, and check that the kit or donor parts are listed for that axle.
Lug pattern: 1990 Mustangs came with four-lug wheel hubs. The factory rear disc setups commonly used as donor parts, such as those from 1994 and later Mustangs and the 1993 Cobra, use five-lug rotors. Keeping four-lug wheels usually means buying an aftermarket kit with four-lug rotors. Using factory five-lug rotors usually means converting the car to five-lug, which affects the axle shafts and the front brakes as well.
Brake balance: rear discs change how much braking force the rear axle produces and how much fluid the system displaces. If the proportioning, residual-pressure and master-cylinder arrangement is left as it was for drums, the brake balance can end up wrong. This is the most safety-critical part of the conversion and is covered in the steps below.
Choosing a Conversion Route
Route | What it involves | Main trade-offs; Aftermarket bolt-on kit | Brackets, rotors, calipers, hoses and often parking-brake provisions packaged for the Fox-body axle | Simplest parts sourcing; can retain four-lug wheels if specified; cost and component quality vary by manufacturer; Factory donor parts | Caliper brackets, calipers, rotors, hoses and parking-brake cables from a factory rear disc Mustang, fitted to the Fox 8.8-inch axle | Can be economical; usually requires five-lug conversion; compatibility details must be checked part by part; Complete axle swap | Installing a later rear axle that already has disc brakes | Brakes come as a matched set; larger job with possible differences in axle width, gearing and suspension mounting that must be confirmed
Editorial judgment: for an owner who wants to keep factory-style four-lug wheels and avoid sourcing used parts, a complete kit listed specifically for the 1990 Mustang and the car's axle is usually the most straightforward choice. The donor-parts route suits owners who are already planning a five-lug conversion.
Before You Start
Confirm the axle type and lug pattern, and get parts listed for both. Check that the new calipers will clear your wheels. Small-diameter wheels may not fit over disc calipers, so get a clearance template or the kit maker's minimum wheel size. Plan the hydraulic changes before the brakes are installed: proportioning valve, any residual-pressure valve, and whether the master cylinder needs to change. Plan the parking brake. Some setups use a parking-brake mechanism built into the caliper, and others use a small drum inside the rotor hat. Either way, the cables usually need to change. Get the manufacturer's installation instructions and the applicable Ford service information for torque values and fluid specification. No verified torque figures or fluid specification were supplied for this article, so none are given here.
Typical tools include jack stands rated for the vehicle, wheel chocks, a socket and wrench set, a torque wrench, flare-nut (line) wrenches for brake fittings, a brake bleeding kit, fresh brake fluid of the specified type, and a way to catch and dispose of old fluid. Whether you need axle-shaft removal tools depends on the route. Swapping axle shafts or backing plates may require pulling the shafts, which on the 8.8-inch axle involves opening the differential cover.
Conversion Steps
Step 1: Secure the car. Park it on level ground, chock the front wheels, raise the rear, and support it on jack stands at proper lift points. Never work under a car held up only by a jack.
Step 2: Remove the drum brakes. Take off the wheels and drums, then remove the shoes, springs, wheel cylinders and parking-brake hardware. Disconnect the brake lines from the wheel cylinders with flare-nut wrenches to avoid rounding the fittings, and cap the lines to limit fluid loss and keep out contamination.
Step 3: Remove the backing plates if your route requires it. On many conversions the drum backing plates come off. This usually means removing the axle shafts, which on the 8.8-inch axle involves draining the differential, removing the cover, and removing the axle retaining hardware. If you open the differential, refill it with the lubricant and any additive specified for your axle.
Step 4: Install the caliper brackets or adapters. Bolt the brackets to the axle housing flanges as the kit or service instructions describe, then refit the axle shafts if they were removed. Tighten the fasteners to the documented torque values.
Step 5: Fit the rotors and calipers. Install the rotors, then the calipers and pads. Make sure the calipers are on the correct sides, since bleeder screws generally need to face upward for the brakes to bleed properly. Check that the rotor sits flat against the hub and that nothing rubs when you turn it by hand.
Step 6: Connect the brake hoses. Route the new flexible hoses from the axle hard lines to the calipers. Make sure they cannot be pinched, stretched or rubbed through full suspension travel, and use new sealing washers wherever the design calls for them.
Step 7: Address brake balance and hydraulics. Install the proportioning arrangement your kit or donor system calls for. Many owners fit an adjustable proportioning valve in the rear line. If the original system has a residual-pressure valve meant for drums, check whether it should be removed or replaced, because holding residual pressure on a disc caliper can cause drag. Confirm whether your master cylinder suits a four-wheel disc setup. If you are not confident with hydraulic changes, have a qualified brake shop do this step, since an incorrect rear bias can make the rear wheels lock early under hard braking.
Step 8: Install the parking brake. Fit the cables and hardware for your system and adjust them according to the instructions. Caliper-integrated designs often need a specific adjustment sequence, and drum-in-hat designs need the small shoes adjusted inside the rotor hat.
Step 9: Bleed the brakes. Fill the master cylinder with the specified fluid and bleed the entire system, usually starting at the wheel farthest from the master cylinder. Follow the service information for your car. Keep the reservoir topped up during bleeding so air does not get drawn into the system.
Step 10: Reinstall the wheels. Check caliper clearance by hand, then mount the wheels and tighten the lug nuts to the specified torque in a crisscross pattern.
Completion Check
With the engine running, the brake pedal is firm and consistent, not soft or sinking. There are no fluid leaks at any fitting, hose or bleeder after the pedal is held firmly. Each rear wheel turns freely with the brakes released, with no heavy caliper drag. The parking brake holds the car on a slope and fully releases. At low speed in a safe, empty area, the car stops straight with no pulling. After bedding in the pads per the pad maker's procedure, check rear balance in progressively firmer stops in a safe location. The rear wheels should not lock before the fronts. If they do, adjust the proportioning before normal driving.
Information Gaps to Fill Before Doing the Work
This guide does not include torque values, a brake fluid specification, rotor and caliper dimensions, minimum wheel sizes, proportioning valve settings, or part numbers, because no verified source for those figures was supplied. Get them from the conversion kit manufacturer and the applicable Ford service information for a 1990 Mustang with your specific axle and engine, and follow those documents wherever they differ from the general sequence above.