What to Check After Loading Camping Gear in a Car
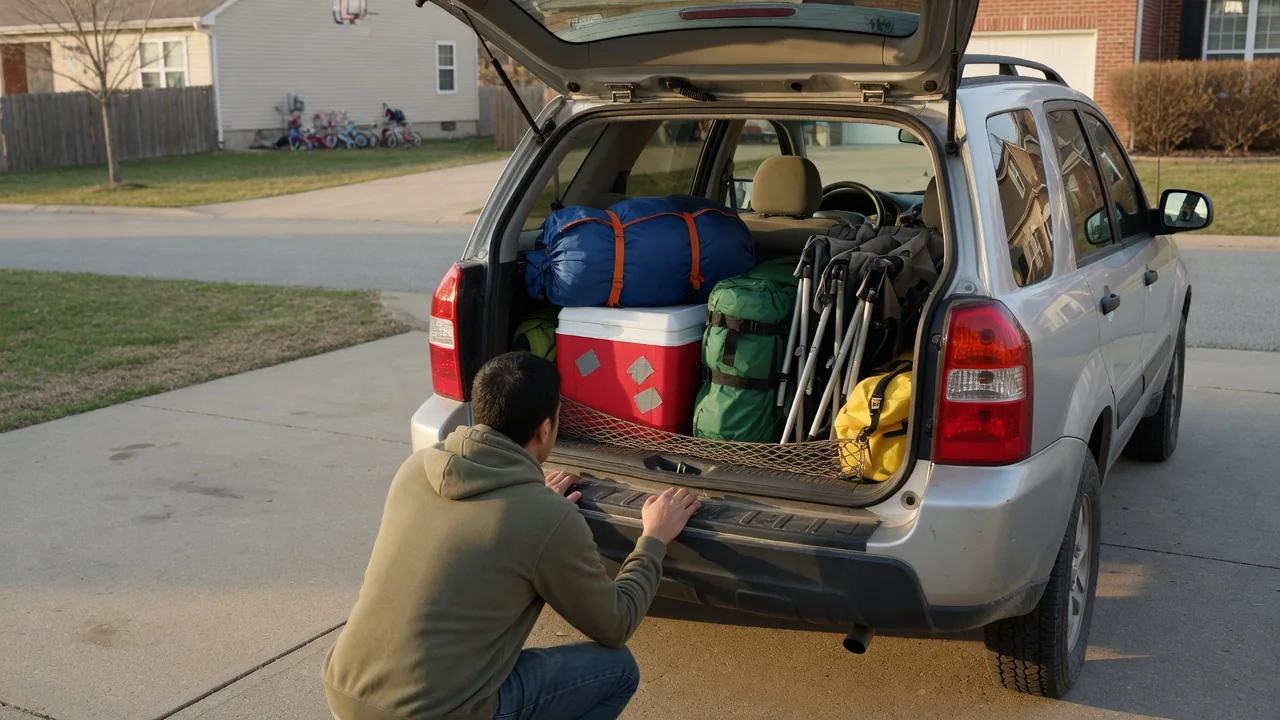
Knowing what to check after loading camping gear in a car matters as much as the packing itself. A full cargo area changes how the vehicle brakes, steers, and sits on its suspension, and it can block the driver's view or trap occupants behind stacked bags. A short walkaround before leaving the driveway confirms that everything is restrained, reachable, and within the vehicle's limits.
Secure load
Start with the heaviest items, because they do the most damage if they move. Coolers, water jugs, stoves, and toolboxes belong low on the cargo floor and tight against the rear seatback, where the seat structure helps hold them in a hard stop. Push each item by hand; anything that slides, rocks, or tips needs to be wedged or strapped. Many vehicles provide tie-down anchors in the cargo floor, though their location and rated strength differ, so the owner's manual is the reference for what they can hold.
In wagons, hatchbacks, and SUVs, the cargo area is open to the cabin, so anything stacked above the seatback can fly forward in sudden braking. Keep the pile below that line, or use a cargo net or barrier if the vehicle is equipped with one. Roof loads deserve their own inspection: tug on the carrier or crossbars, check that each strap is tight and its loose end is tied off, and confirm nothing overhangs the windshield. Pickup beds need the same pull test on every strap.
Check tire pressure
Extra weight makes tires flex more, which builds heat and dulls steering response. Look at the tire placard, usually found on the driver's door jamb or in the owner's manual, for the recommended cold inflation pressure. Some vehicles list a separate figure for a fully loaded condition, while others show a single value, so reading the placard for the specific car matters. Measure with a gauge before driving, since tires warmed by even a short trip read higher than their true cold pressure.
A visual check adds useful detail. Loaded rear tires that bulge noticeably at the sidewall, or a car that squats low at the back, suggest the weight is concentrated behind the rear axle or that pressure is low. The same placard typically states the maximum combined weight of occupants and cargo, and that figure includes passengers, a roof box, and a hitch-mounted rack. Check the spare tire's pressure as well, and remember that a tire pressure warning light only reports a significant drop, not ideal inflation.
Keep exits clear
Sit in every occupied seat and operate the door from inside. Bags stuffed into footwells or stacked against a rear door can keep it from opening fully, or hide the handle and lock. In a crash or roadside emergency, each passenger needs a clear path out without moving gear first. Seat belt buckles should be visible and latch with a firm click, and nothing should rest on a child seat or interfere with its installation. Head restraints should stay in their normal position.
The driver's area needs the strictest standard. Nothing should be loose on the floor where it could roll under the brake pedal, and the seat should adjust through its normal travel without being pinned by cargo behind it. Check the view through the inside mirror; if gear blocks the rear window, both outside mirrors must be correctly aimed and unobstructed. Soft items piled on the dashboard or beside windows can cover airbag deployment zones, whose locations vary by vehicle and are marked on trim panels.
Everyday Use and Observations
The first few miles reveal what the driveway inspection missed. Listen for rattles, thumps, or a shifting sound during turns and braking, which point to items that have settled and loosened. A loaded car needs more distance to stop, leans more in corners, and may feel light at the steering wheel if the weight sits far back. Wind noise or a humming strap from the roof indicates something is moving in the airflow. Stopping after a short distance to retighten straps is a sensible habit.
Think about what will be needed before the campsite. A first aid kit, water, rain jackets, a flashlight, and phone chargers should be reachable without unpacking. The same applies to the spare tire, jack, and wheel wrench; on many vehicles these sit under the cargo floor, beneath everything just loaded, while others carry a sealant kit or mount the spare underneath. Knowing which arrangement the car has decides how the load should be layered. At night, a heavily loaded rear can also raise the headlight aim; some vehicles have a manual leveling control.
Limits and Next Steps
Every vehicle has limits that careful packing cannot change. Payload capacity, roof load rating, and hitch tongue weight are set by the manufacturer and are found in the owner's manual or on the door jamb labels, not estimated from how the car looks. Roof ratings in particular can be lower than drivers expect and must account for the weight of the rack or box itself. If the gear, passengers, and accessories approach those figures, removing items or redistributing them is the only real fix.
Some signs call for more than repacking. A suspension that bottoms out over ordinary bumps, a rear end that sags sharply, tires showing cracks or uneven wear, or a warning light that appears after loading are reasons to have the vehicle inspected by a qualified technician before a long trip. A warning light is evidence to investigate, not a diagnosis on its own. Repeat the walkaround at each fuel stop and before the return drive, since wet tents and repacked gear rarely sit the way they did leaving home.