Choosing a Universal or Aftermarket Brake Proportioning Valve
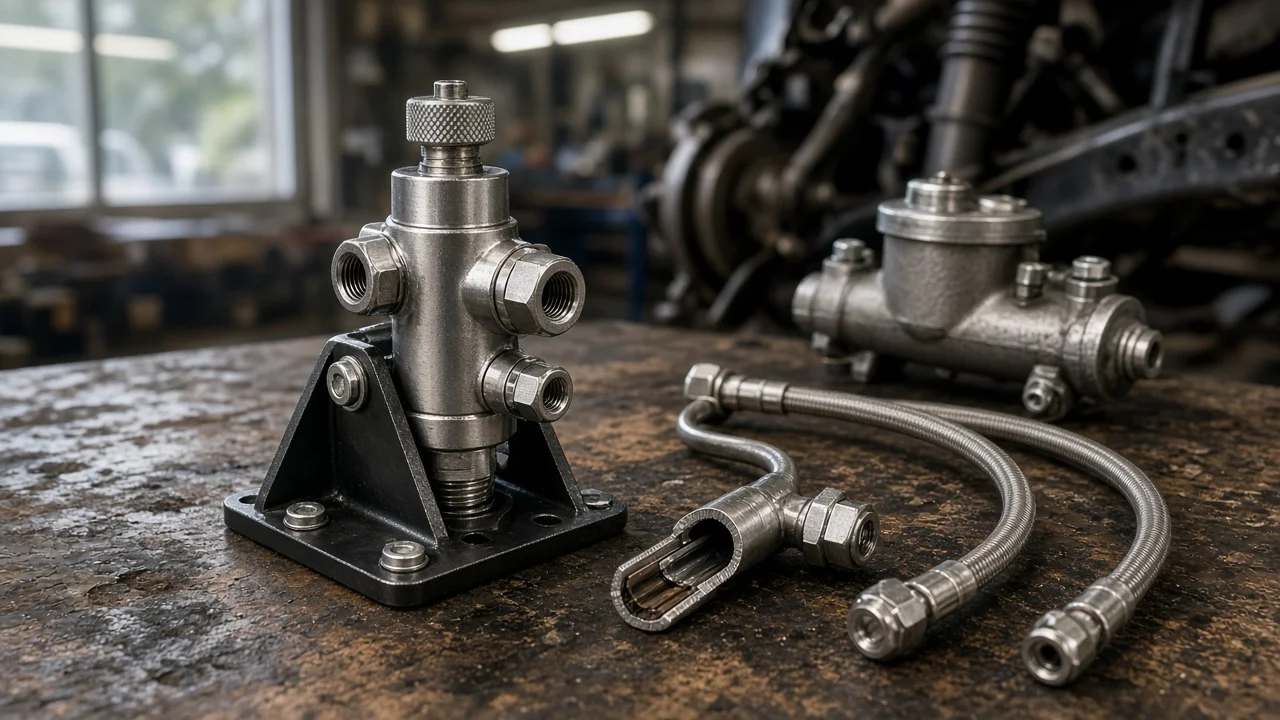
A universal brake proportioning valve lets you tune how much hydraulic pressure reaches the rear brakes. That matters after a disc brake swap, a weight change or a custom build. The wrong aftermarket valve, or a valve added to a system that already balances itself, can make the rear wheels lock early or waste braking ability. This guide explains how to match a valve to your vehicle, which features actually matter, and what ownership involves after installation.
Define the job the valve must do
A proportioning valve controls brake balance, not braking power. When you stop hard, weight shifts toward the front axle and the rear tires lose grip. The valve acts above a set point, often called the knee or split point. Past that point it slows the rise of hydraulic pressure going to the rear brakes, so the rear wheels do not lock before the fronts. Rear-wheel lockup can send a vehicle into a spin. That is why the factory balance is engineered around the original calipers, wheel cylinders, master cylinder, tires and weight distribution.
An aftermarket brake proportioning valve earns its place when those original assumptions no longer hold. Typical cases include converting rear drums to discs, fitting larger front or rear calipers and changing the master cylinder. Building a hot rod or track car with a custom brake setup, or shifting weight distribution significantly, also qualifies. If none of that has changed and the rear end suddenly feels grabby, diagnose the cause before buying parts. Contaminated friction material, mismatched brake pads, a sticking caliper or a failed factory valve can all mimic a balance problem. Some vehicles use ABS with electronic brake force distribution, where the control module manages rear pressure. An added inline valve can conflict with that system, so follow the vehicle's service information before altering the hydraulics.
Check compatibility with your brake system
Start with the circuit layout. Most universal adjustable valves are designed for a front/rear split system, where one master cylinder circuit feeds the front brakes and the other feeds the rear. In that layout the valve goes inline in the rear circuit, between the master cylinder or distribution block and the rear brakes. Diagonally split systems are common on front-wheel-drive cars. They pair each front wheel with the opposite rear wheel, so a single inline valve cannot treat both rear brakes correctly. Also check whether the existing combination valve already contains a proportioning section. Stacking an adjustable valve behind a factory proportioning function makes the balance hard to predict. Many builders therefore replace the combination valve with a distribution block or a unit without proportioning. They keep any pressure differential warning switch the vehicle requires.
Next, match the physical interfaces. Port threads and flare style must agree with your brake lines. Many older domestic vehicles use 3/8-24 threads with inverted double flares, while many imports and newer vehicles use metric fittings with bubble flares, commonly M10x1.0. Double and bubble flares seat differently, and forcing the wrong combination invites leaks. Adapters can bridge a mismatch, but every extra joint is another potential leak point. Ports that match your line ends, or properly made new lines, are the cleaner route. Confirm tube size: 3/16 inch is common on passenger vehicles, though some systems use 1/4 inch line. Note the inlet and outlet markings, because the valve only works when installed in the correct direction. Finally, plan the mounting spot. It needs a rigid bracket, clearance from exhaust heat and suspension travel, and an orientation that lets air bleed out. You also need to reach the adjuster if you plan to change settings.
Do not confuse a proportioning valve with a residual pressure valve or a metering valve. A residual valve holds a small pressure in a line, mainly for drum brakes or a master cylinder mounted below the calipers. A metering valve delays front disc engagement in some disc/drum systems. Each solves a different problem, and a brake conversion may call for one, two or all three functions.
Features that affect the choice
Adjustment style is the most visible difference. Knob-type valves offer fine, incremental changes and suit street cars that are set once and left alone. Lever-type valves allow quicker changes. They are popular in racing, where drivers may adjust bias for wet or dry conditions, but they need secure mounting and clear position markings. Fixed valves with a preset knee point are simpler and cannot be knocked out of adjustment. However, they only work if the preset value suits your hardware. Whichever style you choose, a usable adjustment range matters more than appearance. So does a repeatable way to return to a known setting.
Separate evidence from marketing. Useful specifications include: • published adjustment range or knee point data; • port thread and flare details; • line size and body material; • seal compatibility with your brake fluid type; • clear installation and setup instructions; Glycol-based DOT 3, DOT 4 and DOT 5.1 fluids must not be mixed with silicone-based DOT 5 fluid. Confirm the valve and the rest of the system suit the fluid you use. Labels such as universal fit, race-proven or billet tell you little on their own. Universal only means the part is not tied to one model; it guarantees neither vehicle fitment nor matching fittings. Anodized finishes are cosmetic. A listing that omits thread and flare information is a weaker candidate than one that documents it.
Limitations and ownership costs
Budget for more than the valve. Installation usually needs new or modified brake lines, a flaring tool for the correct flare type, fittings and a mounting bracket. You also need fresh brake fluid for a complete bleed. Setting the balance takes time. Start with minimal rear pressure reduction, then increase the reduction in small steps. Test with controlled stops in a safe, legal location until the front wheels reach lockup slightly before the rears. Pressure gauges fitted at the front and rear bleeders give more repeatable results than feel alone. If you are not comfortable working on brake hydraulics, paying a qualified shop for installation and setup is part of the real cost.
Ownership is mostly inspection and rechecking. Look for seepage at the fittings and the adjuster, and keep fluid changes on the schedule in your service information. Recheck the balance after switching to brake pads with a different friction material, fitting new brake rotors or calipers, or changing tire size. Understand what the valve cannot do. It only reduces rear pressure and cannot add braking force. It will not cure a soft pedal caused by air in the lines or fix pads worn past their wear limits. Nor will it true up damaged rotors, free a seized caliper or compensate for a failing master cylinder. If the brake warning light comes on, the pedal sinks, or the vehicle pulls or locks a wheel unexpectedly, stop driving it. Have the system inspected by a professional.
Build a practical shortlist
Before comparing products, answer a few questions: • Is the system front/rear split or diagonally split? • Does the vehicle have ABS or electronic brake force distribution? • Does an existing combination valve already proportion the rear circuit? • What brake hardware has changed, and do you also need metering or residual pressure? • Which port threads, flare type and line size does the vehicle use? • Where will the valve mount, and will you adjust it often enough to want a lever?
Then check each candidate against the same points: • matching ports and flare type; • documented adjustment range or knee point; • an adjustment style that fits your use; • seal compatibility with your brake fluid; • clear inlet and outlet markings; • mounting hardware and complete instructions; Add the cost of lines, fittings, fluid, tools and any professional setup to the purchase price. Drop candidates that leave critical specifications unstated. Favor the valve that fits your system with the fewest adapters and the clearest setup guidance, not the one with the boldest claims.