Choosing an Inline Brake Proportioning Valve
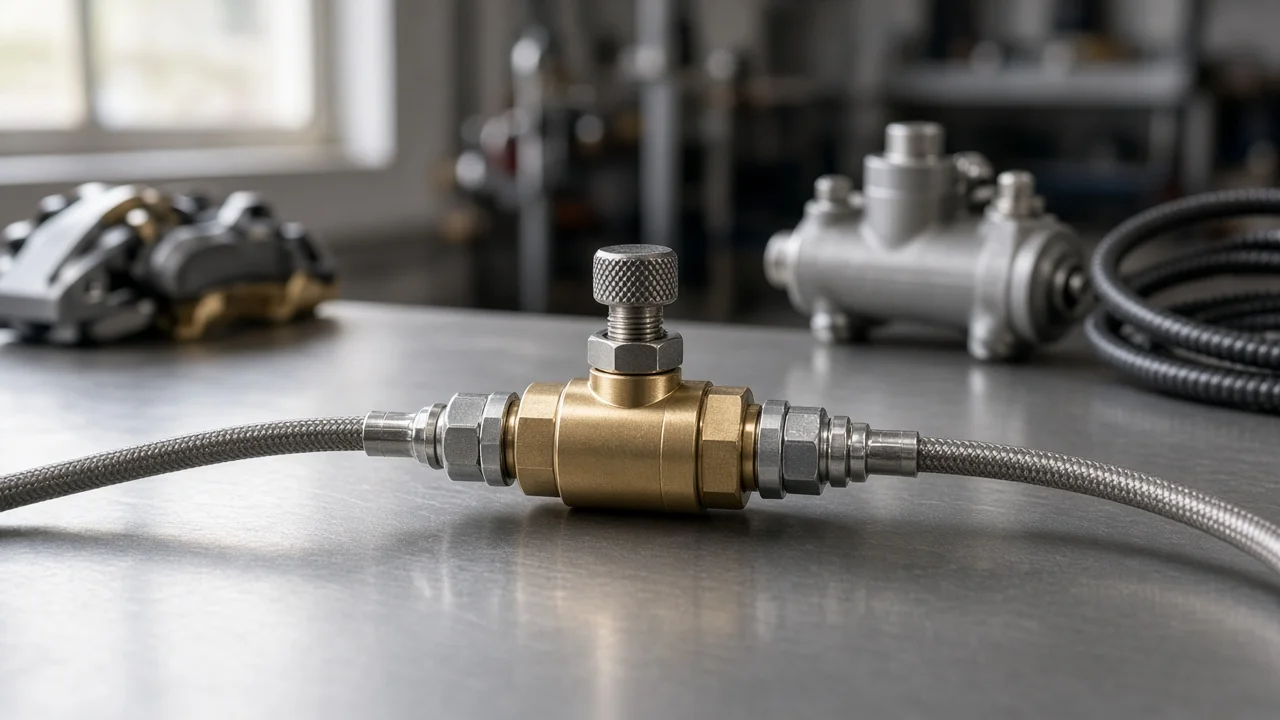
An inline brake proportioning valve reduces hydraulic pressure to the rear brakes relative to the fronts so the rear wheels do not lock first during hard stops. Most people shopping for one are converting rear drums to discs, swapping axles or calipers, building a custom vehicle, or correcting balance after significant weight or tire changes. The right choice depends on your existing hydraulics, line fittings and how much adjustment you genuinely need, not on how aggressive the product listing sounds.
Define the job the product must do
When you brake, weight shifts toward the front axle and the rear tires lose some of their grip. If the rear brakes receive the same pressure as the fronts, they can lock early and make the vehicle unstable. Factory systems manage this with a combination valve, a load-sensing valve on many trucks, or electronic brake force distribution built into the ABS. An aftermarket inline valve exists for cases where that original balance no longer fits the vehicle, usually because the brake hardware, weight distribution or tires have changed.
Before buying, write down what changed and how the vehicle is used. A street car with a rear disc conversion, a truck that regularly tows and a track car have different needs for adjustment range and access. Also ask whether a valve is the right fix at all. On an unmodified vehicle, rear lockup more often points to a fault such as a failed factory valve, contaminated friction material, a sticking caliper or incorrect brake pads. Diagnose those first, because adding a valve would only mask the problem.
Check compatibility
Start with the brake system layout. An inline valve placed in the rear line works on a front-to-rear split system, where one master cylinder circuit feeds the front and the other feeds the rear. Diagonally split systems pair one front wheel with the opposite rear wheel on each circuit, so a single rear-line valve does not suit that design in the same way. Check whether a factory combination or proportioning valve is already present; stacking two proportioning stages can leave the rear underbraked, so follow the valve maker's guidance on removing, replacing or bypassing the original. On vehicles with ABS and electronic brake force distribution, consult vehicle-specific service information before adding any hydraulic component, because it can conflict with how the system controls rear pressure.
Next, match the physical interfaces. Thread size, flare type and line diameter must agree with your existing lines; inverted double flare and bubble flare fittings are not interchangeable even when the threads look similar. Most valves mark the inlet and outlet, and installing one backwards stops it working as intended. Every adapter adds another potential leak point, so a valve with ports that already match is usually preferable. Plan the mounting location as well: an adjustable valve should be reachable, firmly bracketed and kept away from exhaust heat and road debris. Finally, confirm the seals are compatible with the brake fluid type your system uses.
Features that affect the choice
The main decision is fixed versus adjustable. A fixed valve has a preset change point and suits a known, documented combination where the correct rating is specified. An adjustable valve lets you tune rear pressure after installation, which matters for custom builds where nobody has published the right setting. Adjustable designs typically use either a knob or a lever. Knob types allow finer increments, while lever types allow quicker changes and are common where a driver adjusts balance between sessions. A locking feature that keeps the setting from drifting with vibration is worth having on either style.
Separate useful evidence from labels. Helpful information includes clear port specifications, flow direction markings, seal material and fluid compatibility, a description of how the adjustment changes rear pressure, and complete installation and bleeding instructions. Words like race-proven or high-performance, and finishes such as colored anodizing, tell you nothing about how the valve will behave on your vehicle. Also avoid confusing a proportioning valve with a residual pressure valve; the latter holds a small amount of line pressure, is used in certain drum brake setups and installations where the master cylinder sits below the calipers, and does a different job.
Limitations and ownership costs
Installation involves more than the valve itself. Expect to cut or replace brake line, form correct flares with proper tools, refill with fresh brake fluid and bleed the system thoroughly, since valves can trap air. Tuning then requires repeated, controlled stops in a safe, closed area, starting from the setting the instructions recommend and changing it in small steps. If you are not equipped for flaring, bleeding and balance testing, budget for professional labor; incorrect brake work affects everyone on the road.
A proportioning valve only reduces rear pressure relative to its input. It cannot add braking to a rear axle that is already underbraked, and it cannot compensate for worn brake pads, glazed or contaminated friction material, brake rotors below their minimum thickness, a seized caliper, air in the lines or a mismatched master cylinder. Check pads and rotors against the manufacturer's wear limits before tuning, or you will set the valve around a fault. If the pedal feels soft, a warning light comes on, the vehicle pulls or fluid is leaking, stop using it and have the brakes inspected professionally.
Ongoing costs are modest but real. Inspect the fittings for seepage, confirm the adjuster has not moved, and replace brake fluid at the interval in your service information. Recheck balance after changing pads, rotors, tires, ride height or typical load, because any of those can shift where rear lockup begins.
Build a practical shortlist
Narrow the options with a short checklist rather than a ranking. First, confirm that a valve is needed and that the symptom is not caused by a worn or failing component. Second, confirm the system is front-to-rear split, note any factory valve and check ABS or electronic brake force distribution constraints. Third, record line diameter, thread size and flare type so the ports match without a chain of adapters. Fourth, decide between fixed and adjustable, and between knob and lever, based on how often you will change the setting and where the valve can be mounted. Fifth, choose fluid-compatible seals and a locking adjuster.
Then compare the remaining candidates on documentation. Favor the one with clear port markings, specified adjustment behavior and complete bleeding and setup instructions, and include brake line, fittings, fluid, a mounting bracket and possible labor in the total cost. If two options meet every requirement, the one that is easier to reach and adjust given your specific vehicle fitment is usually the better buy.