Transfer Case Replacement Cost: What Shapes the Final Price
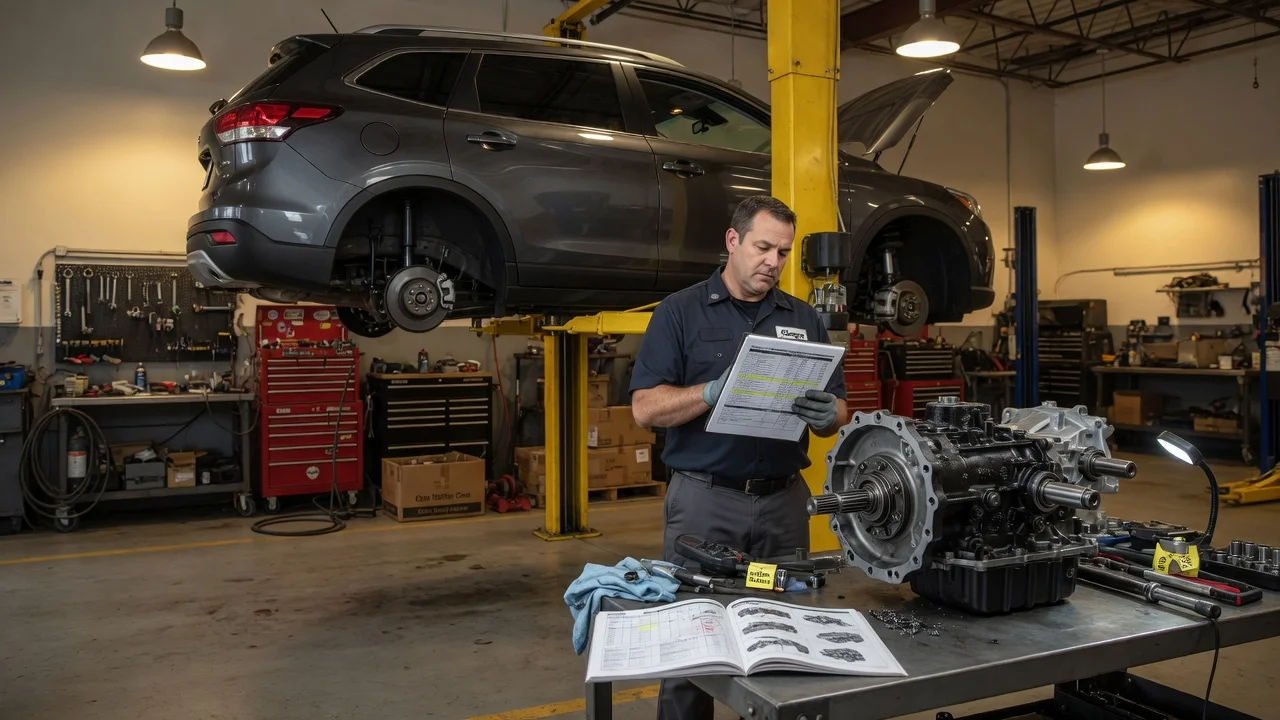
The cost to replace a transfer case depends less on a single sticker price and more on what the job actually includes. One quote may cover only the unit, another the unit plus installation, and a third a complete repair with fluid, seals and related parts. This guide explains how to tell those apart, what moves the total for your vehicle configuration, and how to compare offers so the number you approve matches the work your vehicle needs.
What the estimate includes
On four-wheel-drive and many all-wheel-drive vehicles, the transfer case sits behind the transmission and splits power between the front and rear axles. Replacing it means removing the existing assembly and installing a new, remanufactured or used unit in its place. A complete estimate usually brings together the replacement unit, the labor to remove and install it, the correct fluid, any seals or hardware that should not be reused, and whatever programming or calibration the vehicle requires afterward. Diagnosis may be listed as a separate line or folded into the repair total, so ask which applies.
Many figures you see while researching transfer case replacement cost are partial. A parts-only price leaves out labor, fluid and shipping. A labor-only quote assumes you supply a correct, working unit and may exclude any warranty on the part. A remanufactured unit often carries a core charge that is refunded only when the old case is returned in acceptable condition. Before comparing numbers, confirm whether each one is a full out-the-door total or only one piece of the job.
What changes the cost
Vehicle configuration is the starting point. The same model can use different transfer cases depending on year, engine, transmission, drivetrain type, part-time or full-time four-wheel drive, and whether the system shifts with a manual lever or an electronic switch. These differences mean different part numbers, so the correct unit should be matched by VIN or by the identification tag on the existing case rather than by appearance. A unit that bolts up but has the wrong gear ratio, output configuration or control logic can create drivability problems and further expense.
The parts source changes the total as well. New units from the vehicle manufacturer, remanufactured assemblies, locally rebuilt cases and used salvage units sit at different price levels and carry different warranty terms. Labor varies with access: on some vehicles the case comes out with little disassembly, while others require removing skid plates, exhaust sections, crossmembers or driveshafts first. Shop labor rates also differ by region and by shop type, so a dealer and an independent shop may quote the same book time at different rates.
Scope is the third factor. A failed case can be accompanied by worn output seals, a leaking transmission tail seal, damaged driveshaft yokes or U-joints, a faulty shift motor or encoder, or wiring issues. Some vehicles need a control module relearn or setup after installation. If the original failure came from low fluid, the wrong fluid or mismatched tire sizes, that cause should be addressed too, or the replacement may be exposed to the same conditions.
Compare like-for-like options
Replacement is not the only path. When inspection isolates an external problem such as a leaking seal or a failed shift actuator, repairing that component may resolve the fault without replacing the whole case. Internal wear, such as a stretched chain or damaged bearings, can be handled by a rebuild or by swapping in a complete unit. Compare these options only on equivalent scope: a seal replacement and a full replacement solve different problems, and a lower number is not a saving if it leaves the actual fault in place.
Warranty terms matter as much as price. Check the length and mileage limits, whether coverage is parts only or parts and labor, who honors the claim, and whether it requires a specific fluid or return of the old core. A used unit is usually the least expensive option up front, but its service history and previous operating conditions are generally unknown, and coverage may be short or limited to the part itself.
Finally, line up the associated work. If one shop includes fluid, seals and programming while another lists only the unit and labor, the cheaper-looking quote may end up costing more once those items are added. Ask each shop to quote the same scope so the totals are genuinely comparable.
Read an itemized quote
A useful quote names the replacement unit by part number and states whether it is new, remanufactured, rebuilt or used. It should show the core charge and its refund conditions, labor hours and the hourly rate, the fluid type and quantity, any seals, gaskets or hardware, programming or calibration if required, and separate lines for shop supplies, disposal fees and taxes. The fluid should match the manufacturer specifications for your transfer case, since different units call for different fluids.
Look just as carefully at what the quote leaves out. Common exclusions include additional damage found during removal, driveshaft or U-joint work, electrical diagnosis of switches and modules, towing and rental vehicles. Ask how the shop will handle unexpected findings and request that any extra charges be explained and approved before the work continues. Written authorization protects both sides and makes the final cost of transfer case replacement easier to reconcile against the original estimate.
Decide the next step
Start by confirming the diagnosis. Noise, binding in turns, failure to engage four-wheel drive, fluid leaks and warning lights can point to the transfer case, but similar symptoms can come from tires, driveshafts, wheel bearings, axles or the transmission. A proper inspection, including a fluid check and a scan for stored codes where applicable, should establish that the case itself is at fault before you pay for replacing it. Have your VIN and service history ready so the shop can identify the correct unit and see past fluid service.
Then request written, itemized quotes on the same scope from more than one shop, and compare warranty terms alongside the totals. Avoid shortcuts that tend to cost more later: buying a unit matched only by appearance, installing a used case with no return option, substituting a fluid that does not meet the specification, or skipping the root cause of the original failure. After installation, follow the maintenance schedule in your owner's manual for transfer case fluid, using the interval that fits your operating conditions, such as towing or off-road use.