PV2 Brake Proportioning Valve: Identification and Fitment
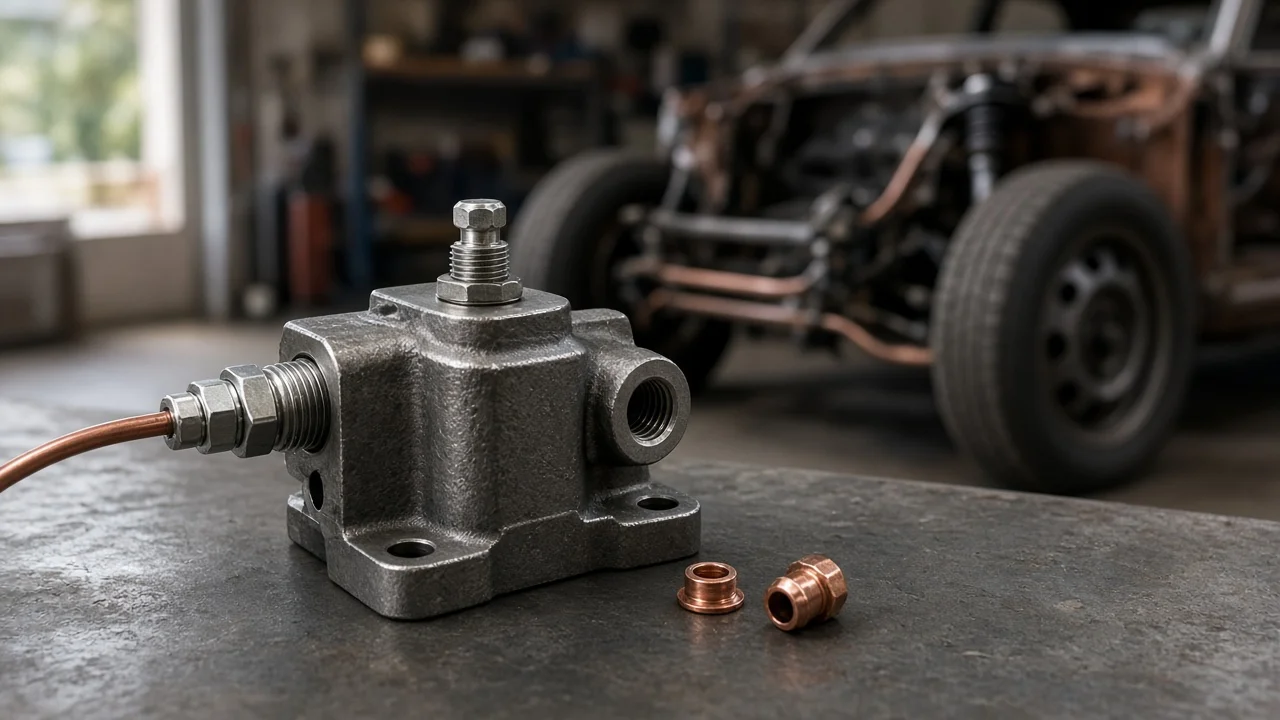
A PV2 brake proportioning valve is a GM-style combination valve sold mainly for brake systems with front discs and rear drums. It is often used when converting an older vehicle from drums to disc brakes. The valve controls how hydraulic pressure is shared between the front and rear brakes, so correct identification and fitment matter. The wrong valve, or the right valve installed incorrectly, can cause rear wheel lockup, longer stopping distances or uneven brake pad and shoe wear.
What a PV2 valve is and when it fits
In most aftermarket listings, PV2 refers to a combination valve designed for a disc/drum layout. It usually combines three functions: a proportioning section for the rear circuit, a pressure differential switch for the brake warning light and, in many versions, a metering section for the front discs. It is commonly chosen for older GM vehicles and for conversions that add front calipers and brake rotors to a car or truck that originally had drums at all four corners.
A PV2 fits only when the vehicle's brake system matches its design. That means front discs, rear drums, a dual master cylinder suited to disc/drum use, and brake lines that can be routed to the valve's ports. It is not a universal part. The PV2 name also does not guarantee the same internals, port threads or bracket shape from every supplier, so confirm vehicle fitment and the details of the specific unit before you buy.
How a combination valve manages brake pressure
Front discs and rear drums respond differently. Drum shoes must overcome return spring tension before they touch the drum, while disc pads sit close to the rotor and act almost immediately. A metering section, where fitted, briefly holds back front pressure at low pedal effort so the rear shoes can engage, which helps balance light stops. The proportioning section works at higher effort. Above a set point, it limits how quickly rear pressure rises. This is needed because weight shifts forward under hard braking, and the lightly loaded rear wheels would otherwise lock first.
The pressure differential switch sits between the front and rear circuits. When the two pressures are equal, an internal piston stays centered. If one circuit loses pressure, for example from a leaking line or caliper, the piston moves and closes a contact that turns on the dashboard brake warning light. In a typical combination valve these settings are fixed internally and cannot be adjusted by the owner. If rear bias needs tuning, that is done with a separate adjustable proportioning valve.
Factors that change whether a PV2 is correct
Brake layout matters most. A vehicle with discs at all four wheels needs a valve calibrated for disc/disc use, because rear calipers do not need the front hold-off a drum system relies on, and their rear proportioning needs are different. Vehicle weight and weight distribution also matter. A heavy truck, a light car, or a vehicle with a different engine, tire size or ride height may need a different rear bias than the valve provides. Many later vehicles handle proportioning another way: inside the master cylinder, with a load-sensing valve, or electronically through the ABS unit. A PV2 is not a substitute in those systems.
The master cylinder must also suit the valve. Disc/drum master cylinders usually differ from drum/drum units in bore size, reservoir volume and residual pressure arrangement, and a residual pressure valve meant for drums can make disc brakes drag. The valve's port threads and flare type must match your brake lines and fittings; otherwise, use only adapters rated for brake systems. Finally, check whether the specific unit includes a metering section, since some disc/drum combination valves have one and others only proportion and warn.
Identifying and installing the valve: owner checks
Start by identifying the valve already on the vehicle. Look for stamped markings or a tag on the valve body and count the ports. Note which line comes from each master cylinder outlet and which lines go to the front and rear circuits. A typical combination valve has inlets from the master cylinder, one or more front outlets, a rear outlet and a threaded warning switch on the side. Before removing anything, compare these features, the mounting bracket and the switch connector with the replacement, and photograph the line routing.
When installing, follow the port labels on the valve and the supplier's orientation instructions; swapping the front and rear circuits defeats the valve. Use fresh brake fluid of the type specified for the vehicle, and do not mix incompatible fluid types. If you pressure bleed the system, many metering valves need the stem held in or otherwise opened so fluid reaches the front calipers. Manual bleeding usually does not require this. After bleeding, the warning switch piston may need to recenter, using a firm pedal application or the procedure in the service information.
Road test cautiously in a safe, empty area. Watch for the rear wheels locking before the fronts, pulling to one side, a low or spongy pedal, or a warning light that stays on. Also inspect the friction material on pads and shoes and check rotors and drums against their wear limits, because worn or contaminated parts can mimic a valve problem.
Limits of this guide and when to get help
Valve calibration, port threads and suitability vary by supplier and by vehicle, so this article cannot confirm that a particular PV2 matches your car or truck. Use vehicle-specific service information, the parts supplier's fitment data and the original equipment layout as your reference. If the vehicle has ABS, electronic brake force distribution or a factory load-sensing valve, follow the service procedures before changing any hydraulic component.
Stop driving and arrange professional service if the brake warning light comes on, the pedal sinks, fluid is leaking, or the rear wheels lock during normal stops. A brake shop can measure pressure in each circuit, confirm the master cylinder and valve combination, and inspect calipers, pads and lines. If you are unsure about fitment, the safest next step is a professionally installed valve verified with a road test.