Kohler 25 hp Engine Oil Leak: Where It Usually Comes From and How to Narrow It Down
The short answer
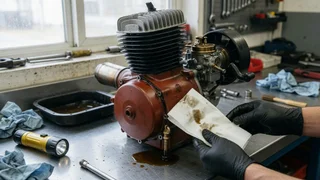
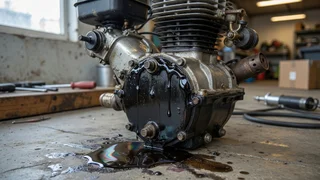
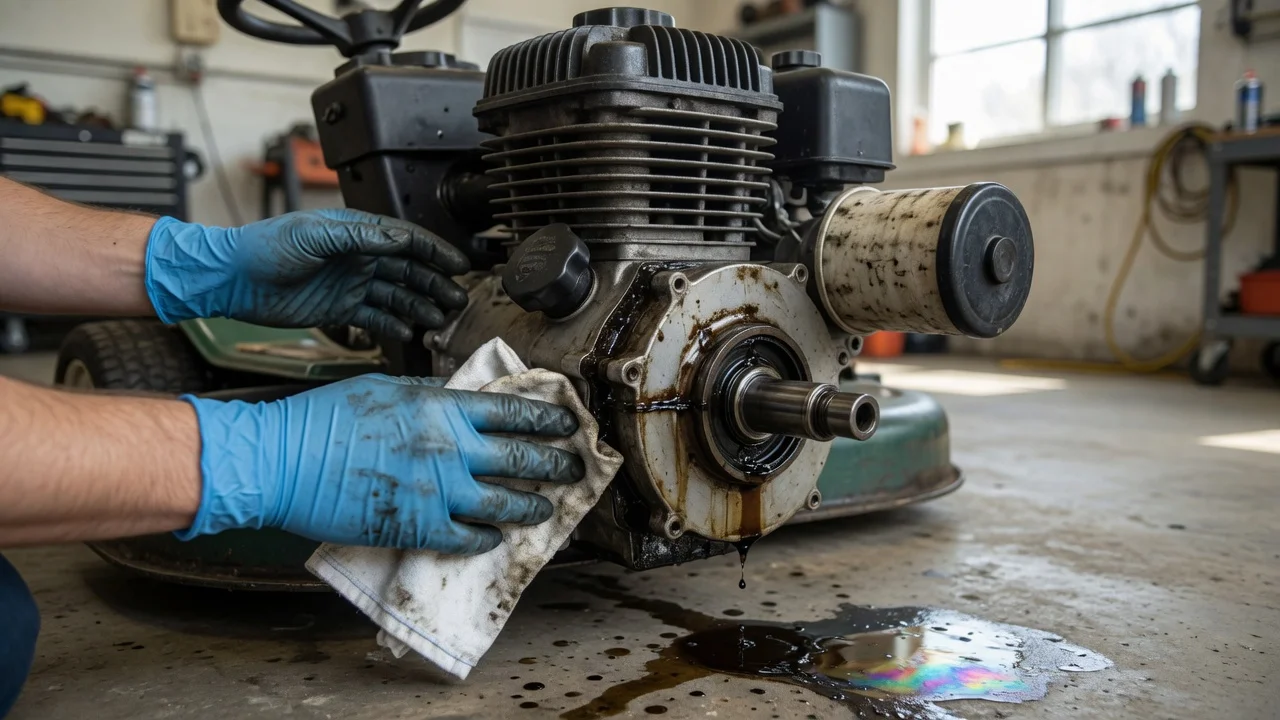
Oil leaking from a Kohler 25 hp engine almost always comes from one of a few places: a gasket between two engine parts, a shaft seal, the oil filter and drain area, or the crankcase breather pushing oil out. Overfilling the crankcase can make any of these worse. The fix depends on which point is wet first, so the useful step is to clean the engine, run it briefly, and see where fresh oil appears before replacing anything.
No model-specific service data or failure statistics were supplied for this guide. The sources below are typical leak points on small air-cooled engines of this type, not a confirmed ranking for any particular Kohler model. Torque values, gasket part numbers and oil capacity for your engine come from the Kohler service manual for your exact model.
Why the exact engine matters
"Kohler 25 hp" describes a power rating, not a single engine. Kohler has used that rating across more than one engine family and configuration, including twin-cylinder designs with either a vertical crankshaft (common on riding mowers and zero-turn mowers) or a horizontal crankshaft (common on some tractors and equipment). Gasket layout, breather location, filter mounting and whether an oil cooler is fitted can all differ between them.
Before buying parts, record the model, specification and serial numbers from the engine's identification decal, usually found on the blower housing or a valve cover. Those numbers, not the horsepower figure, determine which gaskets, seals and procedures apply.
Common leak sources to check
Location | What you may see | Notes; Valve covers (rocker covers) | Oil seeping around the cover edges on top of each cylinder | Gaskets or sealant can harden or loosen over time; uneven or overtightened bolts can also cause seepage; Crankcase breather | Oil inside the air filter housing, oily air filter, or oil around the breather cover | Often a ventilation or overfill problem rather than a failed gasket; Oil filter and its mounting | Oil around the filter base or dripping below it | Check for a loose filter, a doubled or missing old gasket, or a damaged filter adapter seal; Drain plug or drain valve | Drips at the lowest point of the oil pan | Check tightness and the condition of any washer or seal; Oil pan or closure plate gasket | Oil along the joint between the main block and the pan or cover | Usually requires more disassembly to repair; Crankshaft seals | Oil around the output shaft, or slung outward near the flywheel or PTO (power take-off) end | Worn seals or a damaged shaft surface can leak; Oil pressure switch or sender, if fitted | Wetness around a small threaded sensor on the block | Not all versions have one; Oil cooler and lines, if fitted | Oil on or near the cooler fins or hose connections | Applies only to versions equipped with a cooler
Oil in the air filter: leak or breather problem?
Oil appearing in the air cleaner housing is often mistaken for an external leak. On these engines, the crankcase breather vents pressure from inside the crankcase back into the intake. If the crankcase is overfilled, the breather valve or filter is faulty, or internal wear is letting combustion gases past the piston rings (blow-by), oil mist or liquid oil can be pushed into the intake and air filter. Correcting the oil level and inspecting the breather comes before replacing gaskets in this case. Persistent heavy oil in the intake despite a correct oil level points toward internal wear and may call for a compression or leak-down test.
A practical way to find the source
1) Check the oil level on the dipstick with the equipment on level ground and compare it to the full mark. Drain to the correct level if overfilled. 2) Confirm the fluid is engine oil and not fuel or hydraulic fluid. Fuel smells like gasoline and evaporates; hydrostatic transmission fluid on mowers can leak nearby and be confused with engine oil. 3) Clean the engine with a degreaser, paying attention to cooling fins and the area under the blower housing. Let it dry fully. 4) Run the engine briefly, then shut it off and inspect. Fresh oil is easiest to trace at the highest wet point, since oil runs downward and is spread by cooling airflow. 5) Inspect the air filter and breather area for oil. 6) Once the source is identified, replace the specific gasket, seal or filter and tighten fasteners to the specification in the service manual for your model.
When to stop and get help
A small seep from a valve cover or filter is usually a routine repair. A leak that drops the oil level noticeably between checks, oil on hot exhaust parts, blue smoke, or a low oil pressure warning are reasons to stop running the engine until it is inspected, since running low on oil can damage the engine and oil on hot surfaces is a fire risk. Repairs to the oil pan, closure plate or crankshaft seals involve more disassembly and are reasonable to hand to a small-engine technician if you are unsure of the procedure.