JL Audio Car Amplifiers: What They Fix, What They Don't and How to Choose
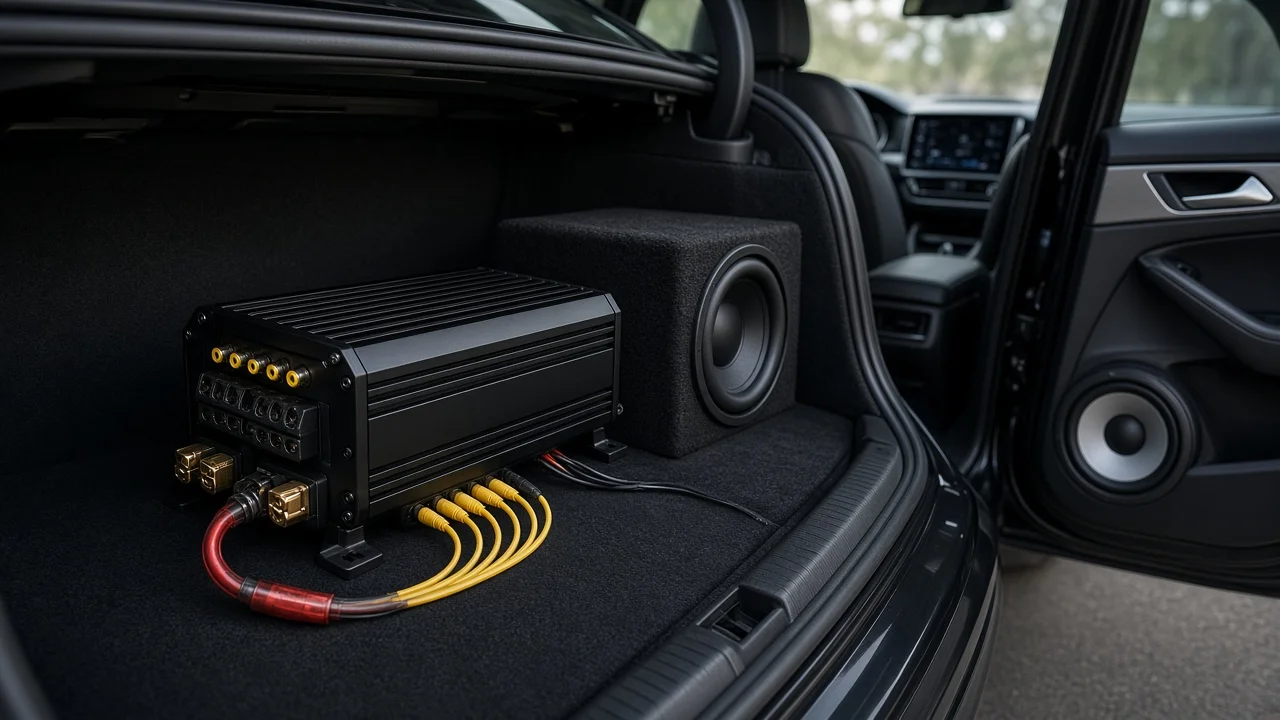
A JL Audio car amplifier makes sense when you want more clean power for your speakers or a subwoofer than your head unit can deliver. It does not fix every audio complaint. Before you buy, it helps to know what an amplifier actually changes, how it fits your vehicle's electrical system and factory electronics, and which problems belong to the radio, the wiring or the speakers instead.
Is a JL Audio amplifier worth it for your car?
JL Audio is an American car audio brand best known for subwoofers and amplifiers aimed at owners who value low distortion, solid build quality and predictable tuning. One of its amplifiers is a sensible upgrade in three situations: your speakers can handle more power than the head unit provides, you are adding a subwoofer, or you are building a sound quality (SQ) system where accuracy matters more than raw volume. These amplifiers generally cost more than budget brands. A cheap car audio amplifier can still get loud, but advertised power, real output and noise behavior vary much more in that segment, so the savings are not always what they seem.
The important qualification is that an amplifier only strengthens the signal it receives. It will not improve FM reception, revive a damaged speaker or cure a poor ground connection. If your complaint is static, dropouts, distortion at low volume or a single silent speaker, find that fault first. Otherwise, a new amplifier may simply make the existing problem louder.
How a car amplifier fits into the audio chain
Every car audio system follows the same path. The audio source, whether the radio tuner, a phone over Bluetooth, USB or a streaming app, feeds the head unit. The head unit sends either a low-level preamp signal through RCA outputs or a speaker-level signal to the amplifier. The amplifier draws current from the battery through a dedicated power cable, increases the signal and drives the speakers through the speaker wiring. Each link can fail on its own, which is why diagnosis matters before spending money.
Two adjustments shape the result. The gain control matches the amplifier's input sensitivity to the head unit's output level; it is not a volume knob. Setting it too high causes clipping, which sounds harsh and can damage speakers. Crossovers decide which frequencies reach which speaker, sending deep bass to a subwoofer and keeping it out of small door speakers. JL Audio amplifiers typically provide adjustable crossovers, and some models add built-in digital signal processing for equalization and time alignment. Check the specifications of the exact model you are considering.
Vehicle integration and electrical compatibility
Vehicle integration is often the deciding factor. Many modern cars use an infotainment screen that cannot be replaced without losing climate, camera or vehicle settings. In those cars, the only available signal may be speaker-level, and some factory systems already include their own amplifier that applies equalization or changes the tone as volume rises. You then need either a line output converter or an amplifier that accepts speaker-level inputs. Several JL Audio models offer high-level inputs and automatic turn-on sensing, but confirm this for the model you choose. Also confirm where to tap the signal: connecting after a factory amplifier versus before it changes the sound quality you get.
On the electrical side, the amplifier's current draw has to suit your charging system. Size the power cable for the amplifier's fuse rating and the length of the run, place an inline fuse close to the battery, and ground the amplifier to clean, bare chassis metal. Keep power cables away from RCA signal cables to reduce alternator whine. Many newer vehicles have a battery monitoring sensor on the negative terminal, and grounding the amplifier directly to that post can bypass the sensor and confuse the charging system. Finally, the speaker or subwoofer load must stay within the impedance the amplifier is rated to drive. The way you wire subwoofer voice coils changes that load.
Situations that change the recommendation
The right JL Audio car audio amplifier depends on what you are powering. Adding a subwoofer usually calls for a mono amplifier. Upgrading door and dash speakers calls for a two- or four-channel unit. A complete system can use a five-channel amplifier or separate units. An SQ build benefits most from onboard processing or a separate DSP, because correcting the cabin's acoustics matters as much as power. Car audio amplifier price follows the same factors: channel count, power output, processing features and build quality. Mounting space and airflow also limit which size will work.
There are exceptions. If volume is already sufficient but the sound is harsh or thin, the speakers or the tuning may be the real limit, and more power will not help. In vehicles with a premium factory system and its own amplifier, the integration hardware and labor can cost as much as the amplifier itself. That is worth knowing before you set a budget.
Diagnose the real problem before you buy
Start by separating reception and source faults. If the radio hisses, fades or drops stations but Bluetooth and USB play cleanly, the issue is signal reception: the antenna, its cable, a loose connector or the tuner. An amplifier cannot improve that. If one source sounds distorted while the others are fine, look at that source's settings, the phone's volume and equalizer, or the file quality before blaming the system.
Next, check the wiring and speakers. Noise that rises and falls with engine speed usually points to a ground or power issue. A speaker that cuts in and out over bumps suggests a loose connection or a damaged wire in a door hinge boot. A speaker that rattles or buzzes at every volume level is likely damaged itself. Weak bass with otherwise normal sound often means one speaker is wired with reversed polarity. Fixing these faults first gives any new amplifier a clean foundation to work with.
Practical steps for choosing and installing
Write down what you have: each speaker's impedance and power handling, whether the head unit offers RCA preamp outputs, and whether a factory amplifier is present. Decide which speakers the new amplifier will drive, then pick a channel count and power level that match their ratings rather than chasing the largest number. Choose a mounting spot with airflow, such as under a seat or on a trunk panel, and plan cable routes that avoid airbags, seat rails and sharp metal edges. Set the gain carefully, ideally with test tones and a multimeter or an oscilloscope, rather than turning it up until it sounds loud.
After installation, confirm the basics. There should be no hum with the engine running. Every channel should play. The amplifier should not get too hot to touch or switch into protection mode during normal listening. Bass should stay full when you sit in the driver's seat. If the amplifier shuts off at high volume, check the power and ground connections and the speaker load before suspecting the amplifier.
Limitations and when to get professional help
General guidance cannot tell you the exact amplifier model, power figure or total cost for your car. That depends on the vehicle's factory audio layout, its wiring and the amplifier's published specifications, so check the manufacturer's documentation and a wiring diagram for your exact model and trim. A professional installer is the better choice when the infotainment is integrated with vehicle functions, a factory amplifier or data-bus audio system is involved, panels around airbags must come off, or you are concerned about warranty coverage. As a next step, identify your head unit outputs, list your speakers and their ratings, and decide whether your goal is more bass, more clean volume or better accuracy. Those answers narrow the choice quickly.