Jeep Liberty Transfer Case Linkage Bushing Identification
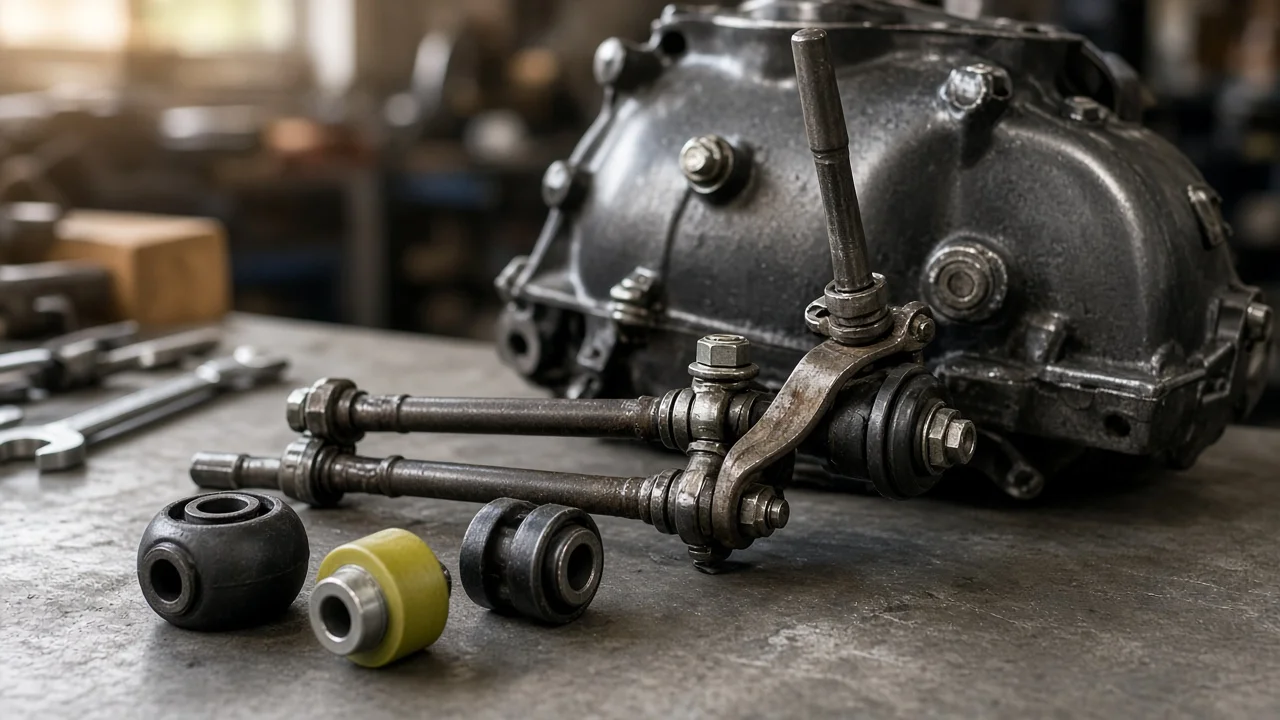
When the transfer case lever on a Jeep Liberty suddenly feels loose, will not select four-wheel drive, or moves without changing the dash indicator, a worn linkage bushing is one of the first parts worth checking. This guide explains how to find and identify that bushing on your own vehicle, what decides which replacement fits, and how to inspect the joint safely without relying on guessed dimensions or part numbers.
Which bushing you are looking for
On a four-wheel-drive Liberty with a floor-mounted transfer case lever, the linkage bushing is the small plastic or polymer insert that holds the end of the shift rod in the eye of a lever. The most common failure point is where the rod attaches to the shift lever on the side of the transfer case, although a bushing can also sit at the shifter end near the cabin. When the insert cracks, wears oval or drops out, the rod loses positive contact. The lever in the cabin goes sloppy, and the transfer case may stop short of the range you selected or not move at all.
Correct identification depends on the exact vehicle configuration: model year, generation, drive system and the transfer case actually installed. A two-wheel-drive Liberty has no transfer case, so it has no such linkage. On a 4WD model, the dependable approach is to look the part up by the vehicle identification number or the transfer case identification tag, then compare the old bushing physically with the replacement instead of trusting a generic description.
How the shift linkage works
The transfer case lever beside the driver pivots on a bracket and pushes or pulls a rod that runs underneath the vehicle to a lever on the transfer case housing. That outer lever turns a shaft entering the case, which moves the internal parts that select the drive range. The bushings at each end let the rod pivot as the lever angle changes while keeping the joint free of play. Depending on the design, the bushing snaps into the lever eye and grips the rod end, or a clip holds the rod in place through the bushing.
Because the bushing is the softest part of the joint, it takes the wear. Heat from the exhaust and transmission, road salt, dirt, age and repeated shifting harden and crack the material. A small amount of play at the joint is magnified at the top of the lever, so the shifter can feel vague long before the rod actually separates. Once the rod is fully detached, the transfer case stays wherever it was last positioned, which may be a drive range or neutral.
What changes the answer
Generation matters first. The first-generation Liberty (KJ, roughly 2002 to 2007) and the second generation (KK, roughly 2008 to 2012) use different transfer cases, and their brackets and linkage hardware may differ as well, so a bushing listed for one is not automatically correct for the other. Within a generation, the part-time Command-Trac and full-time Selec-Trac systems can also differ in lever shape and rod routing. The tag on the transfer case housing, read together with the VIN, settles which unit is fitted.
Service history can change the answer too. A previous owner or shop may have replaced the original insert with an aftermarket bushing, a piece from a universal assortment, a metal repair bushing, or even a bolt and nut through the lever eye. Transfer case swaps, lift kits and other driveline changes can alter rod length and angle. In those cases the part on the vehicle may not match the factory catalog, so measuring the lever eye and rod end matters as much as knowing the model year.
Operating conditions affect how quickly the bushing wears and what else may be damaged. Frequent off-road use, regular low-range shifting, deep water, mud and cold climates all shorten its life. If the joint ran loose for a long time, the lever eye may be elongated or the rod bent, and a new bushing alone will not restore a tight, accurate shift.
Inspecting and identifying the bushing yourself
Safety comes first. Park on level ground, set the parking brake and chock the wheels. Remember that if the linkage is disconnected or the transfer case is in neutral, putting the transmission in Park does not hold the vehicle, because neutral in the transfer case disconnects the transmission from the axles. If you need to raise the vehicle for access, support it on properly rated jack stands, never on a jack alone.
For the inspection, have a helper move the cabin lever slowly through each position while you watch the joint at the transfer case. Look for a visible gap between the rod and the lever eye, a rod end that moves before the transfer case lever does, a cracked or missing insert, or a missing retaining clip. Check the shifter end for the same signs. Note related symptoms as well: an indicator that does not change, lever positions that no longer line up with their markings, or a case that stays in four-wheel drive.
To identify the replacement, remove the old bushing or its remains and note its shape, such as a flanged grommet, a two-piece insert or a snap-in design with a retaining lip. Measure the inside diameter of the lever eye, the thickness of the lever and the diameter of the rod end, ideally with calipers, and photograph the joint before disassembly. Order by VIN or transfer case tag, then confirm the new part matches those measurements before installing it. After installation, verify that each lever position matches the transfer case position and adjust the linkage only according to the factory procedure for your vehicle.
Limitations and next step
This guide cannot give exact dimensions, part numbers or torque values, because those depend on the vehicle configuration and on the replacement part supplier. Manufacturer specifications and the linkage adjustment procedure come from the factory service information for your model year and drivetrain. There is also no universal maintenance schedule interval for this bushing; inspect it when shifting symptoms appear or whenever the vehicle is raised for other underbody work.
Seek professional help if the transfer case still does not engage correctly after a new bushing and proper adjustment, if you hear grinding during shifts, if fluid is leaking around the shift shaft, or if the lever is jammed. Those signs point beyond the bushing to the shift shaft seal or internal transfer case parts. A shop is also the right choice if you cannot support the vehicle safely, and a technician can quickly confirm whether the fault lies in the linkage or inside the case.