How to Replace a Transmission Valve Body Assembly
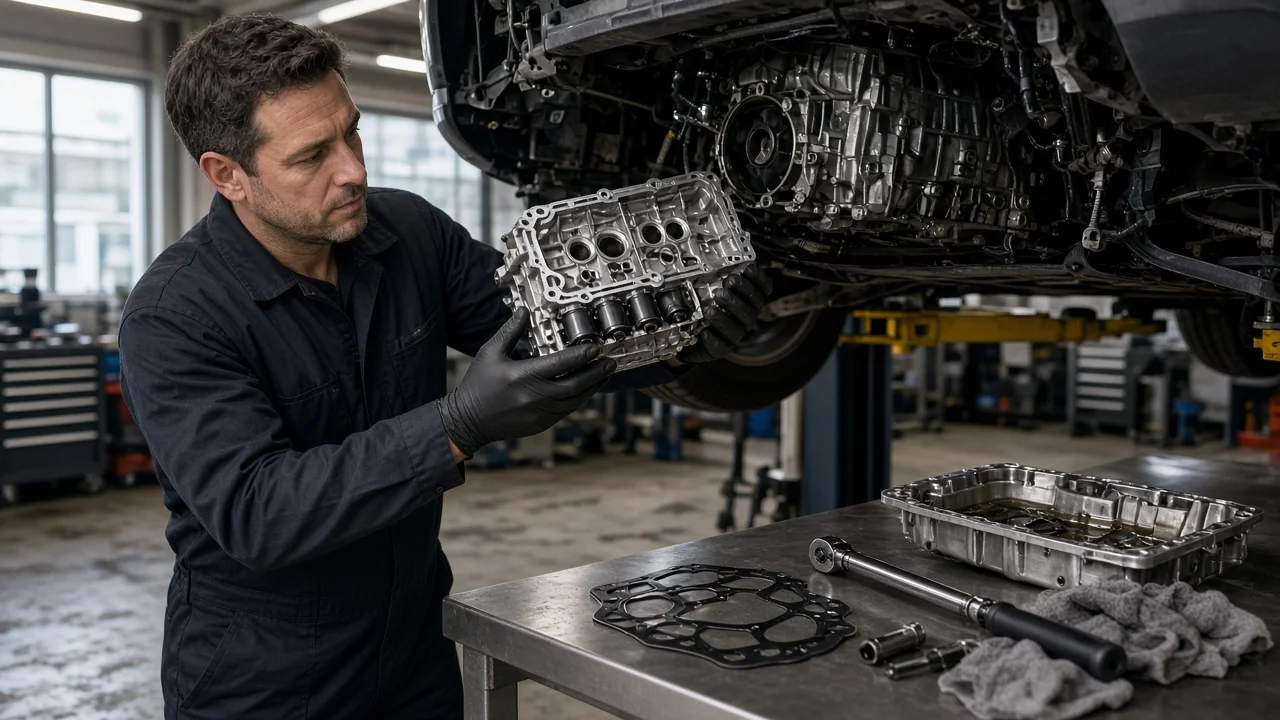
The valve body in an automatic transmission routes pressurized fluid to the clutches and bands that select each gear. When a valve sticks, a bore wears or a solenoid fails, shift behavior suffers. Replacing it is one of the more involved jobs an owner can attempt, and the procedure depends on the transmission type, the vehicle configuration and the manufacturer's service information. This guide covers confirming the repair is justified, preparing, removing, installing and checking the result.
Confirm the part and repair scope
Harsh or delayed shifts, flare between gears, slipping, a stuck gear or limp mode can all point toward the valve body. The same symptoms can also come from low or degraded fluid, damaged wiring or connectors, outdated control module software, worn internal clutches or a failing torque converter. Diagnostic codes for pressure control, shift solenoid circuits or gear ratio errors show where to look, but they do not confirm that the valve body itself has failed. Start by checking fluid level and condition, reading stored codes and live data with a scan tool, and inspecting the harness and connectors. Review the service history for past fluid changes, software updates and any technical service bulletins that apply to your transmission. Where the case has pressure test ports, a line pressure test is a useful way to separate hydraulic problems from electrical ones.
Fitment matters as much as diagnosis. Valve bodies differ between transmission models, production changes, engine pairings and drivetrain layouts, so match the replacement by the transmission identification tag, the original part number or a VIN-based parts lookup. Some assemblies are supplied with solenoids installed and some without. Certain designs combine the valve body, solenoids and control electronics into one mechatronic unit that must be coded or programmed to the vehicle. Weigh the repair options honestly: a single faulty solenoid may be replaceable on its own, while heavy friction material or metal in the pan suggests internal wear that a new valve body will not fix.
Prepare tools and safe access
Obtain the service information for your exact vehicle and transmission before starting. You need the bolt locations and lengths, the torque values and tightening sequence, the correct fluid specification, the fill and level-check procedure, and any programming or adaptation steps. Typical equipment includes a lift or sturdy jack stands on level ground, wheel chocks, a large drain pan, a torque wrench that reads accurately at low values, a scan tool able to display transmission fluid temperature and run relearn functions, a new pan gasket or seal, a new filter if one is fitted, and enough of the specified fluid. Lint-free rags and a clean work surface are essential, because small particles can jam valves in their bores.
Never work under a vehicle supported only by a jack, and let the transmission cool before draining, since hot fluid can cause burns. Disconnect the battery if the service information calls for it before unplugging electronic components. This job is not a good fit for an inexperienced owner when the valve body can only be reached by removing the transmission or a side cover that requires partial disassembly, when the replacement unit needs dealer-level programming you cannot perform, or when the diagnosis is still uncertain. In those cases a transmission specialist is usually the more economical choice.
Remove without avoidable damage
Drain the fluid and remove the pan, then inspect what collected in it. A light film of fine material on the magnet is common in many units, while larger metal fragments or pieces of clutch lining indicate internal damage that should be addressed before investing in a valve body. Remove the filter if it blocks access. Photograph the harness routing and connector positions, and label each connector before unplugging it. Disconnect the manual valve from the selector or detent linkage as your design requires; on some units an internal harness or a pass-through connector sleeve must also come out.
Valve body bolts usually differ in length, so keep them organized in the order and position they came from. Remove only the bolts that secure the assembly to the case, not those holding the valve body halves together, unless the service information says otherwise. Support the assembly as the last bolts come out and lower it level while holding the separator plate against it, so check balls do not fall out. Note any check balls, springs or accumulator parts left in the case. Never pry against machined sealing surfaces.
Install and restore the system
Compare the old and new assemblies side by side, confirming the part number, connector layout, separator plate and gaskets. Transfer components such as solenoids or a temperature sensor only when the replacement instructions direct you to. Clean the case mating surface without scratching it, and place any check balls or springs exactly where the service information shows. Engage the manual valve with the selector linkage correctly, since a missed engagement is a common cause of wrong or missing gears after this repair. Start every bolt by hand in its original hole, then tighten in the specified sequence to the specified torque. Overtightening can distort the valve body and cause valves to bind.
Reconnect the harness without pinching or stretching it, install the new filter and seals, and refit the pan with a new gasket at the specified torque. Fill with the correct fluid using the initial fill method in the service information. Many modern transmissions then require commissioning: clearing or resetting adaptive values, running a relearn routine, loading a calibration file supplied with a remanufactured unit, or coding a mechatronic assembly to the vehicle. Skipping these steps can leave harsh or erratic shifts even when the hardware is correct.
Check the completed work
Set the final fluid level at the temperature and engine condition the procedure specifies, using the dipstick or check-plug method your transmission uses, and inspect the pan and connectors for leaks. Clear stored codes and confirm none return. With the brake firmly applied, move the selector through each range and pause briefly so engagement is smooth and prompt. On the scan tool, watch fluid temperature and compare commanded gear with actual gear, plus slip values if your tool displays them.
Road test with light and moderate throttle, checking upshifts, downshifts, torque converter clutch apply and reverse engagement. Some relearn routines need several drive cycles before shift quality settles. Recheck the level and look for leaks again after the vehicle cools. Returning codes, slipping, flare, missing gears or new debris call for further diagnosis rather than another valve body. The cause may be internal wear, wiring, the control module or the torque converter.