How to Replace a Transmission Shift Solenoid
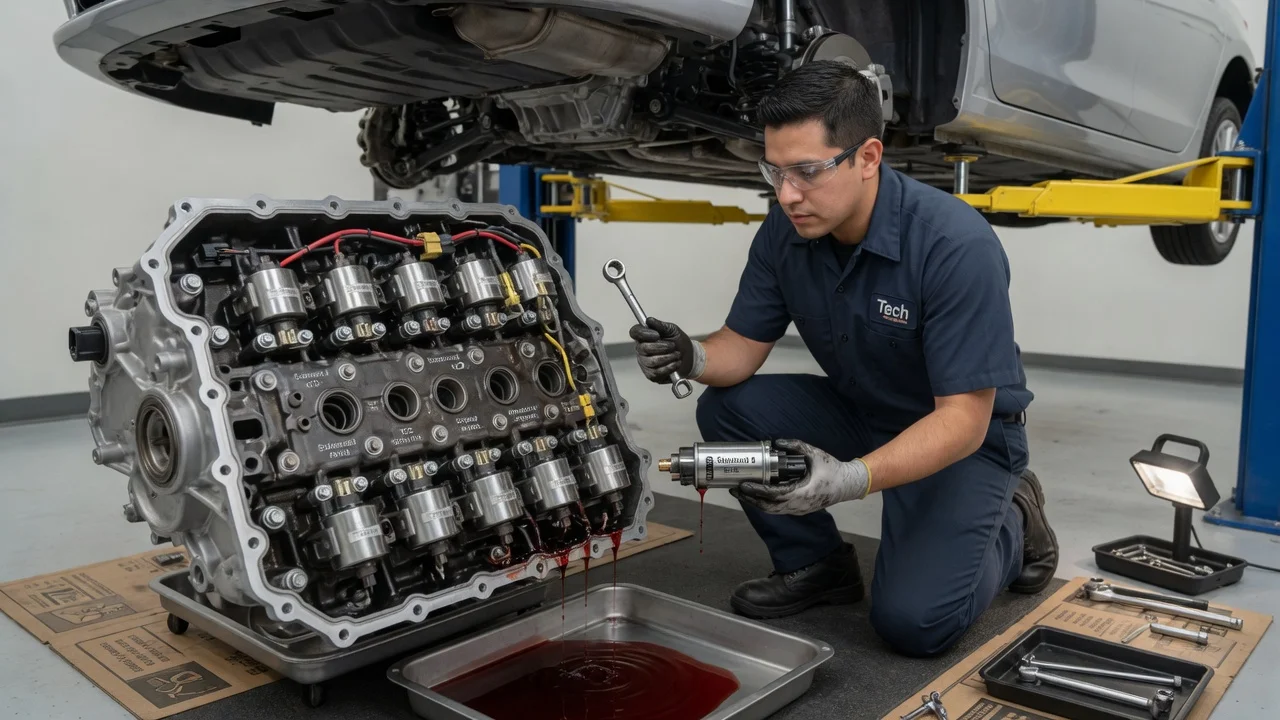
A faulty shift solenoid can cause harsh, delayed or missing gear changes. Replacement is only worth doing when diagnosis points to the solenoid. Shift solenoids are electrically controlled valves that direct fluid pressure inside an automatic transmission. Their location, access and setup vary widely between transmission designs. This guide covers transmission shift solenoid replacement as a general process: confirming the repair, preparing, removing the old part, installing the new one and checking the result.
Confirm the part and repair scope
Start by identifying the exact transmission, not just the vehicle make, model and year. One model can be built with different transmissions depending on engine, drivetrain and production date. The transmission code is often on a tag or label on the case, and a parts counter or dealer can usually confirm it from the VIN. Check fitment carefully. Solenoids differ in connector style, internal resistance, port shape and mounting. Some are sold individually. Others come only as a solenoid pack or as part of the valve body. In many dual-clutch and some modern automatic units, the solenoids are built into a mechatronic assembly or integrated control module and cannot be replaced separately.
Diagnostic codes for a shift solenoid circuit or performance problem tell you where the transmission control module detected a fault. They do not prove the solenoid itself has failed. Several other faults can produce the same codes or similar shift behavior: a chafed wire, a corroded or loose connector, a damaged internal harness, low or degraded fluid, a failing control module, or mechanical problems such as worn clutches or a sticking valve. Before buying parts, check fluid level and condition, inspect the wiring and connectors, and perform any resistance or activation tests listed in the service information. Review the service history as well. A recent fluid change with the wrong product, earlier transmission work, or an available software update can all change the diagnosis.
Weigh your repair options honestly. If the fluid is dark, smells burnt or carries heavy friction material, a new solenoid is unlikely to cure the underlying wear, and a rebuild or replacement transmission may be the realistic path. When testing does confirm a failed solenoid, decide between replacing a single solenoid, fitting a complete pack, or handing the job to a transmission shop.
Prepare tools and safe access
Obtain vehicle-specific service information before you begin. You need the removal procedure, torque values and tightening sequences, the fluid specification, the fill quantity and the correct level-check method for your transmission type. Without these details, much of the job becomes guesswork. Typical tools and supplies include a quality jack and rated stands or a lift, a large drain pan, sockets and extensions, a torque wrench, and a new pan gasket or the specified sealant. Add a new filter if the procedure calls for one and enough of the correct fluid for the refill. You also need a scan tool that can read transmission codes and, where required, perform relearn or setup functions.
Work on level ground with the wheels chocked, and never go under a vehicle held only by a jack. Transmission fluid can be very hot after driving, so let the vehicle cool before draining. Follow the service information on whether to disconnect the battery. Some vehicles need extra steps after power is restored.
Be realistic about difficulty. A solenoid mounted on the outside of the case with a simple connector is a manageable job for a careful owner. Lowering a valve body is different: bolts of different lengths must go back in the right holes, and small check balls or springs can fall out unnoticed. Mechatronic units often need coding as well. If you are inexperienced, those designs are better left to a transmission specialist. Whatever the design, cleanliness matters, because even small amounts of dirt can disrupt the hydraulic circuits.
Remove without avoidable damage
On designs where the solenoids sit behind the pan, drain the fluid first. Use the drain plug if there is one. Otherwise, loosen the pan bolts gradually so one corner drops and the fluid drains in a controlled way. Remove the pan and look at what has collected in it and on the magnet. A light gray film is common. Large metal fragments or heavy clutch material point to internal wear that a solenoid replacement will not fix. Remove the filter if it blocks access, and keep track of its seal.
Photograph the harness routing and the position of each solenoid, clip and bracket before disconnecting anything. Release connector locks instead of pulling on wires, and do not pry against solenoid bodies or valve body castings. Solenoids are commonly held by a retaining clip or a bracket bolt. If the valve body has to come out, record the bolt locations; a sketch or a piece of cardboard with punched holes works well. Support the valve body so it does not twist as the last bolts come out, and watch for check balls, springs or other loose parts. On externally mounted solenoids, clean the area around the solenoid before removal so dirt cannot enter the opening, and expect some fluid loss.
Install and restore the system
Compare the new solenoid with the old one: part number, connector, port layout and seals should match. Lubricate the O-rings with clean fluid that meets the transmission's fluid specification. Seat the solenoid squarely by hand, without forcing it. Use your photos to confirm orientation and position, because solenoids that look alike may not be interchangeable between locations. Refit clips and brackets, push each connector until it locks, and route the harness clear of the pan, filter and any moving parts.
If the valve body was removed, install it with bolts in their original holes. Tighten them in the specified sequence and to the specified values, since overtightening can distort the body and cause sticking valves. Clean the pan, magnet and sealing surfaces, and fit the new gasket and filter as the procedure directs. Tighten the pan bolts evenly to specification.
Refill with the specified fluid and check the level exactly as the manufacturer describes. Many transmissions require the engine running and the fluid within a specific temperature range. Some have no dipstick and are checked at a fill or level plug. Next, clear stored codes. Some transmissions need extra commissioning after solenoid work, such as entering solenoid calibration data into the control module, resetting adaptive values or running a relearn procedure. Skipping a required step can leave harsh or erratic shifts even when the new part is good.
Check the completed work
Before driving, check for leaks around the pan, drain plug, solenoid openings and connector seals. Recheck the fluid level once it reaches the specified temperature. Scan for codes. If your tool can show commanded gear, solenoid status or fluid temperature, confirm that the readings look plausible at idle and when shifting through the range.
Road test in varied conditions. Use light and moderate throttle, let the transmission shift up and down through every gear, and note engagement into drive and reverse. If the transmission has a lockup torque converter, watch for converter engagement at steady speed. Adaptive transmissions can take some driving to relearn shift timing, so slightly firm or uneven shifts at first may settle. Follow any drive cycle or relearn guidance in the service information instead of assuming.
Certain signs call for further diagnosis rather than more parts. The same code may return quickly, which often points to wiring, a connector, an internal harness or the control module. New codes may appear. You may notice slipping, flare between gears, delayed engagement or no movement, or the fluid level may drop or leaks may develop. In those cases, return to systematic testing or have a transmission specialist inspect the unit before replacing anything else.