How to Clean a Transmission Shift Solenoid
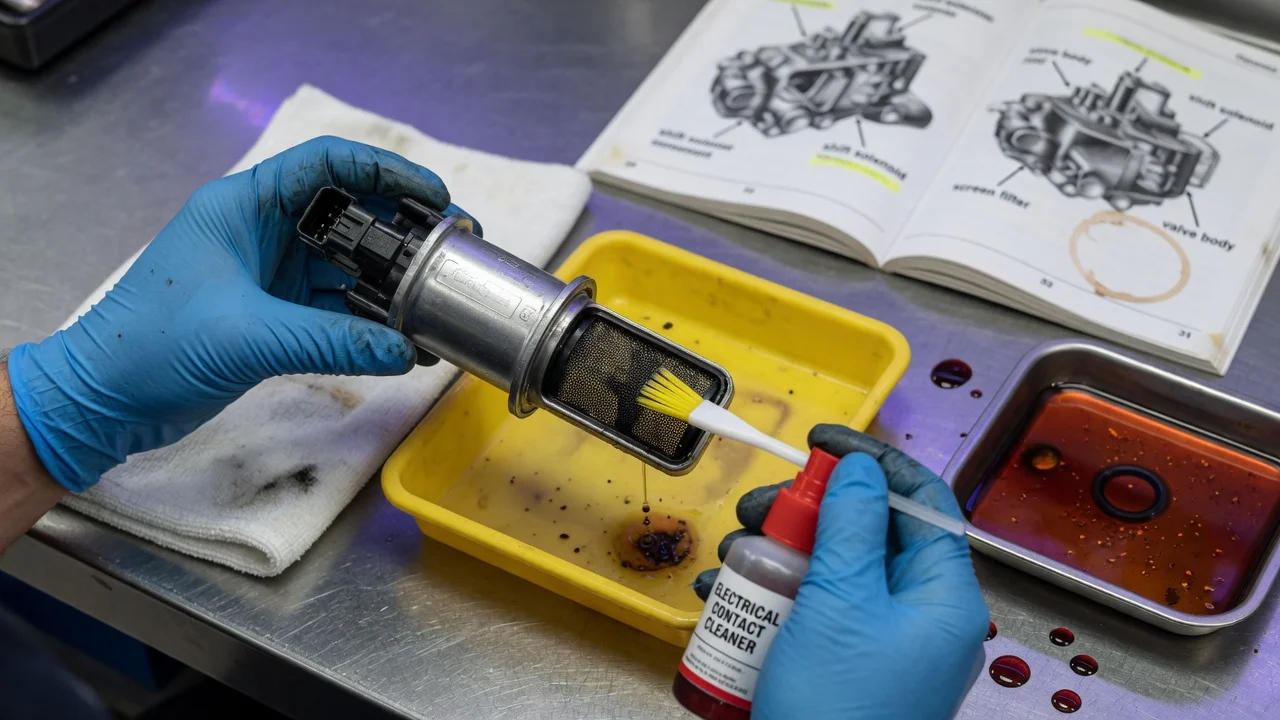
A sticking shift solenoid can cause harsh, delayed or missing gear changes, and cleaning one is sometimes a reasonable step during a fluid and filter service. It is not a cure-all. Solenoid location depends on the transmission type, some units are sealed inside a valve body or control module, and a symptom alone does not prove a solenoid has failed. This guide covers when the job makes sense, what to gather, how to work safely and how to confirm the result.
Decide when service is needed
Vehicle manufacturers generally do not list solenoid cleaning as a scheduled maintenance item. Their schedules cover transmission fluid and, on some units, filter changes, often with a shorter severe-service interval for towing, heavy stop-and-go driving, hot climates or frequent short trips. Check your owner's manual for the schedule that matches how you actually drive. Solenoids usually get attention for one of two reasons: they are already accessible during a pan-drop fluid service, or diagnosis points to them.
Condition-based reasons include stored diagnostic codes for a shift solenoid circuit or performance fault, a transmission stuck in one gear or limp mode, flared or harsh shifts, and delayed engagement. Low or degraded fluid, damaged wiring or connectors, a faulty control module, valve body wear and worn clutches can all cause these same symptoms. Read the codes and freeze-frame data, check the fluid level and condition, and inspect the harness before removing anything. Review the service history as well, because a long-overdue fluid change changes the picture. If the fluid is dark and smells burnt, or you later find clutch material or metal chunks in the pan, cleaning a solenoid will not solve the underlying problem. In that case, weigh other repair options.
Identify the correct materials
Start by confirming the exact transmission. Use the VIN, the transmission identification tag or the manufacturer's service information, because the same model can use different transmissions depending on year, engine and drivetrain. Then find out where the solenoids are. Some bolt to the outside of the case. Many mount on the valve body inside the pan. Others are part of an integrated solenoid pack or a mechatronic unit that contains the control module. Integrated units are usually not designed to be taken apart, and replacing one may require programming with a capable scan tool.
Buy the fluid that meets the manufacturer's stated fluid specification, not just a generic bottle. Gather a new filter if your unit has a serviceable one, the specified pan gasket or sealant, and new solenoid O-rings. Fresh fluid of the correct specification is the safest cleaning medium. Aggressive solvents such as brake cleaner can attack seals, plastic bodies and coil insulation, so do not use one unless the service information approves it. You will also need a socket set, a torque wrench, a drain pan, lint-free cloths, a multimeter, and a scan tool that can read transmission codes and reset adaptive values where required. If you might replace a part, check its fitment by part number rather than by appearance.
Prepare safely
Let the transmission cool before you open it, because hot fluid and a hot case can cause burns. Park on a level surface, chock the wheels, and support the vehicle on properly rated jack stands, never on a jack alone. The vehicle will also need to be level later if your fluid-level check depends on it. Wear eye protection and chemical-resistant gloves, since fluid will drip once the pan comes loose.
Disconnect the negative battery cable before unplugging solenoid connectors, unless the service information says otherwise. Be aware that some vehicles lose radio presets or adaptive settings when you do this. Clean the outside of the pan and the area around any external solenoid before opening anything, because dirt entering the hydraulic circuit causes the very sticking you are trying to fix. Collect used fluid and the old filter in sealed containers, and take them to a facility that accepts used automotive fluids. Do not pour fluid onto the ground or into drains.
Carry out the service
Drain the fluid through the drain plug if there is one, then loosen the pan bolts gradually and lower the pan evenly. Inspect the pan and magnet. A thin gray paste on the magnet is common. Larger metal pieces, clutch facing material or heavy debris point to internal wear that deserves further diagnosis. Remove the filter if it blocks access. Photograph the harness routing and connector positions, and label each solenoid before removal. Follow the service information for retaining clips or bolts. Do not loosen valve body bolts unless the procedure calls for it, because separator plates and check balls can shift or fall out.
Wipe the solenoid exterior, then inspect its inlet screen and ports. Rinse it in clean transmission fluid, working the fluid through the passages. Use gentle, low-pressure air only if the service information allows it, and never push tools through screens. Measure coil resistance with a multimeter and compare the reading with the published value, noting that specifications are often given at a particular temperature. Some on/off solenoids can be briefly energized through a fused jumper to confirm an audible click and a change in passage. Pulse-width-modulated and linear solenoids, however, can be damaged by direct battery voltage, so follow the vehicle-specific test procedure. If a solenoid is out of specification or still sticks after cleaning, replace it.
Fit new O-rings lubricated with fresh fluid, seat each solenoid by hand, and tighten fasteners to the manufacturer's torque specification rather than by feel. Reconnect the harness exactly as photographed. Install the new filter, then clean the pan and magnet and refit the pan with the specified gasket or sealant. Refill with the correct fluid. Capacity varies by transmission and by how much fluid drained, so add an initial amount and then check the level using the manufacturer's method. Depending on the vehicle, that may be a dipstick reading at operating temperature, or a fill-plug check at a specified fluid temperature with the engine running and a scan tool reading the temperature.
Verify and record the result
Clear stored codes, start the engine and look for leaks at the pan, drain plug and any external solenoid. Recheck the fluid level at the specified temperature. Some transmissions need an adaptive reset or a relearn procedure through a scan tool, followed by a defined drive cycle. On a careful road test, watch the shift behavior: engagement into drive and reverse, shift timing and firmness, and torque converter lockup. Then confirm that no codes have returned.
Stop driving and diagnose further if codes come back, if the transmission slips, flares or shifts harshly, or if the fluid level drops. A quick return of the same fault usually points to wiring, the control module, the valve body or internal wear rather than a dirty solenoid. Repair options may then include a replacement solenoid, valve body work or a professional transmission repair. Record the date and mileage, the transmission identification, the fluid type and amount added, the part numbers installed, resistance readings, the codes before and after, and what you found in the pan. That record makes the next diagnosis faster and adds useful service history when the vehicle is sold.