How to Replace a Brake Booster Check Valve
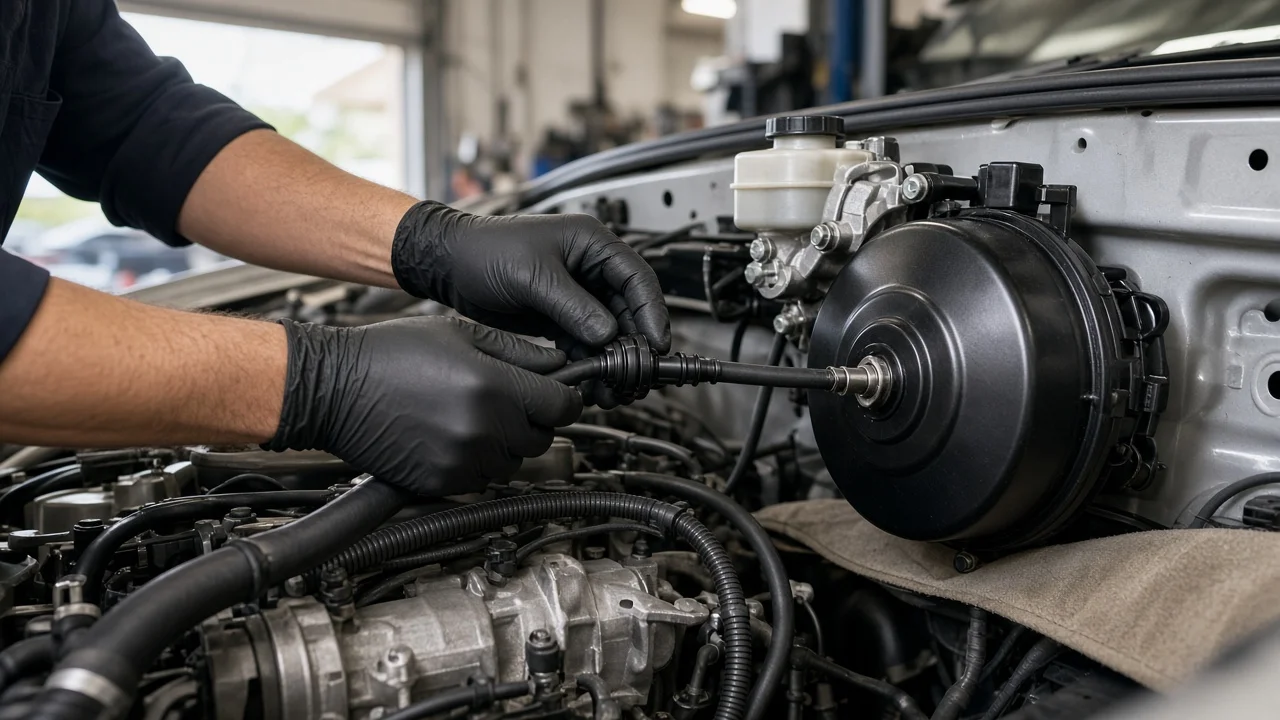
The check valve on a vacuum brake booster is a small one-way valve that keeps vacuum stored in the booster after the engine stops or when engine vacuum drops under load. When it sticks or leaks, the brake pedal can feel hard, especially on the first stop after startup. Replacing the valve is usually simple, but a hard pedal has other possible causes. This guide covers confirming the fault, removing and installing the valve, and deciding when the car should not be driven.
Establish the symptoms
Start by writing down exactly when the brake pedal feels wrong. A failing check valve typically shows up as a firm, high pedal on the first one or two stops after the car has been parked, then feels normal once the engine has run for a while. Some drivers notice the pedal getting harder during long climbs or hard acceleration, when engine vacuum is low and the booster depends on its stored reserve. Note whether you hear a hiss from the engine bay or from under the dashboard, whether the idle is rough or unusually high, and whether a check engine light has appeared.
Record recent work as well. A hose disconnected during intake, air filter or engine repairs, an aftermarket valve installed backward, or a grommet disturbed during other service are common starting points. Also note what the pedal does not do. A pedal that is soft or spongy, sinks slowly while held, or travels farther than usual is a different complaint from a hard pedal, and it points toward hydraulic problems rather than vacuum assist.
Distinguish plausible causes
A hard pedal means the power brake booster is not getting or holding enough vacuum, but the check valve is only one link in that chain. The valve can stick closed, restricting flow to the booster, or leak in reverse so the reserve bleeds away after shutdown. A stuck-closed valve tends to give poor assist even while the engine runs; a leaking one usually gives normal assist while running but little or no reserve after the engine stops. The rubber grommet that seals the valve into the booster shell can also harden and leak, producing similar symptoms.
Competing causes include a cracked or collapsed vacuum hose, a leaking booster diaphragm, low engine vacuum from an intake leak or mechanical engine problem, and, on many diesel and some turbocharged gasoline engines, a weak engine-driven or electric vacuum pump. A diaphragm leak often causes a hiss under the dash when the pedal is pressed and may make the idle dip as you brake. Low engine vacuum usually brings drivability symptoms too. Problems with brake fluid, air in the lines, the master cylinder, a caliper, brake pads or brake rotors cause different signs, such as a spongy pedal, pulling, grinding or vibration, and are not fixed by a new check valve.
Checks in a useful order
Begin with observations that need no tools. With the engine off, trace the hose from the intake manifold or vacuum pump to the booster, looking for cracks, soft spots, kinks and loose connections, and check that the valve is seated firmly in its grommet. Then do the standard booster test: with the engine off, pump the pedal several times until it feels firm, hold light steady pressure, and start the engine. The pedal should move down slightly as vacuum builds. Next, run the engine for a minute or two, switch it off, wait several minutes, and press the pedal a few times. A healthy system typically gives at least one or two assisted applications before the pedal goes firm.
If the reserve disappears quickly, disconnect the hose and test the valve on its own. Air should pass from the booster side toward the engine side and be blocked in the opposite direction. A hand vacuum pump makes this test more reliable than blowing through it, and the valve should hold applied vacuum without bleeding down. Checking manifold vacuum with a gauge, testing a vacuum pump, or measuring booster leak-down against the manufacturer's specification requires proper tools and service information. If you are unsure about any of these steps, a qualified brake technician can perform them.
Interpret the findings
If the pedal drops at startup but the reserve is lost quickly after shutdown, and the valve passes air in both directions or will not hold vacuum, the valve is the likely fault and replacing it along with its grommet is reasonable. If the valve tests good and the hose is sound, the leak is more likely in the booster diaphragm or another connection, and a new valve will not help. If the pedal does not drop at startup at all, confirm that vacuum actually reaches the booster: a blocked valve, collapsed hose, low engine vacuum or a failed vacuum pump are all possible, and each needs its own confirmation.
A single test rarely proves everything. A valve that passes the bench test can still leak around a hardened grommet, and a hiss can come from more than one place. Before buying parts, confirm vehicle fitment, because valves differ in size, angle and hose diameter, and on some vehicles the valve is built into the hose assembly rather than sold separately.
Check valve removal and installation
Work with the engine off and cool, and press the pedal several times to release stored vacuum. Note how the hose is routed and which way the valve faces; most valves carry an arrow or marking that points toward the engine or vacuum source. Loosen or slide back the hose clamp and work the hose off the valve without tearing it. To remove the valve, grip it close to the booster and pull straight out with a gentle twisting motion. Some designs use a quarter-turn retainer or locking tab, while inline valves sit between two hose sections held by clamps, so follow the procedure for your vehicle.
Inspect the grommet, and replace it if it is hard, cracked or loose, since a new valve in a leaking grommet solves nothing. Use only a lubricant the service information allows to ease the valve into the grommet, and avoid petroleum-based greases unless specified, because they can damage rubber. Press the valve in fully with the arrow pointing toward the vacuum source, reconnect the hose and secure the clamp. Start the engine, listen for hissing, and repeat the startup and reserve tests to verify the repair before driving.
Urgency and next action
A check valve does not wear down like the friction material on pads, and there is no wear limit that predicts how long a failing one will last, so do not assume the car is safe for any particular distance. Reduced power assist means much more pedal force is needed and stopping distances can increase, particularly in an emergency. Stop driving and arrange professional service if the pedal is very hard with no assist, if it sinks toward the floor, if the brake warning light is on, if you find brake fluid leaking, or if the car pulls or the brakes grab. These signs can indicate problems beyond the valve.
When booking a repair, provide the vehicle year, make, model and engine, whether it is diesel or turbocharged, when the hard pedal occurs, the results of the startup and reserve tests, any hissing or idle change, and any recent work in the engine bay. That information helps the technician separate a simple valve and grommet replacement from a booster, vacuum supply or hydraulic fault and confirm the repair against the correct specifications.