How to Replace a Brake Booster
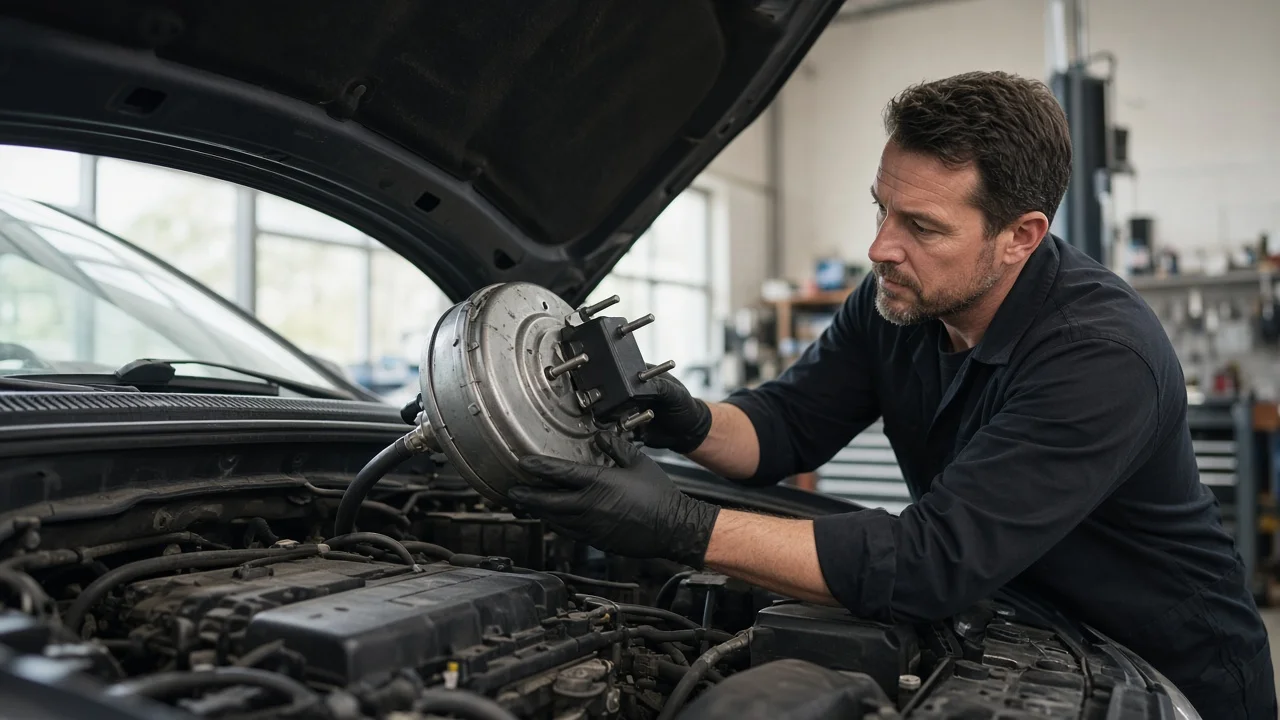
Replacing a brake booster restores the power assist that keeps the brake pedal easy to press. The job usually involves work at the firewall, under the dash and at the master cylinder, so an accurate diagnosis and vehicle-specific service information matter as much as the wrenching. This guide shows how to confirm the booster is really at fault, prepare safely, remove the old unit, install the new one and check the result before the vehicle goes back on the road.
Confirm the part and repair scope
A vacuum booster sits between the brake pedal pushrod and the master cylinder and uses engine or pump vacuum to multiply pedal force. Typical signs of a failing booster include a hard pedal that needs much more effort than usual, a hiss from under the dash when the pedal is pressed, and an engine idle that dips or stumbles when you brake. A simple check confirms the symptom: with the engine off, pump the pedal several times to use up stored vacuum, hold steady pressure on it, then start the engine. A working booster lets the pedal move down slightly as assist comes in. If the pedal does not move, the assist is not working.
Before you change the brake booster, rule out the cheaper causes. A collapsed or cracked vacuum hose, a stuck check valve or a weak vacuum pump on engines that use one can all produce the same hard pedal. A pedal that slowly sinks under steady pressure points to the master cylinder or a hydraulic leak rather than the booster. A booster also has no effect on brake pads, brake rotors or caliper condition, so pulling, grinding, vibration or worn friction material close to the wear limits need their own repair.
Vehicle fitment is critical. Match the replacement using the VIN and the parts catalog, and compare the old and new units side by side: mounting stud pattern, single or tandem diaphragm, check valve position, pushrod length and any sensor ports. Some vehicles use a hydraulic booster powered by the power steering system, and many newer models use an electric booster or an integrated brake control module. Those systems involve different procedures, often require a scan tool for setup, and are best left to a professional.
Prepare tools and safe access
Get the service procedure for your exact vehicle before starting. It tells you the torque values, whether the master cylinder can stay connected to its lines, which panels or components must come off for access, and how to check pushrod length. A typical toolkit includes a socket set with extensions and swivels, flare-nut wrenches for brake lines, caps or plugs for open lines and ports, pliers for the pedal clip, a flashlight and inspection mirror, shop rags, and fresh brake fluid of the type specified for the vehicle. Some models require removing the air intake, cowl panel, battery tray or lower dash trim to reach the booster.
Park on level ground, chock the wheels and work with the engine off and cool. Pump the pedal a few times to release any stored vacuum. Disconnect the battery if the service information calls for it, particularly when working near airbag components, pedal sensors or electronic modules. Keep brake fluid away from paint and wipe up spills immediately. If you have never opened and bled a brake hydraulic system, or the vehicle needs a scan tool to bleed the ABS unit, this is a job for a qualified shop. A vehicle with a hard pedal or reduced braking should not be driven until it has been repaired.
Remove without avoidable damage
Start in the engine bay. Disconnect the vacuum hose at the check valve, then unplug any connectors on the master cylinder or booster, such as the fluid level sensor or a vacuum sensor. On many vehicles the master cylinder can be unbolted from the booster and eased forward without opening the brake lines, but only if the lines have enough slack to move without bending. A kinked line must be replaced, so do not force it. If the lines must come off, loosen them with flare-nut wrenches to avoid rounding the fittings, and cap each line and port right away to keep out moisture and dirt and limit fluid loss.
Inside the cabin, remove the lower dash panels, then disconnect the booster pushrod from the brake pedal arm by removing the retaining clip and clevis pin. Note the brake light switch position and connector so you can reinstall it correctly. Remove the booster mounting nuts from the studs that pass through the firewall. Back in the engine bay, withdraw the booster carefully, turning it as needed so the pushrod, studs and body do not snag wiring, lines or the firewall seal. Keep any spacers, gaskets or brackets in order for reassembly.
Install and restore the system
Compare the new booster with the old one once more and transfer any parts the service information says to reuse, such as the check valve grommet or brackets. Then check the output pushrod length at the master cylinder end using the method in the service procedure, often with a dedicated gauge. Do not assume a new booster comes set correctly for your vehicle. A rod that is too long can hold the master cylinder piston slightly applied and cause the brakes to drag, while a rod that is too short adds pedal travel and can produce a clunk on application.
Fit the firewall gasket or seal, install the booster in the correct orientation with the check valve where it belongs, and start the mounting nuts by hand from inside the cabin. Tighten them to the specified torque. Reconnect the pushrod to the pedal arm with the clevis pin and a new clip if one is supplied, and refit or adjust the brake light switch as the procedure describes. Mount the master cylinder with a new seal if specified, torque its nuts, then reconnect any brake lines, the vacuum hose and the electrical connectors.
If any brake line was opened, bleed the system in the order specified for the vehicle, and use a scan tool where the ABS unit requires an automated bleed. Top up the brake fluid to the correct level with the specified fluid from a sealed container. Reconnect the battery and complete any relearn or calibration steps the service information lists for pedal sensors or other electronic components.
Check the completed work
Begin with static checks before driving. Confirm pedal height and free play against the service specification, and make sure the brake lights come on when the pedal is pressed and go off when it is released. Repeat the engine-off assist test: pump the pedal to use up vacuum, hold it, start the engine and feel the pedal move down slightly. With the engine idling, listen for hissing under the dash and watch that the idle stays steady when you apply the brakes. Then shut the engine off, wait briefly and press the pedal; the first application should still feel assisted, which shows the booster and check valve are holding vacuum.
Inspect the line fittings and master cylinder for leaks and recheck the fluid level. Test the brakes at low speed in a safe, empty area, increasing pressure gradually, and confirm the vehicle stops straight without pulling or dragging. After a short drive, a wheel that is noticeably hotter than the others suggests a dragging brake, often caused by incorrect pushrod length. A pedal that sinks or feels spongy, a hard pedal that remains, a brake warning light or brakes that do not fully release all need further diagnosis. In any of these cases, stop using the vehicle and have the braking system inspected by a professional.