How to Record Measurements During a Car Repair
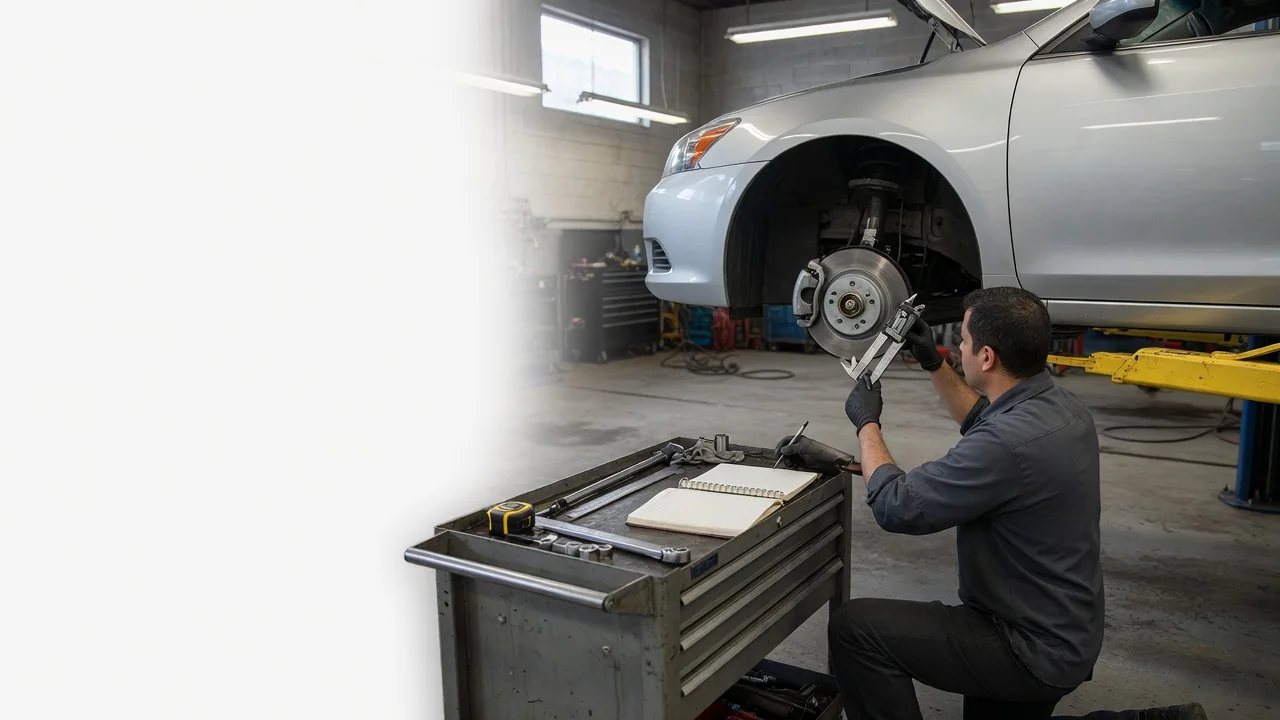
A measurement only helps if you can trust it later. Writing readings down at the right moment turns a repair from guesswork into something you can check, repeat, and explain. Whether you are gauging brake rotor thickness, setting a spark plug gap, or testing battery voltage, a simple car repair measurement log ties each number to the part, the tool, and the conditions. Here is how to record measurements during a car repair so the numbers stay useful.
Before and After: Recording the Baseline and the Result
The most valuable reading is often the one taken before anything is disassembled or replaced. A before measurement documents the starting condition: how worn a component was, what voltage or resistance a circuit showed, or how much play existed in a joint. Without it, you have no baseline to confirm that the repair changed anything, and no way to tell whether a later problem is new or simply the original fault returning. Take the before reading as soon as the part is accessible, and resist the urge to clean, adjust, or tighten first, because those actions can alter the value you are trying to capture.
Each entry should stand on its own. Record the date and odometer reading, the exact component and its location, such as left front rotor or cylinder three, the measured value with its unit, and the point where you measured. Note the conditions that influence the result: engine cold or at operating temperature, ignition on or off, vehicle on the ground or lifted, and approximate ambient temperature when it matters. Many readings, including tire pressure, fluid levels, and clearances on metal parts, shift with temperature, so a number without context can mislead you months later.
The after measurement closes the loop. Take it under the same conditions and at the same points as the before reading, so the two values are directly comparable. Some checks belong after a defined step rather than immediately: a reading after fasteners are torqued, after a component has seated, or after a short test drive. Write down which stage the after reading represents. If the result is unexpected, record it honestly rather than repeating the measurement until it looks right; an inconvenient number is often the most useful one in the log.
Tool: Documenting What Took the Reading
A reading is only as reliable as the instrument that produced it, so the log should name the tool alongside the value. Note the type, such as feeler gauge, outside micrometer, dial indicator, digital caliper, multimeter, or tire gauge, and its resolution, meaning the smallest increment it can display. A caliper that reads to a hundredth of a millimeter and a ruler marked in millimeters can both measure a brake pad, but they support very different conclusions. Record the unit system in use as well, because mixing inches and millimeters is a common source of errors when comparing a reading to a specification.
Technique belongs in the record too. Zero the instrument before use and note that you did: close a caliper or micrometer and confirm it reads zero, or touch multimeter leads together to see their own resistance before measuring a low-resistance circuit. Use the same tool for before and after readings whenever possible, since two instruments can disagree slightly even when both work properly. Taking two or three readings at the same point and recording each one shows how consistent the measurement is. For a torque wrench, remember that the logged value is the setting you applied, not a measurement of clamping force, and write it down that way.
Tolerances: Comparing Readings to Specifications
A measurement means little until it is compared with the correct specification. Write the specified value next to each reading, including whether it is a nominal figure, a minimum, a maximum, or a range. Take that specification from the service information for the exact vehicle, engine, and component in front of you, and note where it came from. Values vary between models, model years, and even production changes within the same model, so a number borrowed from a different vehicle or a general rule of thumb can lead to the wrong decision. Some parts carry their own limit, such as a minimum thickness marking on many brake rotors; when present, record that too.
Distinguish between new-part dimensions and service or wear limits. A component can be well short of its original size and still be within its allowable limit, or it can sit just above the limit with little life left. Recording the margin, for example how far a reading is from the minimum, is more informative than a simple pass or fail. Log the raw value rather than a rounded one, and be cautious when a reading falls close to a limit: if the difference is smaller than the resolution of your tool, the result is uncertain, and a more precise instrument or a professional check is the sensible next step.
Practical Implications and Limits
Over time, a consistent log becomes more valuable than any single entry. Repeated readings of the same component reveal trends, such as how quickly pads or rotors wear on your usual driving routes, or whether battery resting voltage is gradually falling. That history helps you plan maintenance instead of reacting to failures, makes it easier to diagnose a problem that returns after a repair, and gives a clear record if you sell the car or discuss work with a shop. Keep the format simple enough that you will actually use it: a notebook kept with the car, a spreadsheet, or a notes app all work, and a photo of the gauge display next to the part can back up a critical entry.
A log also has limits worth respecting. It records what your tools could detect under your conditions; it cannot replace equipment that some checks require, such as wheel alignment systems, measurements that depend on specialized fixtures, or electronic diagnostics that read values from control modules. Home measurements also cannot confirm that a part behaves correctly under load, heat, or vibration, only that it measured within limits when you checked it. Treat the log as evidence that supports a decision, not as the decision itself, and when a reading is borderline or a safety-critical system such as brakes or steering is involved, get a qualified second opinion.