How to Inspect a Repainted Car Panel in Daylight
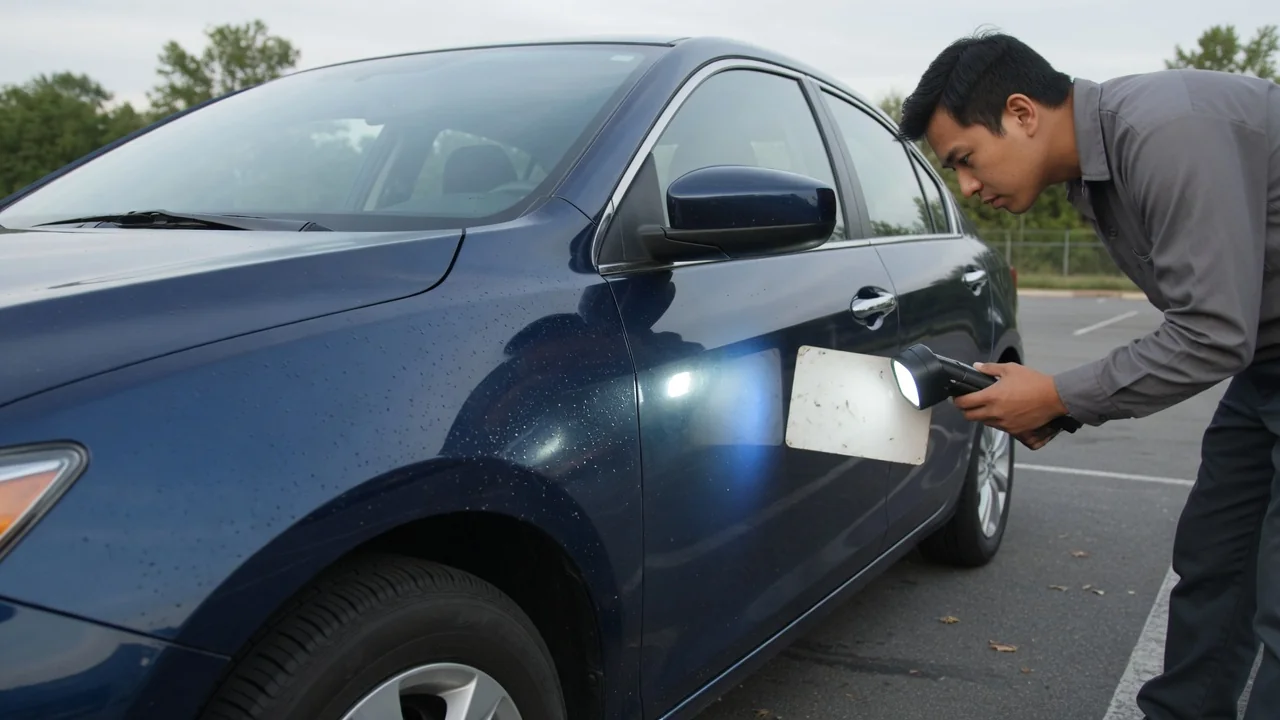
Repainted panels are common on used cars, and many come from honest repair work. Still, a buyer or owner usually wants to know which panels have been refinished and how well the job was done. Daylight is one of the most useful tools for this, because natural light shows color, texture, and gloss differences that artificial lighting can hide. This guide explains how to check a repainted car panel through careful observation, without special equipment.
Color and texture
Start by choosing the right light. Bright overcast daylight is often the most revealing, because it lights the body evenly without harsh glare. Direct midday sun can wash out subtle differences, while low morning or late afternoon light rakes across the surface and makes texture easier to see. Begin with the car clean and dry, since dust, water spots, and wax residue can mimic or mask paint flaws. Stand back several paces and look at the whole side of the car, then the front and rear, before moving in close. A panel that looks slightly lighter, darker, warmer, or cooler than its neighbors is the first clue worth investigating.
Color matching is difficult even for skilled refinishers. Factory paint is applied under controlled conditions, while a body shop has to recreate the same shade with mixed toners and different equipment, and the new paint must sit next to a finish that may have aged in sunlight. Metallic and pearl colors are the hardest, because their appearance depends on how the flakes settle in the coating. A refinished panel may match when viewed straight on yet shift noticeably from a sharp angle. This effect, often called flop or travel, is why you should walk around the car and look at each panel from several angles rather than from a single spot.
Texture is the second half of this check. Most paint finishes have a fine, slightly dimpled surface known as orange peel. Factory finishes typically show a fairly uniform texture across the car, while refinished panels can be smoother, rougher, or simply different. Look at the reflection of a straight line, such as a roofline, pole, or building edge, in each panel. A reflection that becomes wavier, blurrier, or more distorted on one panel than on the next suggests a different texture or underlying bodywork such as filler. Dust nibs, which are small specks trapped in the clear coat, along with runs or sags, can also suggest that a panel was refinished.
Panel edges
Edges and openings often reveal more than the flat face of a panel. Open each door, the hood, the trunk or tailgate, and the fuel filler door, and examine the jambs and inner flanges. Original paint in these areas usually looks consistent with the surrounding body, while a repaint may leave a visible line where masking tape stopped, a ridge of built-up paint, or a slightly different shade on the inner surface compared with the outside. Also check the edges of the panel for overspray, a fine, rough mist of paint that lands where it was not intended.
Overspray commonly turns up on rubber seals, window trim, plastic moldings, badges, lamp lenses, and wheel arch liners. Run a clean fingertip gently along seals and trim near the panel; a gritty feel or tiny colored dots suggest paint drifted onto them. Look at fasteners as well, such as the bolts that hold fenders, doors, and hood hinges. Paint chipped from bolt heads or wrench marks can indicate that a panel was removed or adjusted, although these clues do not prove a repaint by themselves, because panels may be removed for other repairs.
Finally, assess the gaps between panels. Follow the seams between door and fender, hood and fender, and trunk and quarter panel. Gaps that are noticeably wider at one end than the other, or that differ from the matching gap on the opposite side of the car, can point to a panel that was replaced or realigned during repair. Gap tolerances vary by manufacturer and era, so compare the car against itself rather than against an assumed figure.
Finish consistency
Once individual panels have been checked, evaluate how the finish behaves across the whole body. Gloss is a useful indicator. A recently refinished panel may look glossier than older original paint, or, if the clear coat was poorly applied or polished, it may appear duller or hazy. Look along the length of the car at a shallow angle so the light reflects off several panels at once. Abrupt changes in sheen at a seam suggest that one side received different treatment. Swirl marks from aggressive polishing or sanding scratches visible beneath the clear coat on a single panel are further signs of refinishing.
Blending deserves special attention. Refinishers often fade new color into adjacent panels so the transition is less obvious, and this is generally considered good practice. A blend may show up as a subtle zone partway across a panel where gloss, texture, or color changes gradually rather than at a seam. On narrow areas such as roof pillars, a clear coat edge may be visible where the blend was finished. Seeing a blend is not necessarily a warning sign; it simply tells you work was done nearby, so check the neighboring panel more closely for signs of the original damage.
Practical implications and limits
A daylight inspection is best treated as a screening step. It can tell you where to look harder and what questions to ask, but it cannot measure paint thickness, reveal what lies beneath the surface, or confirm why a panel was painted. Some refinishing is so well executed that it is effectively invisible to the eye, while some original paint shows minor variation between parts made of different materials, such as plastic bumpers next to steel fenders. Aging complicates the picture too, because on many cars sun exposure affects horizontal surfaces more than vertical ones, which can make an original panel look mismatched.
When you find signs of refinishing, note which panels are involved and how they relate to one another. A single repainted bumper cover suggests minor contact, while a cluster of adjacent panels with altered gaps may indicate a larger repair. In that situation, it is reasonable to ask for repair records, review available vehicle history information, or have the car examined by a body shop or inspector who can use a paint thickness gauge and look at structural areas. A repaint is not automatically a problem; what matters is the quality of the work and the condition of the structure underneath.