How to Find an OBD2 Scanner Rental
Before you start
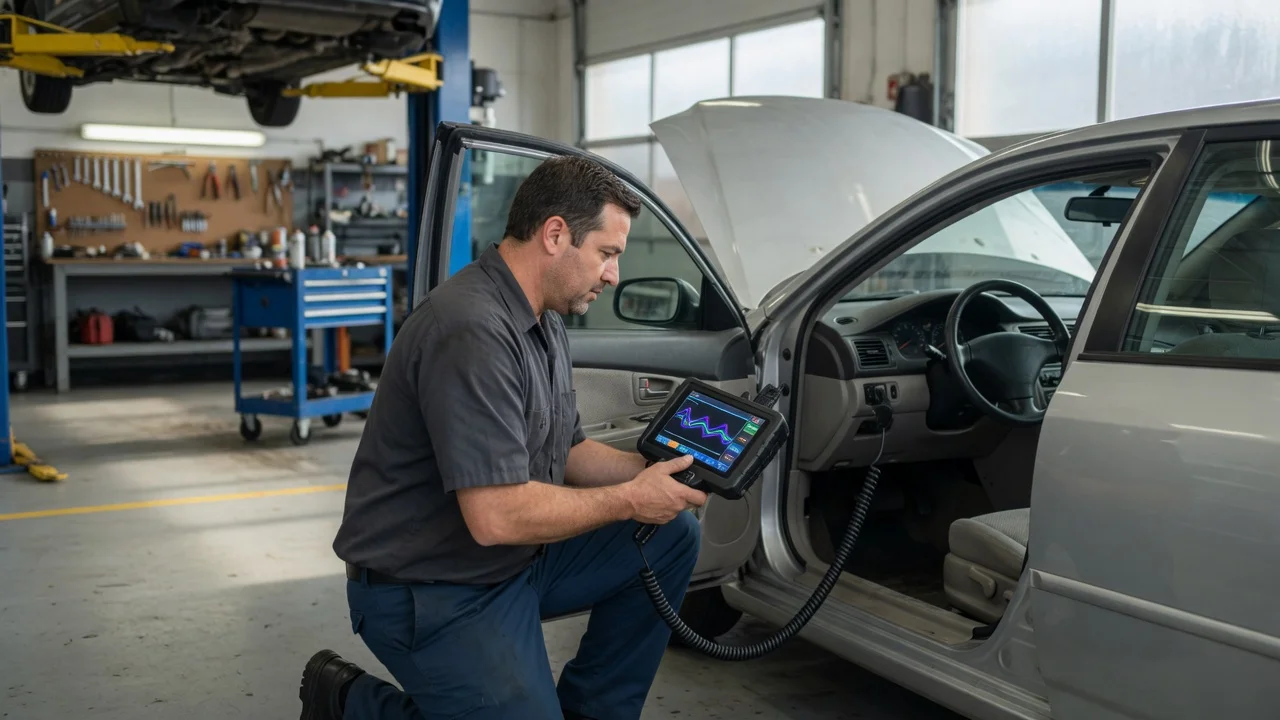
Renting an OBD2 scanner usually means using a scan tool that connects to a vehicle data port, not to a camera or microphone. The rental process itself is an in-person or local service task: you typically reserve or borrow the tool from a parts store, auto shop, or tool rental counter, then return it after reading diagnostic trouble codes. Check whether the location offers the type of scanner you need before picking it up.
Know your vehicle's OBD2 port location; it is normally under the dashboard on the driver's side, near the steering column. Make sure the rental scanner supports your vehicle's model year and connection type; most 1996 and newer cars use OBD2, but some early models may behave differently. Ask whether the rental includes any cable or adapter required for your connector, because OBD2 scanners typically use a specific diagnostic connector rather than USB audio-video cables. Have the vehicle ignition available if the rental staff or instructions require a powered port check.
Step-by-step instructions
1) Check local parts-store rental programs. The availability of an OBD2 scanner rental can vary by store, so confirm the service at the specific location before you travel. 2) Ask what deposit or rental terms apply. Many stores require a refundable deposit, while some may lend the tool for use in the store or parking lot instead of letting it leave the property. 3) Confirm which scanner functions are included. A basic rental may read and clear engine fault codes, while advanced functions such as ABS or airbag codes may require a different tool or may not be available through the rental. 4) Take the scanner to the vehicle and turn the ignition to the position recommended in the tool instructions; many scanners should not be connected or disconnected while the engine is running. 5) Connect the scanner to the OBD2 port and follow the on-screen menu to read stored codes or live data if the rental model supports it. 6) Note any codes, freeze-frame details, or status messages exactly as shown before clearing anything. Clearing codes without addressing the underlying issue can make later diagnosis harder.
Check the output
After scanning, compare the displayed code with the scanner's built-in code description if one is shown. A code such as P0300 is not a replacement for a full diagnosis; it indicates a misfire condition but does not identify the faulty part by itself. If the scanner displays pending, confirmed, or permanent codes separately, keep them separate in your notes because each category has a different meaning.
Watch for output limitations. A rented scanner may not show manufacturer-specific codes or live sensor graphs, and older units may be slower to establish communication with the vehicle. If the tool cannot connect, check that it is fully seated in the OBD2 port and that the ignition is in the position required by the instructions.
Common problems and next steps
A common issue is assuming that a free or rental scanner will perform the same functions as a professional scantool, but code reading and live-data capability vary by model. If the scanner returns a communication error, try the connection again with the ignition off, then on without starting the engine. If the port or connector has visible damage, do not force it; ask the rental location for a different unit.
For a noise-related or signal-related concern in a camera, microphone, or audio setup, an OBD2 scanner is not the right diagnostic tool. Use vehicle diagnostic equipment only for vehicle systems. If you need to inspect a camera or microphone feed, test that device on its own connection and check its cable, power, and input selection separately.
Before returning the rental, write down the codes and any useful scanner readings. Ask the store whether clearing codes is permitted under the rental agreement, because some stores prefer that the fault remain stored for a repair shop to see. Finally, return the tool in the condition and time frame specified by the rental to avoid extra charges.