How Can You Identify a Car Plastic for Repair?
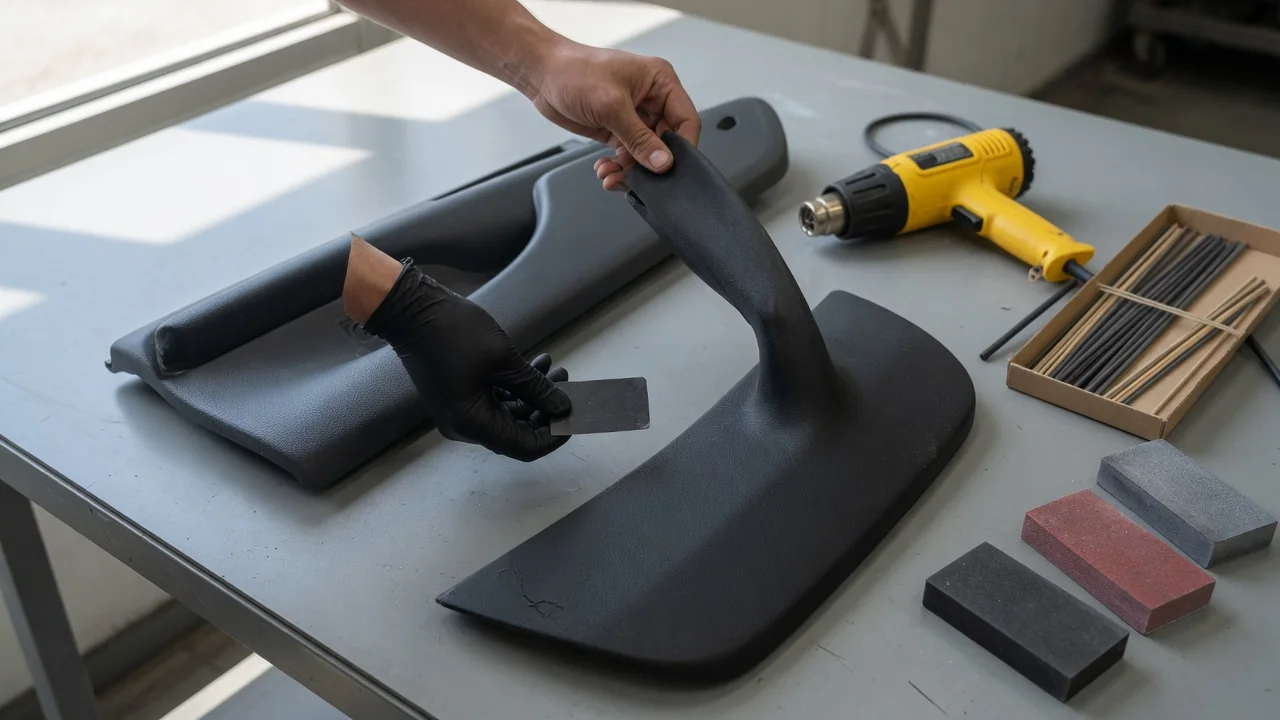
Before you weld, glue, or refinish a cracked bumper cover or torn trim panel, you need to know what it is made of. Automotive plastics look alike but behave very differently under heat, adhesives, and paint. The wrong repair material can peel, crack, or never bond at all. Identifying the plastic usually comes down to three things: reading the stamped code, knowing where to find it, and confirming the material with a sound method when no code is visible.
Stamped codes: reading automotive plastic material markings
Most molded automotive parts have a material identification code molded into the plastic during manufacturing. Common conventions use ISO 1043 abbreviations and the marking practice described in ISO 11469. In North America, SAE J1344 serves a similar purpose. The code is usually framed by angle brackets, such as >PP<, >ABS< or >PC/PBT<. The letters inside identify the base polymer: PP for polypropylene, PE for polyethylene, ABS for acrylonitrile butadiene styrene, PC for polycarbonate, PA for polyamide (nylon), PBT for polybutylene terephthalate, PUR for polyurethane, and PVC for polyvinyl chloride.
Additional characters describe blends and fillers. A plus sign or slash generally indicates a blend. For example, >PP+EPDM< means polypropylene modified with ethylene propylene rubber, a combination common in flexible bumper covers. You may also see TPO, short for thermoplastic olefin, used for similar materials. A suffix such as GF or GF30 usually indicates glass fiber reinforcement, with the number giving the approximate percentage, while T or TD can indicate talc filling. Thermoset composites may appear as SMC or UP (unsaturated polyester), or as specific polyurethane variants. Treat these codes as the manufacturer's statement of the base material, not a full formula. They do not spell out the exact grade or additives.
Part location: where to find the code
The code is almost always on the back or inside face of the part, because manufacturers keep cosmetic surfaces clean. On bumper covers, look along the inner surface near the center, close to the edges, or around mounting tabs and fastener bosses. On interior trim, door panels, and consoles, check the reverse side near clips and attachment points. Lamp housings, grilles, mirror shells, and wheel-arch liners follow the same pattern: the marking sits where the mold could carry it without affecting the visible finish.
Codes are often grouped with other molded information, such as a part number, a manufacturer logo, or a small circular date stamp. Finding any of these is a good clue that the material marking is nearby. Many markings are only a few millimeters tall and the same color as the surrounding plastic. A flashlight held at a low angle makes the raised letters cast a shadow. In tight spaces, an inspection mirror or a phone camera can reach areas you cannot see directly. Sometimes you must partly or fully remove the part to read the code, and you may need to clean off dirt, undercoating, or road grime first. Placement varies by vehicle and part design, so there is no universal location.
Correct method: confirming the material when there is no code
When the marking is missing, unreadable, or ambiguous, start with documentation rather than guesswork. The vehicle's body repair manual, the manufacturer's collision repair information, or the parts listing for that component may state the material. Repair product suppliers also publish identification charts and compatibility guides. These help you match a known material to the right filler, rod, or adhesive.
If documentation is unavailable, practical tests can narrow the answer. The first question is whether the part is a thermoplastic or a thermoset. Thermoplastics such as PP, PE, ABS, and PC soften with heat and can be welded. When sanded with a rotary tool, they tend to smear or gum up. Thermosets such as SMC and many rigid polyurethanes do not melt. They sand to a dry powder and are repaired with adhesives or resin systems instead of welding. Flexibility is a second clue: a part that bends easily usually calls for a flexible repair product. Polyolefins such as PP, PE, and TPO often feel slightly waxy and are known for poor adhesion. That is why many repair systems require an adhesion promoter on them.
A trial weld is another common technique for thermoplastics. Using a welding rod of a known material, make a short test bead in a hidden area. If the rod fuses into the base material and cannot be peeled off once cool, the materials are likely compatible. A rod that lifts away cleanly suggests a mismatch. The traditional burn test, which judges the flame and smoke of a small shaving, is generally discouraged. It produces hazardous fumes, damages the sample, and gives results that are hard to interpret on blended or filled plastics.
Practical implications and limits
Identification matters because it drives every later choice. Welding rods must match the base polymer, and two-part adhesives and fillers are formulated for specific substrates. Primers and flex agents depend on whether the panel is rigid or flexible. A correct identification also tells you when a part is a poor candidate for repair, such as a heavily glass-filled bracket or a thermoset component that cannot be welded.
A code or a shop test can only tell you so much. A marking names the base polymer family, but two parts labeled >PP+EPDM< can still differ in stiffness, filler content, and paint adhesion. Replacement and aftermarket parts may use a different material than the original or carry no marking at all. A code on the old part does not guarantee the same material in its replacement. Paint, coatings, and in-mold films can also hide the substrate during sanding or adhesion checks.
Finally, some plastic components should not be repaired even when you know the material. Parts that house or mount driver-assistance sensors, contain energy-absorbing structures, or sit near airbag deployment zones may be subject to manufacturer repair restrictions. For these parts, vehicle-specific repair information takes precedence over general guidance. When the documentation, the code, and a simple test all agree, you can choose repair materials with confidence. When they conflict or cannot be confirmed, replacement or a professional assessment is the safer route.