Honda CR-V Check Engine Light: Causes and Diagnostic Next Steps
Honda CR-V Check Engine Light: Causes and Diagnostic Next Steps
A check engine light on a Honda CR-V means the engine and emissions control system has detected a condition outside its normal operating range. The light is a request for diagnosis, not a single definitive failure. The same warning can be triggered by a loose fuel cap, a misfire, an oxygen sensor fault, or a failing catalytic converter, among other causes.
Solid Light and Flashing Light Are Different
A steady check engine light usually indicates a fault that should be diagnosed soon but may not require immediate shutdown. A flashing check engine light is a stronger warning: it typically means the engine is misfiring in a way that can overheat the catalytic converter. Honda guidance generally treats a flashing light as a condition requiring reduced load and prompt professional attention. Continue driving only as needed to reach a safe place; do not ignore a flashing warning.
Quick Checks Before Reading Codes
Start with the simplest and least expensive causes:
Confirm the fuel cap is installed correctly and clicks after tightening. A loose or missing cap can allow evaporative-system pressure changes that trigger a warning. Check for recent refueling with the engine running or the cap not fully seated. Look for visible damage or disconnection in the air intake tubing and vacuum hoses. Check the oil level and dipstick seating, especially if service was recently performed. Note any new noise, roughness, hesitation, or reduced power along with the light.
If the light remains on after correcting an obvious item such as a fuel cap, the vehicle may need several drive cycles before the system completes its checks and clears the warning. A code reader can confirm whether stored data is still present.
Common Fault-Code Families and What They Indicate
The check engine light is only one piece of evidence. The stored diagnostic trouble code points the technician to the system involved, not necessarily to a failed part. Common families on CR-V models include:
Code family|Common system|Observable condition; P0300-P0304|Cylinder misfire|Rough idle or acceleration, possible flashing light; P0420|Catalyst efficiency|Often no drivability change; may pass unnoticed; P0171/P0174|Lean fuel mixture|Possible hesitation, surging, or reduced power; P0135/P0141|Oxygen sensor heater|Usually no visible symptom; P0455/P0457|EVAP system leak|Often related to fuel cap or vapor hose
A fault code should be treated as evidence to investigate rather than proof that a specific component has failed. For example, a misfire code can be caused by an ignition coil, spark plug, fuel injector, or a mechanical condition. A catalyst efficiency code can result from a degraded converter or from an upstream sensor providing inaccurate data.
Honda CR-V Generational Notes
The meaning of the warning is consistent across generations, but the components differ by model year and powertrain. Older CR-V generations used port-injected engines and more conventional vacuum-controlled evaporative systems. Newer direct-injection turbocharged variants introduced different high-pressure fuel components, electronic wastegate controls, and updated emissions monitors. Diagnostic guidance should be confirmed against the applicable model year, generation, powertrain, trim, and market.
When to Seek Professional Diagnosis
Professional diagnosis is recommended when:
The check engine light is flashing while driving. The light is accompanied by overheating, smoke, strong fuel odor, or severe loss of power. Basic checks do not resolve the warning after several drive cycles. The same code returns after a repair, indicating an unresolved underlying condition. Emissions testing is required and the warning prevents a valid test result.
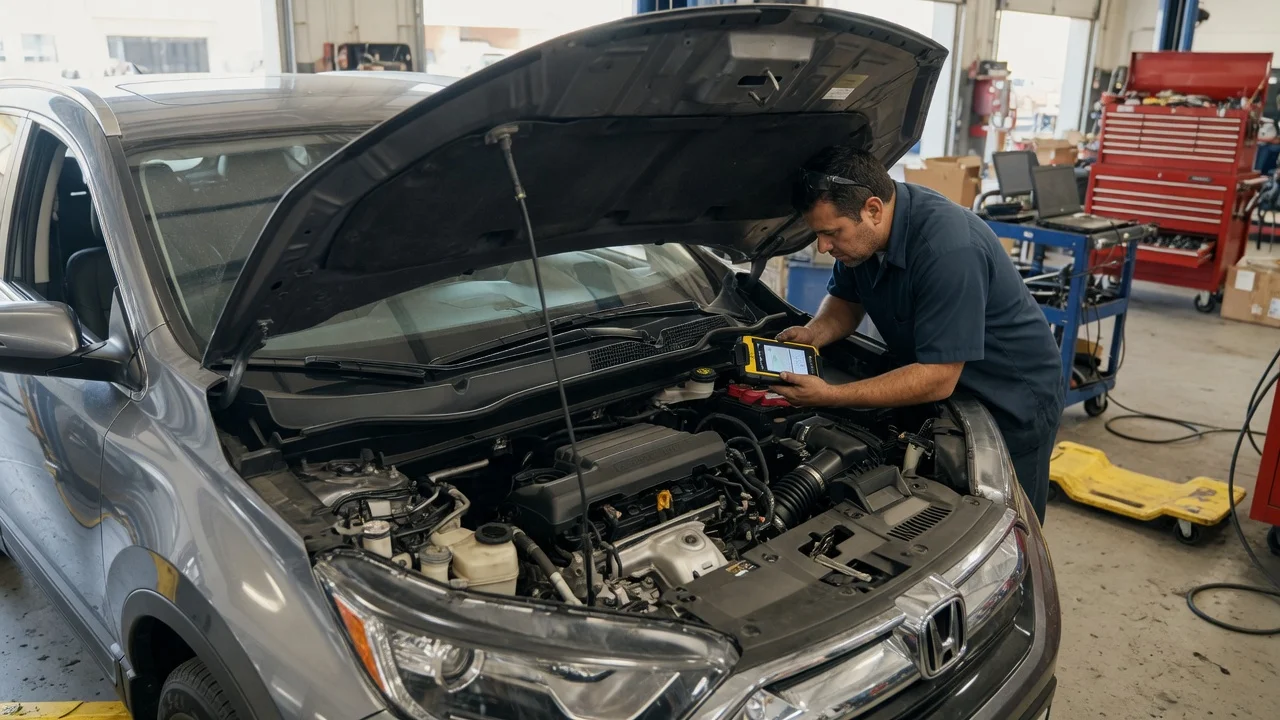
A workshop will generally read stored codes, inspect freeze-frame operating conditions at the time the fault was set, and perform diagnosis before replacing parts. This sequence is important because replacing a sensor or converter without confirming the underlying cause can leave the warning unresolved.
Source and Verification Gaps
This article is not based on manufacturer technical repair data for any single model year and has not been checked against Honda service bulletins. Specific readings, tightening values, test procedures, and warranty coverage should be confirmed against applicable Honda owner and service documentation. If an owner observes contradictory information for their specific trim or powertrain, the model-specific manufacturer information should take precedence.