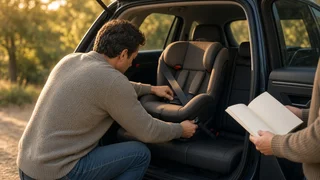
Graco EasyTurn 360 2-in-1 Installation Instructions and Manual: What to Know
The Short Answer
The Graco EasyTurn 360 2-in-1 is a convertible car seat. Correct installation depends on two documents used together: the seat's own instruction manual and your vehicle owner's manual. The seat manual sets the seat's modes, weight and height limits, belt paths and recline settings. The vehicle manual tells you which seating positions have lower anchors and top tether anchors, and how the seat belts lock.
This guide covers the general sequence and the checks that apply to most convertible car seats sold in the US. It does not replace the printed manual. No confirmed specifications for this model were available while preparing it, so it gives no weight limits, height limits, recline angles or dimensions. Take those figures from the labels on the seat and from the manual that came with your unit. Different production runs can carry different limits.
What "2-in-1" and "360" Mean
In car seat terminology, a 2-in-1 convertible seat usually works in two modes: rear-facing with a harness for infants and toddlers, and forward-facing with a harness for older children. It does not usually convert to a booster. The "360" in the name points to a rotating seat shell, which lets the seat turn toward the door for loading. Check your manual to confirm exactly which modes your version supports and how the rotation feature works.
Finding the Manual
Graco seats normally ship with the printed manual tucked into a storage spot on the seat shell. If yours is missing, you can usually get a replacement or a digital copy from Graco's official website or customer service. Have the model number and date of manufacture from the seat's label ready, because the manual must match your specific unit.
While you are reading the label, also note the seat's expiration date. Register the seat with the manufacturer so you receive recall notices.
Before You Start
The seat's instruction manual for your exact model number; Your vehicle owner's manual, especially the child restraint section; A chosen seating position where the vehicle manual permits a child seat, ideally the rear seat; The child's current weight and height, to confirm which mode applies; The seat's labels, to check its mode limits and expiration date
A key precaution: never place a rear-facing child seat in front of an active front airbag. Most guidance recommends the back seat for all children in car seats.
Installation Steps
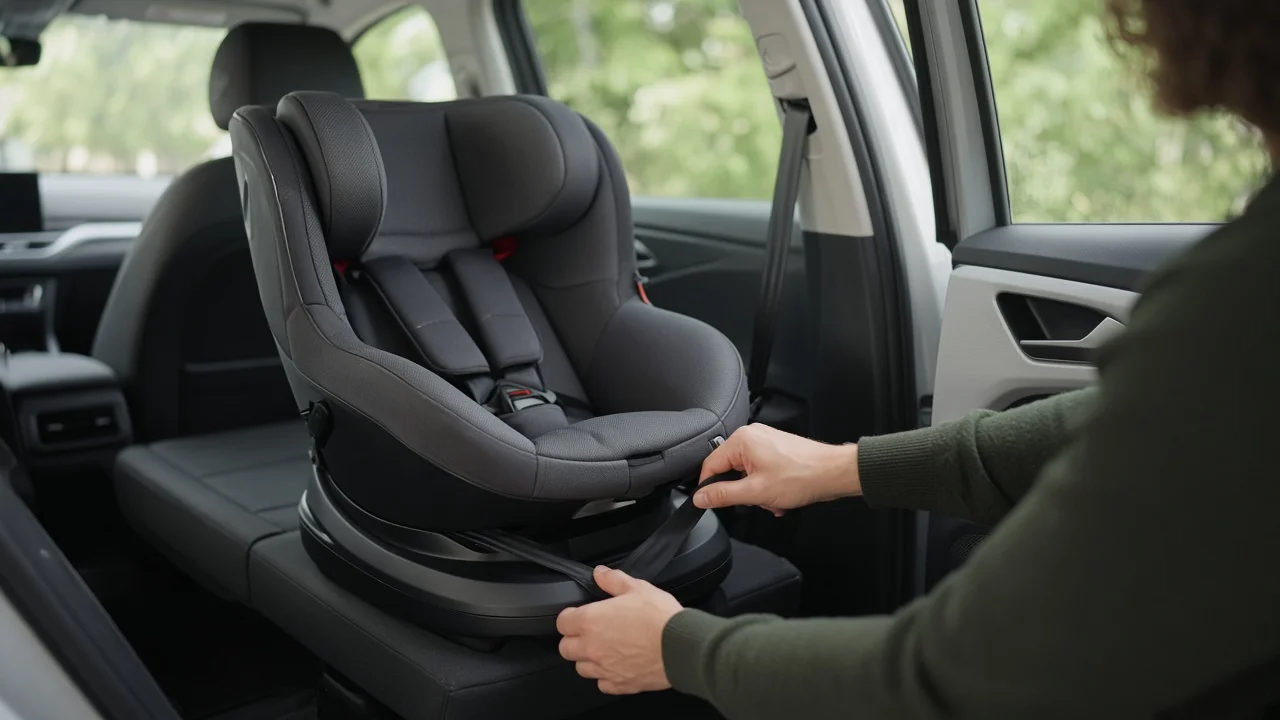
1) Choose the mode. Confirm from the seat labels and manual whether your child should ride rear-facing or forward-facing. Keep the child rear-facing for as long as the seat's rear-facing limits allow. 2) Set the recline. Adjust the seat to the recline position the manual specifies for the chosen mode. Use the level indicator on the seat if one is fitted. 3) Choose one attachment method. Use either the lower anchors (LATCH) or the vehicle seat belt. Do not use both at once unless the manual explicitly allows it. Lower anchors have a maximum child weight printed on the seat label; above it, switch to the seat belt. 4) Route the belt or connectors through the correct path. Rear-facing and forward-facing modes use different belt paths, which the seat marks. Make sure nothing is twisted. 5) Tighten. Press down firmly on the seat while removing slack from the lower anchor strap or seat belt. If you use the seat belt, lock it as described in the vehicle manual or with the seat's built-in lock-off if it has one. 6) Attach the top tether for forward-facing use. Connect the tether to the anchor your vehicle manual identifies, then tighten it. Do not use a cargo hook as a substitute. 7) Lock the rotation. Before driving, make sure the rotating shell is locked in the correct travel direction for the chosen mode, as described in the manual.
Completion Checks
Widely used US guidance says an installed seat should move less than one inch side to side or front to back when you pull it at the belt path. Test there, not at the top of the seat. If the seat moves more, tighten it again or try the other attachment method.
Once your child is seated, check the harness: The straps should sit at the height the manual specifies for the mode. In rear-facing mode this is typically at or below the shoulders. In forward-facing mode it is typically at or above them. The chest clip should be at armpit level. The harness should be snug enough that you cannot pinch excess webbing at the collarbone.
When to Get Professional Help
Get help from a certified Child Passenger Safety Technician (CPST) if any of these apply: The seat will not tighten to within the movement limit. The vehicle's anchors are hard to find. The seat belt will not lock. You cannot reach the recline the manual requires. CPSTs can check your installation in person, and many inspection events in the US are free.
Gaps in This Guide
This guide does not give model-specific weight and height limits for each mode, lower anchor limits, recline positions, the exact steps for the rotation mechanism, or seat dimensions and vehicle fit. These details appear in the Graco EasyTurn 360 2-in-1 manual and on the seat labels, and they may vary by production date. Treat those documents as the final authority.