Dorman Brake Booster Check Valve: Choosing the Correct Part
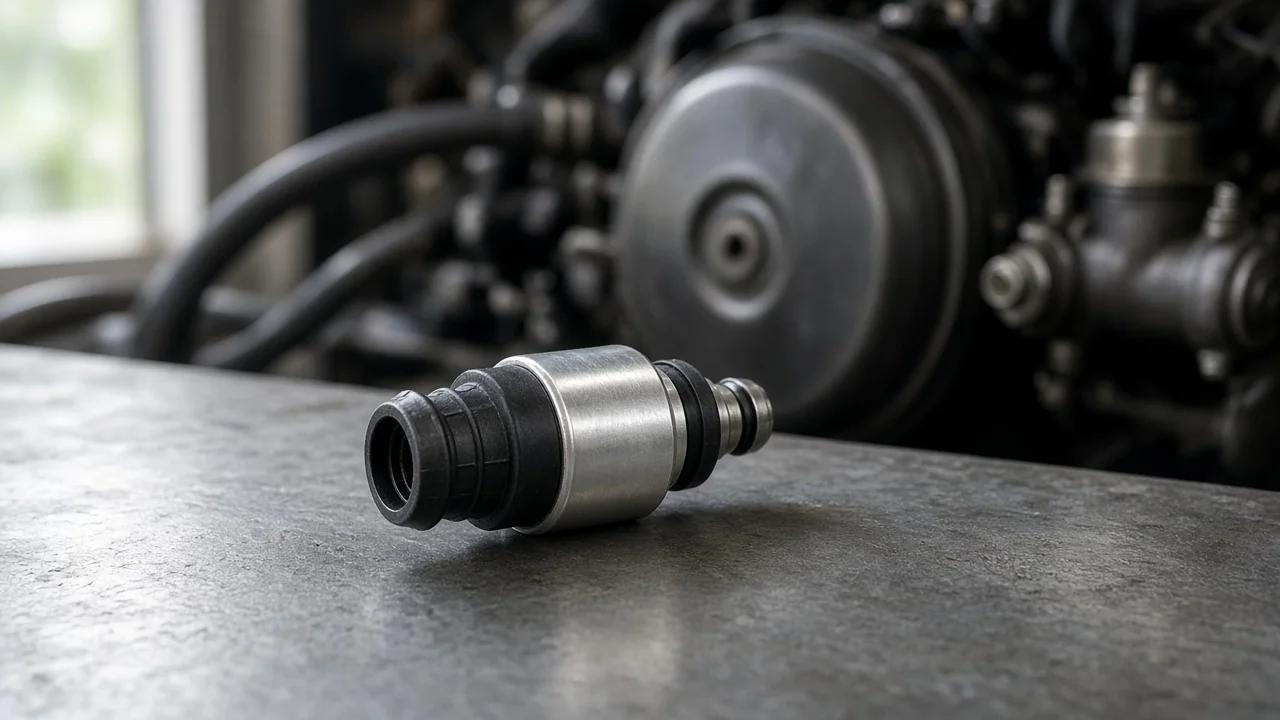
A brake booster check valve is a small one-way valve, but it decides whether your power brakes keep a vacuum reserve when engine vacuum drops. Dorman offers replacement valves for many vehicles. Choosing the right one comes down to two steps. First, confirm the valve is actually the problem. Then match its ports, mounting style and hose sizes to your vehicle. This guide walks through that process from a brake technician's point of view.
Define the job the product must do
On most gasoline engines, the vacuum brake booster draws vacuum from the intake manifold through a hose. The check valve sits in that path. It is usually pushed into a grommet on the booster shell or spliced inline. Many diesels and some turbocharged or direct-injection gasoline engines use a mechanical or electric vacuum pump instead, but the valve does the same job. It lets air flow out of the booster toward the vacuum source. It closes when source vacuum drops below booster vacuum, which happens under heavy throttle, during a stall and after shutdown. That trapped reserve gives you power assist for a stop or two when engine vacuum is weak.
Before buying anything, confirm the valve is the fault. Typical signs are a hard pedal on the first press after the car has sat, assist that disappears quickly after shutdown, or a hiss at the valve or grommet. A simple check: run the engine for a minute, shut it off, wait for the interval given in your service information, then press the pedal. The first application should still feel assisted. On the bench, use a hand vacuum pump. Vacuum applied to the booster-side port should hold, while vacuum applied from the engine side should pull through freely. Other faults can cause the same symptoms: a leaking booster diaphragm, a cracked hose, low engine vacuum or a failing vacuum pump. A hard pedal lengthens stopping distance, so treat it as a safety issue, not a convenience fault.
Check compatibility
The physical interfaces decide whether a valve will fit and seal. Start with the mounting style. A grommet-mounted valve pushes into the booster shell and usually has an elbow outlet. An inline valve joins two sections of hose. Some vehicles use a valve molded into a preformed hose assembly. Next, match the port count and check each nipple's outside diameter against the inside diameter of its hose. Also match the outlet's angle and orientation, so the hose routes without kinking near the master cylinder or strut tower. If your original valve has an extra nipple that feeds another vacuum device, the replacement needs the same port. Otherwise that line will be left open and create a large vacuum leak.
Vehicle fitment data narrows the field, but it does not replace a side-by-side comparison. Look up the part with the full year, make, model and engine. Read any notes about production dates, drivetrain or brake options, because the same model can use different booster or vacuum pump layouts. Dorman catalogs its replacement check valves by vehicle application, which is the right starting point. Once you have a candidate, compare it with the old part: flow direction marking, nipple sizes, outlet angle, overall length and whether the grommet is included. Valves are directional, and installing one backward blocks booster vacuum entirely.
Features that affect the choice
A few differences genuinely matter. Choose a valve sold with a new grommet when the original grommet has hardened or cracked. A fresh valve in a leaking grommet fixes nothing. A complete hose assembly costs more than a bare valve. On older vehicles, though, it also replaces hose that may be brittle, swollen or soft enough to collapse under vacuum. Clear flow arrows and published port dimensions make it easier to confirm the part before installation, which saves a return trip.
Treat labels such as direct replacement, OE fit or heavy duty as a statement of intent, not proof. The useful evidence is the fitment listing for your exact vehicle, the dimensions and port layout, the included components, and how closely the new part matches the one you remove. A check valve has no friction material or wear rating to compare. It either seals in one direction and flows in the other, or it does not. Judge candidates on fit and completeness rather than marketing wording.
Limitations and ownership costs
Installation is usually straightforward but still deserves care. With the engine off, release the hose clamp. Then twist the old valve out of its grommet rather than prying against the booster shell, which is thin. Inspect the grommet and every vacuum hose and clamp in the circuit, and replace anything hardened or cracked. If a lubricant helps the new valve seat, use one that is safe for rubber rather than petroleum grease. Afterward, repeat the engine-off assist check and listen for leaks at idle. The valve is not normally a scheduled maintenance item, so ownership cost is low. The grommet and hose age along with it, however, and may need replacing at the same time.
Know what this part cannot do. A check valve only manages vacuum supply to the booster. It will not cure a soft or sinking pedal, which points to the hydraulic side. It also does nothing for worn brake pads, scored or thin brake rotors, a sticking caliper, or old or contaminated brake fluid. Measure pads and rotors against the wear limits in your vehicle's service information rather than judging them by eye. Stop using the vehicle until the system has been inspected if the pedal is hard, low or spongy, the vehicle pulls, or a brake warning light is on. Have it professionally serviced if you cannot diagnose the fault with confidence. If a new valve does not restore normal assist, the booster or vacuum source likely needs attention.
Build a practical shortlist
Use a short checklist before ordering. Confirm through testing that the valve, grommet or hose is at fault. Record your year, make, model, engine and any production-date notes. Note the mounting style of the original part: grommet-mounted, inline or integrated hose. Count the ports, match each hose diameter and note the outlet angle. Check whether the grommet is included and whether you need replacement hose or clamps. Finally, confirm the flow direction marking so the part goes in the right way.
When more than one Dorman listing appears to fit, choose the one that matches your original part's physical layout rather than the one with the shortest description. If two options are otherwise identical, the version that includes the grommet or hose is often the better value when those components are aged. Keep the old valve until the new one is installed and the assist check passes, so you can compare details if something does not line up. No single valve is best for every vehicle. The correct part is the one that fits your booster, your vacuum source and your hose routing exactly.