Brake Booster Check Valve Grommet: Choosing a Replacement
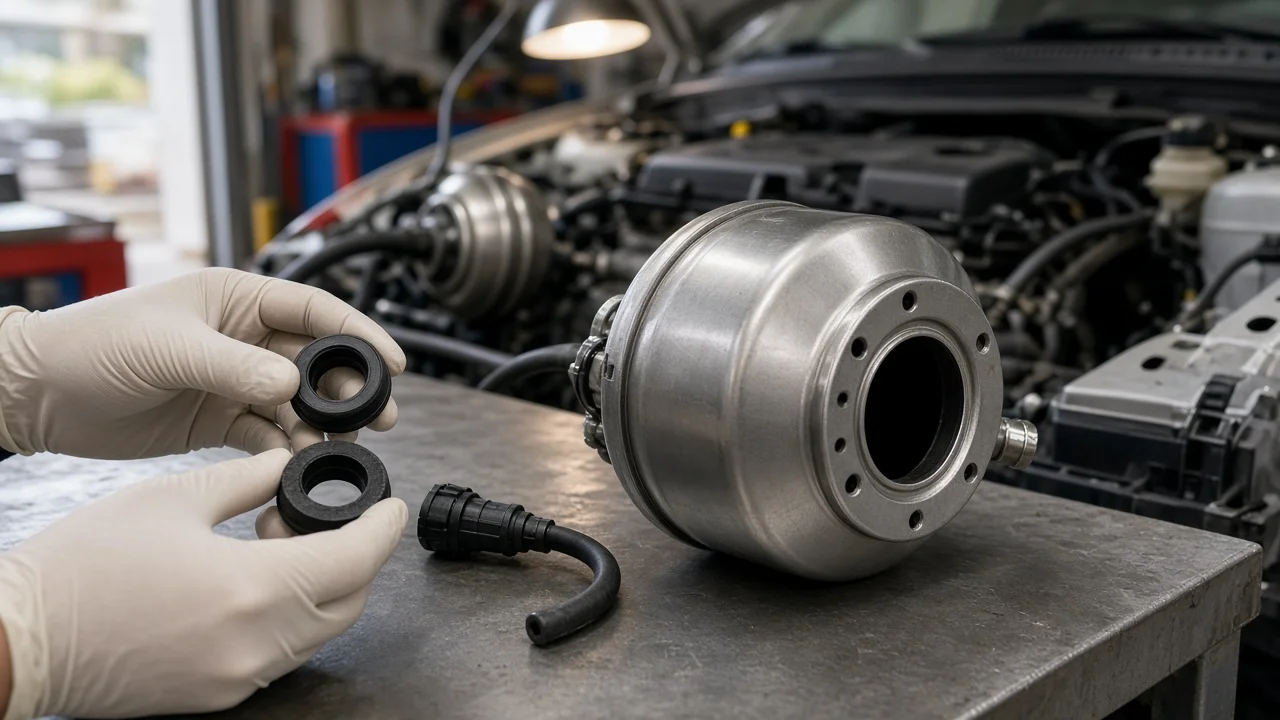
A brake booster check valve grommet is a small rubber seal, but it holds the vacuum that gives the brake pedal its power assist. When it hardens, cracks or shrinks, air leaks past the valve and the pedal can feel firmer than it should. This guide covers how to pick a replacement grommet that matches your booster and valve, which product details you can trust, and what the part cannot fix.
Define the job the product must do
The grommet presses into a hole in the front shell of the vacuum booster and grips the check valve, sealing against both at once. The check valve lets air flow out of the booster toward the engine's vacuum source and closes when that vacuum drops. This lets the booster keep a reserve for a few brake applications after the engine stalls or is shut off. The grommet has to stay sealed through engine-bay heat, vibration and years of compression. It also has to hold the valve firmly enough that the hose cannot pull it loose.
Before buying anything, confirm that the grommet is the actual problem. Typical signs are a hiss near the valve at idle, a valve that wobbles or slides out with little effort, and rubber that is visibly cracked, flattened or brittle. A firm pedal can also come from a collapsed or split vacuum hose, a failed check valve, a leaking booster diaphragm or a weak vacuum supply. A basic check: with the engine off, press the pedal several times to use up the stored vacuum, hold light pressure on it and start the engine. The pedal should sink slightly as assist returns. If the pedal stays hard, sinks to the floor or braking feels inconsistent, stop using the vehicle and have the brakes inspected professionally. Do not keep driving on a guess.
Practical constraints matter too. Some vehicles have no vacuum check valve grommet at all because they use hydraulic boost from the power steering system or an electric brake booster. Many diesels and some gasoline direct-injection engines draw booster vacuum from a mechanical or electric pump rather than the intake manifold, which can change the valve and hose layout. Access also varies. On some models the valve is in plain view, while on others it sits behind an air intake duct or wiring that must be moved first.
Check compatibility
Fit depends on three dimensions: the diameter of the hole in the booster shell, the diameter of the valve body where the grommet grips it, and the shell thickness that the grommet's outer groove must straddle. Grommets that look identical in a photo can differ by fractions of a millimeter. That is enough to cause a leak or to make the valve impossible to seat. The most reliable reference is the part number listed in the service information or a parts catalog for your exact year, model, engine and booster. Vehicle fitment can differ between engines and sometimes within a single model year.
Check the valve design as well. Valves come straight or angled, in plastic or metal. Some boosters use a valve with an integrated seal or a twist-lock housing. In that case no separate grommet is offered and the whole valve must be replaced. On other vehicles the check valve sits inline in the hose, and the booster port uses a different seal. Before installing, compare the old grommet side by side with the new one, including the lip profile and inner bore. If you work from a universal assortment, measure the hole, the valve body and the shell thickness rather than matching by eye.
Features that affect the choice
The rubber compound has to tolerate heat, ozone and the fuel vapor that can reach the booster through the vacuum line. An original-equipment part is built to the vehicle maker's specification, while aftermarket listings may name EPDM, nitrile or silicone. A material name alone does not tell you the hardness, aging resistance or dimensional accuracy of the part. Labels such as premium, heavy-duty or OE quality are marketing terms unless the listing backs them up with a part number cross-reference, dimensions and specific fitment notes.
The other choice is how much to replace. Buying only the grommet makes sense when the check valve works correctly and the hose is still supple. A working valve passes air from the booster side toward the engine side and blocks flow in the opposite direction. If the valve is as old as the grommet, its internal seal has aged too, and a kit with both parts can save a second job. Hoses that are hard, swollen or cracked at the ends are worth replacing at the same time. When comparing listings, the useful evidence is an exact part number match, stated dimensions, fitment by engine rather than by model alone, and clear photos of the grommet's profile.
Limitations and ownership costs
Installation is simple but easy to get wrong. Twist the valve gently while pulling it out. Prying against the booster shell can bend or dent it, and pushing on the old grommet can drop it inside the booster. Clean the hole and check its edge for corrosion or burrs. Seat the new grommet so its lip sits fully on both sides of the shell, then press the valve in with the orientation shown in the service information. Use only a lubricant the service information approves, because petroleum-based grease can swell some rubber compounds. Afterward, reconnect the hose, listen for hissing at idle and repeat the pedal check.
A new grommet only restores the vacuum seal. It will not fix a torn booster diaphragm, a weak vacuum pump, brake pads with worn friction material, brake rotors below their wear limits, a sticking caliper, or low or contaminated brake fluid. Each of those needs its own inspection against vehicle specifications. Brake fluid around the valve or inside the booster points to a leaking master cylinder seal rather than a grommet fault, and it calls for professional repair. The grommet itself is generally inexpensive. The real ownership cost is the time needed to reach it, plus any hose, valve or clamp that turns out to be worn once the area is opened up.
Build a practical shortlist
Use this checklist to narrow the options. First, confirm the vehicle has a vacuum booster with a check valve mounted in the shell. Second, find the original part number or a catalog listing matched to year, model, engine and booster. Third, compare the listed or measured hole diameter, valve body diameter and shell thickness with the old part. Fourth, decide between a grommet alone and a kit with the valve and hose. Fifth, confirm the material and listing are intended for engine-bay vacuum service. Sixth, prefer listings with clear photos and fitment notes over generic universal descriptions. Finally, plan the leak and pedal checks you will do after installation, before the vehicle goes back into service.
When two candidates both fit, choose the one with documented dimensions and vehicle fitment over a cheaper part with no specifications. Universal grommet assortments suit someone who maintains several vehicles and can measure accurately. A single owner usually saves time by buying the exact listed part. If the correct grommet is no longer sold separately, replacing the complete check valve assembly is the dependable route.