Choosing a Steering Linkage Rod: Fitment, Features and Ownership Costs
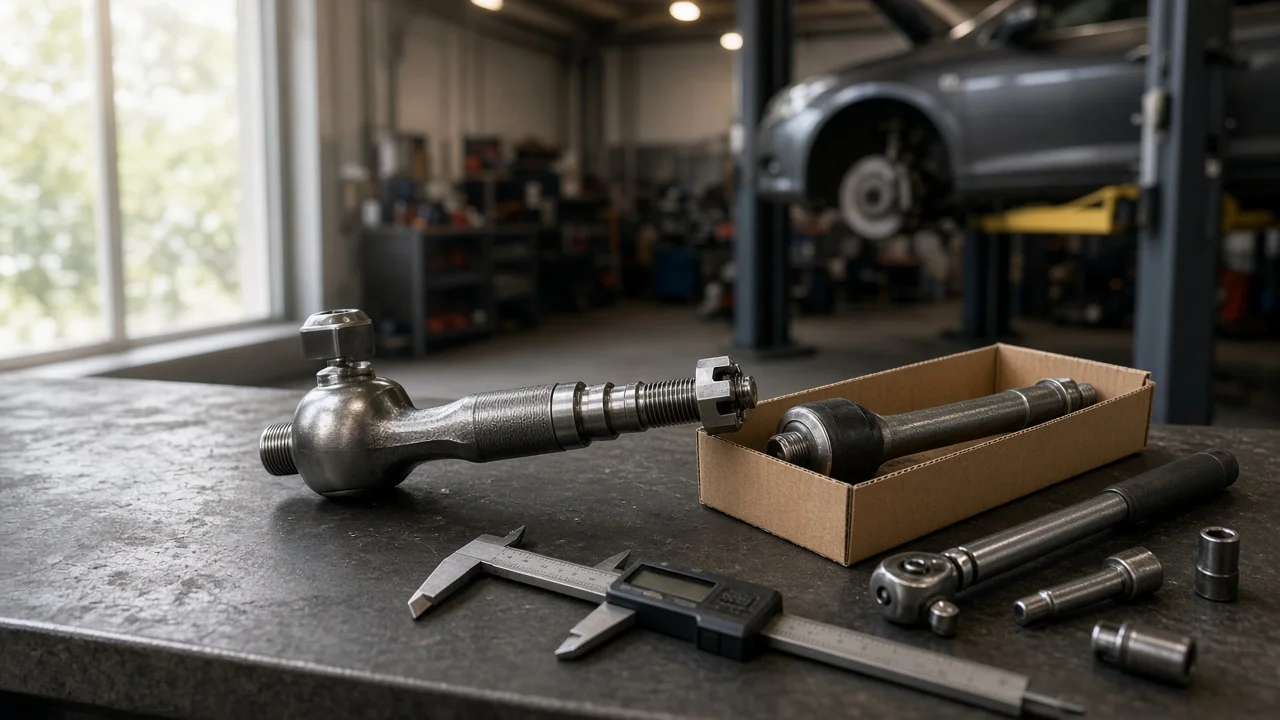
A steering linkage rod transfers motion from the steering gear to the wheels, so a poor choice shows up as wander, uneven tire wear or an off-center steering wheel. The term covers several parts, including inner and outer tie rods, drag links, center links and relay rods, and they are not interchangeable. This guide explains how to narrow the options to a rod that matches your vehicle, your driving and your budget before you spend money on parts or labor.
Define the job the product must do
Start by identifying which rod you actually need. Rack-and-pinion vehicles, which include most modern cars and crossovers, use inner and outer tie rods attached to the rack. Many trucks, older vehicles and solid-axle 4x4s use parallelogram or drag-link layouts with a center link, relay rod, idler arm, Pitman arm and tie rod assemblies. Confirm the diagnosis as well. Excessive joint play, a torn boot or a rod bent by a curb strike each point to a specific part, while a worn rack mount, loose steering box or failing wheel bearing can produce similar symptoms.
Next, consider how the vehicle is used. A commuter on paved roads needs a correct replacement that holds alignment and lasts. A lifted truck, a vehicle that tows or plows, or one driven off-road loads the linkage harder and may justify a heavier design. A modified ride height changes steering geometry, so standard parts may not suit it. Your budget, whether you plan to install the part yourself and how long you expect to keep the vehicle all shape which option makes sense.
Check compatibility
Fitment depends on year, make, model, drivetrain, steering system and sometimes production date. Two versions of the same model can use different racks, knuckles or linkage layouts, especially between two-wheel and four-wheel drive versions or between trim packages. Search by VIN or original part number when the catalog allows it, and compare the listing against the part you remove.
Several interfaces decide whether a rod will work: thread size and pitch where inner and outer rods join, left-hand or right-hand threads, the taper and diameter of the ball stud where it seats in the knuckle or link, overall length, and how the rod attaches at its mounting points. A rod with the wrong length or taper may appear to fit but will not seat properly or will leave too little adjustment range. Check whether the castle nut, cotter pin, jam nut, boot and clamps are included. Follow the vehicle manufacturer's fastener specification for torque and for any one-time-use hardware instead of reusing old self-locking nuts.
Features that affect the choice
Joint design is the main difference between products. Greaseable joints with grease fittings allow periodic lubrication and can last longer on vehicles exposed to water, mud or heavy loads, but only if someone actually greases them. Sealed joints need no routine service and suit owners who will not maintain fittings. Boot quality also matters, because a torn boot lets dirt and water reach the ball and socket and accelerates wear.
Rod construction is the other variable. Larger-diameter or solid rods resist bending, which matters on lifted or off-road trucks, and adjustable sleeves set toe. Some aftermarket designs add extra adjustability for modified vehicles. Treat labels such as heavy duty, premium or OE quality as marketing claims rather than evidence. More useful indicators are stated materials, a clear warranty, published dimensions that match your old part and a description of how the joint is built. Original-equipment parts offer known fit, while aftermarket parts vary widely in fit and finish, so compare specifics rather than branding.
Limitations and ownership costs
Installing a new rod does not finish the job. Any part that sets toe changes wheel alignment, so plan for a professional alignment afterward; counting threads or measuring the old rod only gets the vehicle close enough to drive to the shop. Budget for a ball joint separator, and allow time to free seized adjuster sleeves on older vehicles. Inner tie rods on rack systems often need a dedicated removal tool, and a pickle fork can tear a boot you intended to keep.
Work safely: use proper vehicle support with rated jack stands on solid, level ground, never rely on a jack alone, and follow the service procedure for your model. A new rod will not fix a worn steering rack, loose steering box, bad idler arm, worn ball joints or damaged wheel bearings, and replacing one rod next to worn parts often leaves symptoms unresolved. Greaseable designs add a maintenance task. Replacing rods in pairs costs more up front but keeps wear even, and a rod bent by an impact is a reason to inspect the connected components too.
Build a practical shortlist
Narrow the field with a short checklist. Confirm the exact part type and position: inner or outer tie rod, left or right side, drag link, center link or relay rod. Verify fitment by VIN or part number, then compare thread, taper and length with the removed part. Choose sealed or greaseable joints based on how you will maintain the vehicle, and check which hardware and boots come in the box.
Compare the remaining candidates on warranty terms, stated materials, return policy and suitability for your ride height and use. For a stock daily driver, a well-fitting replacement that matches the original design is usually enough. For a lifted, towing or off-road vehicle, look at stronger linkage made for that geometry. Add alignment, tools and any labor to the part price before deciding, and if the diagnosis or installation is uncertain, have a qualified technician inspect the steering system first.