C4 Corvette Coolant Flush: Drain, Refill and Bleed the Cooling System
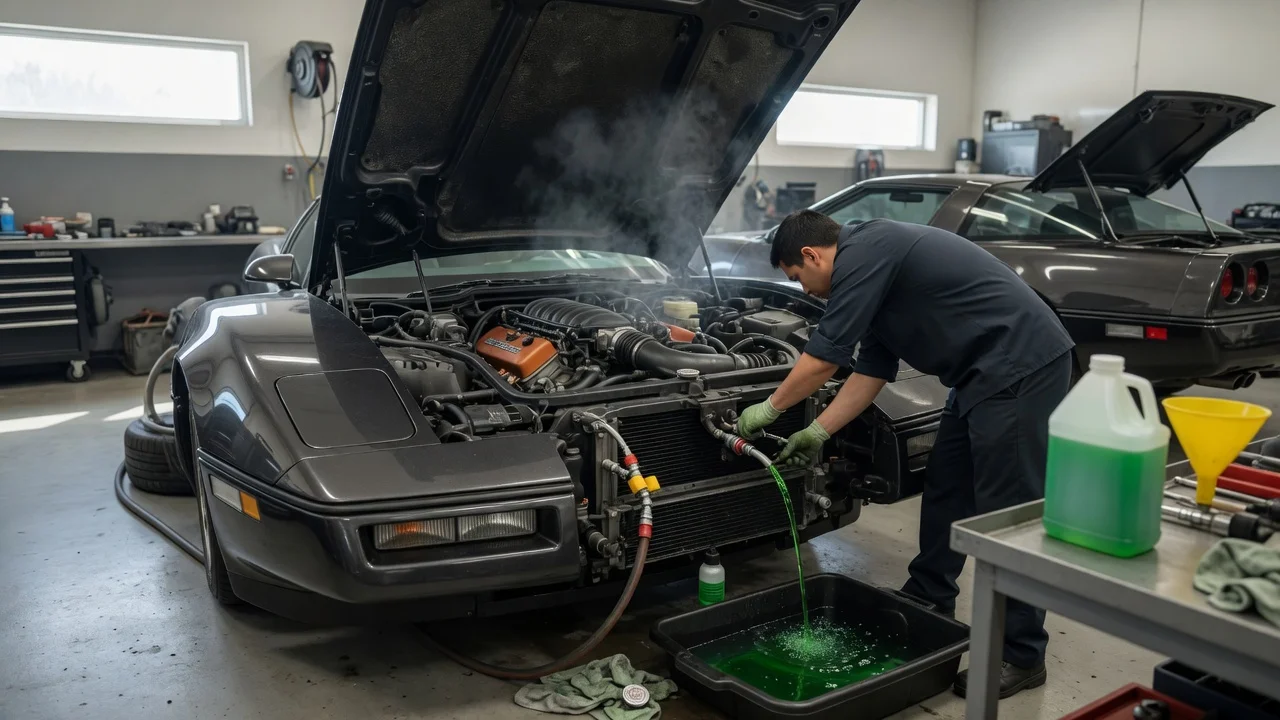
What a C4 coolant flush actually is
A C4 Corvette coolant flush is a cooling-system service: you drain the old antifreeze mixture, refill with the correct new coolant, and bleed trapped air so the engine, radiator and heater core circulate without pockets. Chevrolet’s fourth-generation Corvette covers model years 1984 through 1996. The job is the same in outline on every C4, but drain points, bleed locations and coolant routing change with engine family, so the procedure is not identical from Cross-Fire through LT1 and LT5.
Scope and what changes the answer
Treat the car as a closed liquid-cooling loop: radiator, water pump, thermostat, hoses, heater core and the passages in the block and heads. A flush is not a radiator-only drain. Leaving old coolant in the block, heater core or a low hose leaves mixed, diluted or contaminated fluid in the system. Air left in the loop after refill can cause overheating, a misleading temperature gauge and weak cabin heat.
Engine generation is the qualification that most changes the work. 1984 used Cross-Fire Injection (L83). 1985–1991 small-block cars used the L98. 1992–1996 used the LT1, which has reverse-flow cooling: coolant is directed to the cylinder heads first, then the block. 1990–1995 ZR-1 cars used the LT5. Reverse-flow LT1 plumbing and thermostat placement are not the same as the earlier L98 layout, so bleed points and the order you fill and run the engine can differ. Confirm the exact drain plugs, petcock, thermostat housing and any dedicated bleeder for your year and engine in the factory service manual or a year-matched procedure. Published system capacity, torque values and coolant specification are not restated here because they were not supplied for this article and vary by year and powertrain.
Drain, refill and bleed in order
Work only on a cold engine. Opening a hot pressurized cooling system can spray scalding coolant. Support the car securely if you need underbody access. Catch old coolant in a container rated for it and dispose of it as hazardous waste; ethylene glycol is toxic to people and animals.
Drain the radiator from its petcock or lower hose, then drain the engine at the block drain plugs if your year has them and they are accessible. Opening the fill neck or a bleeder while draining helps the system empty instead of pulling vacuum. If you are truly flushing rather than a simple drain-and-fill, run clean water (or a product the service information allows) through the radiator, block and heater core until what comes out is clear, then drain that water completely. Distilled water is the usual choice for the final rinse and mix so mineral scale from tap water is not left in the passages. Refill with the coolant type and mix ratio specified for that C4. Fourth-generation cars were built in the conventional (typically silicate, “green”) coolant era; do not assume a later GM Dex-Cool fill unless the under-hood label or a year-correct specification says so. Mix only as the bottle and the vehicle specification require, usually with distilled water. Fill slowly at the designated fill point so air can leave as liquid enters. Bleed air with the heater on full heat so the heater core is in the circuit. Bring the engine to operating temperature with the radiator cap off or the bleeder open only if the service procedure for that year allows it, and top up as the level drops. Watch for a steady stream without large bubbles at the bleeder or fill neck, a rising temperature that then stabilizes, and hot air from the vents. After a cool-down, recheck the level in the radiator and overflow tank and top up again. A short drive and a second cold check are normal; air can still migrate after the first run.
What you still need to verify
This article does not replace a year-and-engine procedure. Before you start, confirm coolant type and mix, total capacity, thermostat rating, hose and clamp condition, radiator cap rating, and the location of every drain and bleeder on your car. LT1 reverse-flow systems in particular should be filled and bled by a method written for that engine, not copied from an L98 walkthrough. If the temperature climbs after a fill, the heater stays cold, or the overflow tank surges, stop and treat it as air, a restriction, a failing cap or a leak rather than driving on. When the work is done, the supported next action is a cold level check, a leak walk-around, and a road test while watching temperature—not a guess at undocumented capacities or torque figures.