Brake Warning Light Comes On and Off or Flashes: Diagnostic Checks
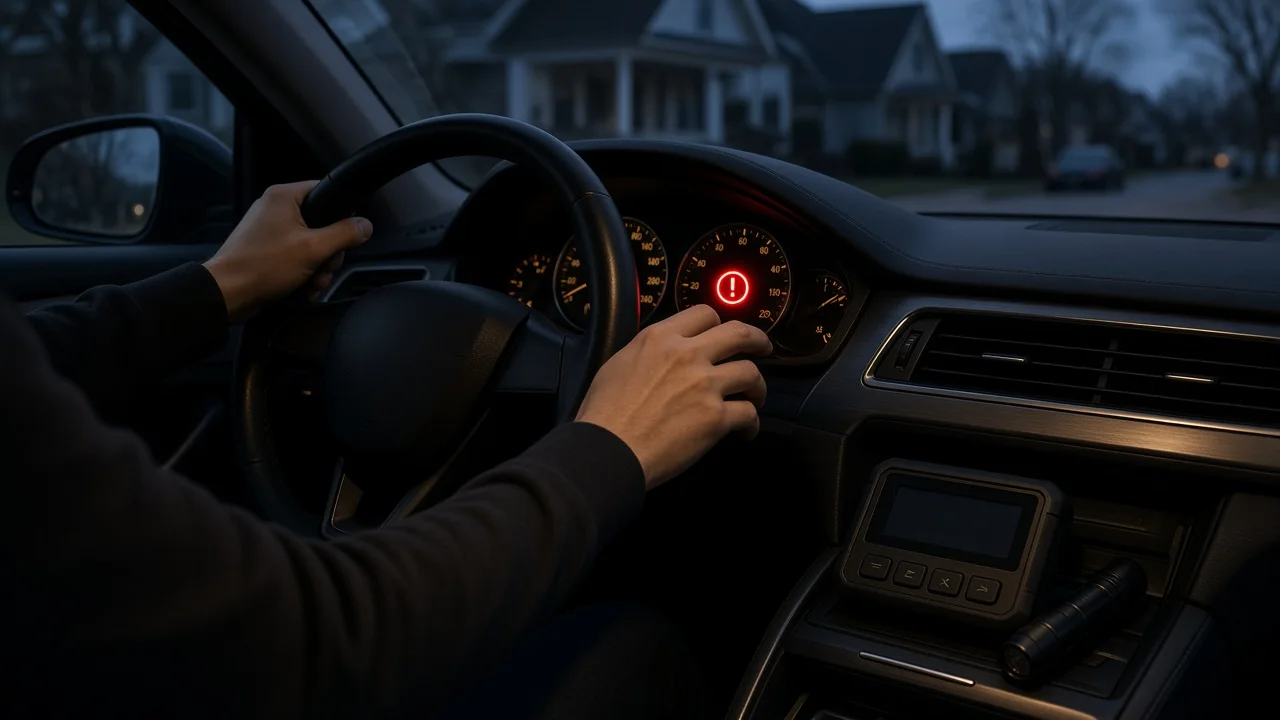
A red brake warning light that comes on and off while you drive, or flashes, signals a problem with the hydraulic system, the parking brake circuit or a related control module. When the light appears is the most useful clue you have. This guide explains how to record the symptoms, separate the likely causes, run checks in a sensible order and decide whether the vehicle should be driven before it is repaired.
Establish the symptoms
Start by noting exactly when the light appears. Does it flicker on during cornering, hard braking, pulling away from a stop or driving down a hill? Does it react to bumps or rough roads? Does it show only after a cold start, or only at low speed? Record whether the light is steady or flashing when it comes on, whether the ABS or traction control light comes on with it, and whether a message appears on the information display. Check the owner's manual to confirm which symbol you are seeing. The main red warning is usually the word BRAKE or an exclamation mark inside a circle. On some vehicles a separate amber symbol covers pad wear or the electronic parking brake.
Next, note any related signs. These include a pedal that feels softer, travels further or sinks, and grinding or squealing noises. Also note pulling to one side, a burning smell, and fluid spots where the car is parked. Then list recent changes: new brake pads, fluid added, a disconnected or replaced battery, suspension or tire work, or driving through deep water. Recent changes matter because they often narrow the field faster than any test.
Distinguish plausible causes
Low brake fluid is the most common reason the light comes and goes. A float switch in the reservoir closes when the level drops to its threshold. When the fluid sits near the minimum mark, it shifts during braking, turns and slopes, so the switch opens and closes repeatedly. A light tied to braking, cornering or hills, plus a level at or below MIN, supports this cause. The level drops gradually as brake pads and brake rotors wear, because the caliper pistons move outward and hold more fluid. Low fluid with worn pads and no visible leak therefore points to wear. Low fluid with plenty of friction material left points to a leak. Possible leak points are a caliper, wheel cylinder, hose, line or the master cylinder, which can also leak internally toward the brake booster.
The parking brake circuit is the next suspect. A lever or pedal that is not fully released, or a worn or misadjusted switch, can make the light flicker over bumps. This cause fits if the light changes when you move the lever slightly. It is less likely if the lever returns fully and the switch moves positively. With an electronic parking brake, a fault may produce a flashing brake warning light or a separate symbol. A display message and a stored fault code usually accompany it.
Electrical and module faults make up the third group. A damaged connector at the reservoir sensor or chafed or corroded wiring can cause a random pattern. The light may not follow braking but may react to bumps or wet weather. On many vehicles, the ABS module also controls brake force distribution and lights the red warning alongside the ABS lamp when it detects a fault, such as a wheel speed sensor problem. Both lights together support this cause. Some vehicles show the brake light when system voltage is low, so check whether the light comes on together with charging warnings or dimming lights.
Checks in a useful order
Begin with checks any owner can do safely. First, confirm in the owner's manual what a steady or flashing light means for your vehicle. Then, with the car parked, operate the parking brake and watch the light as you release it fully. With the vehicle on level ground and the engine off, read the reservoir level against the MIN and MAX marks, and note the color of the fluid. Look for wetness around each wheel, on the inside of the tires, along the underside and below the master cylinder. With the engine running and the vehicle stationary, press the pedal firmly and hold it. A pedal that slowly sinks is a significant finding. Record the fluid level before adding any, because that level is evidence.
The remaining checks need tools, specifications or a qualified technician. Pad and rotor thickness must be measured with the wheels removed and compared with the manufacturer's wear limits for your exact vehicle fitment. Rotor minimum thickness is often stamped on the rotor. Reading ABS, brake distribution or electronic parking brake codes requires a scan tool that can access those modules, which a basic engine code reader often cannot. Testing the level switch, the parking brake switch and the wiring requires a multimeter and the correct wiring diagram. Inspecting hoses, lines, caliper seals and the master cylinder, testing fluid condition and bleeding the system are best left to a technician. If you add fluid, use only the type specified on the cap or in the manual.
Interpret the findings
Low fluid with pads near their wear limit and no leak explains the light, and replacing the pads and possibly the rotors addresses the cause. Avoid filling to MAX before that work, because pushing the pistons back for new pads raises the level and can cause an overflow. Low fluid with healthy pads means a leak until proven otherwise. Topping up only buys time to find it and does not show where the fluid went. A full reservoir with the light still flickering makes fluid level unlikely and moves the focus to the switches, the wiring and stored codes.
A fault code identifies a circuit or a sensor reading, not necessarily the failed part. A wheel speed sensor code, for example, can come from the sensor itself, its wiring or a damaged tone ring. Confirm the fault with the tests in the service information before buying parts. Replacing a reservoir sensor or parking brake switch without measuring it first is guesswork. Whatever the repair, verify it by driving under the same conditions that triggered the light before.
Urgency and next action
Stop driving and arrange a tow if any of these apply. The pedal feels soft or spongy, sinks toward the floor or needs pumping. The car takes noticeably longer to stop or pulls hard to one side. There is metal-on-metal grinding, or fluid is visibly leaking. The reservoir is empty or nearly empty. The red light stays on together with the ABS light and the pedal feels different. An intermittent light with a normal pedal still needs prompt inspection. There is no reliable way to know how much further driving is safe, because a leak or a worn component can get worse suddenly.
Give the technician your notes. Include when the light appears, whether it is steady or flashing, and which other warnings accompany it. Add how the pedal feels, the fluid level as you found it and whether you added fluid. Mention any leaks you saw, recent work and any codes read. Also provide the year, make, model, engine and VIN so that parts and fluid match the vehicle. This information shortens the diagnosis and reduces the chance of replacing parts that were not at fault.