Allison 1000 Transmission Limp Mode: Finding the Fault and Choosing a Fix
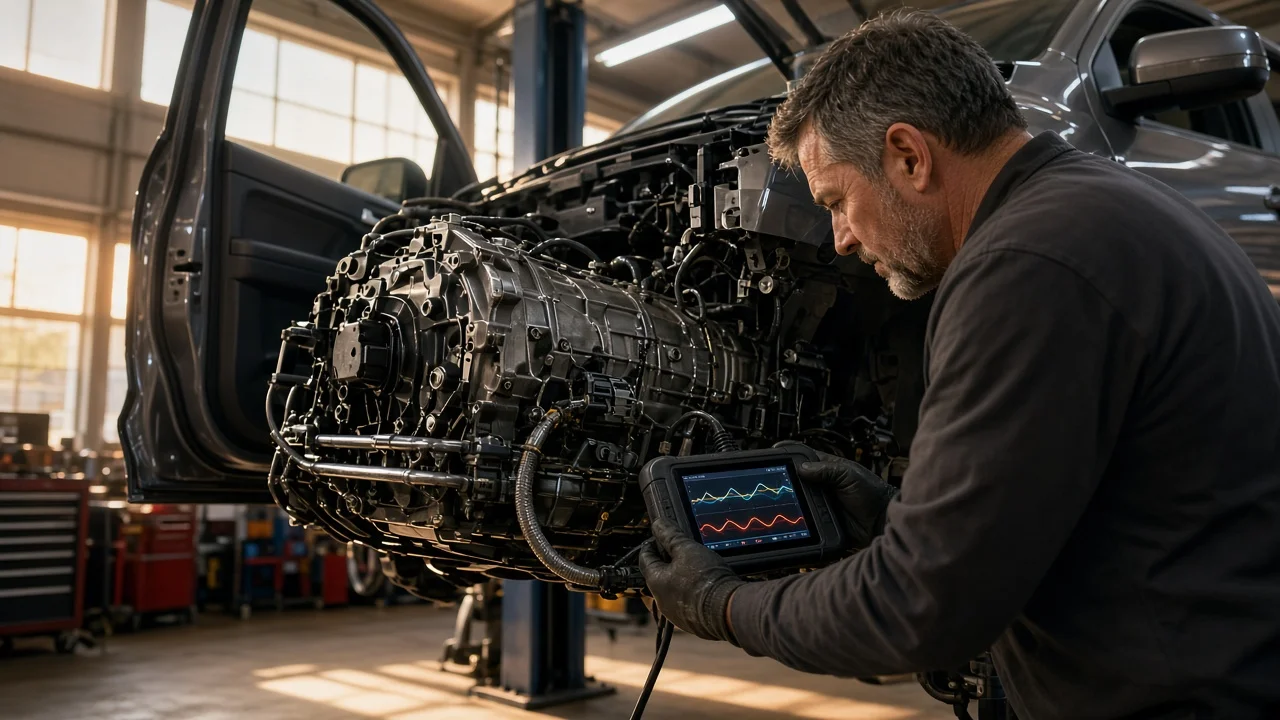
When an Allison 1000 drops into limp mode, the transmission control module has decided something is wrong and locked the unit into a protective default gear, usually with a check engine or service light. The truck still moves, but slowly and without normal upshifts. A lasting fix starts with identifying the exact transmission version, reading the stored codes and confirming the cause before spending money. This guide walks through that process and the repair options that follow from it.
What limp mode is telling you
Limp mode, sometimes called default or fail-safe mode, is a protective strategy rather than a diagnosis. When the controller sees a signal it cannot trust or a condition that could damage the clutches, it commands a fixed range so the truck can be driven gently to a shop. Typical complaints include a flare or harsh engagement, no upshift past a single gear, high engine speed at highway pace and a lit warning lamp. Some faults clear after a key cycle and return later; others stay latched until codes are cleared.
Before choosing a fix, define what you actually need from the truck. A daily-driven pickup that tows occasionally has different priorities than a work vehicle under deadline or a high-mileage tow rig. Note when the problem appears: cold start, after a long climb, over bumps, in rain or at one specific shift. Record the load, outside temperature and how long the truck had been running. These details narrow the search far more than the symptom alone, because the same limp-mode behavior can come from low fluid, a loose connector, a failing sensor or genuine internal wear.
Confirm the transmission type and configuration
The Allison 1000 name covers several versions. Early GM heavy-duty pickup applications used a five-speed design, and a six-speed version followed in the mid-2000s; the unit has also been fitted to some van, motorhome and medium-duty commercial chassis. Two-wheel and four-wheel-drive versions differ in their output and transfer case arrangement, and the transmission control module, its software and its wiring vary with the vehicle platform and model year. Confirm the configuration from the vehicle identification number, the transmission identification plate or the build information rather than assuming from appearance.
Fitment matters for every later step. Replacement sensors, solenoids, valve body assemblies, harnesses and controllers must match the specific variant, and a remanufactured transmission must match the engine, transfer case and controller strategy. The fluid specification also depends on the application and year: check the owner's manual, the dipstick marking or the service information for the approved fluid instead of relying on a general compatibility claim on a bottle. Using the wrong fluid or installing a part meant for a neighboring year can create new shift complaints that look like the original fault.
Read the evidence before buying parts
Start with diagnostic codes, and use a scan tool that can communicate with the transmission controller, not just the engine module. A basic code reader may show only a generic transmission request code such as P0700, which tells you the controller flagged a problem but not which one. Write down every code, whether it is current or history, and any freeze-frame data before clearing anything. Then check fluid level and condition using the procedure for your application; on many GM pickups the level is checked hot, with the engine running and the truck on level ground. Low level, a burnt smell or debris on the dipstick change the diagnosis immediately.
Codes point to circuits and conditions, not guaranteed failed parts. A speed sensor code can come from the sensor itself, a chafed wire, corrosion in a connector or a damaged tone ring. A gear ratio or slip code can reflect low fluid, a sticking valve, solenoid trouble or worn clutches. Low system voltage, weak batteries and poor grounds can trigger several unrelated transmission codes at once. Inspect the harness and connectors at the transmission, check battery and charging voltage, and compare live data such as input, output and turbine speeds, fluid temperature and range position against the expected shift behavior. That evidence is what separates an inexpensive fix from a major repair.
Repair options and their trade-offs
Repair options fall along a scale. At the low end are fluid and filter service to the correct level, connector cleaning and repair, wiring repair, and battery or ground fixes. In the middle are sensors, the range or position switch, and valve body or solenoid service where the configuration allows it. Controller reprogramming or replacement sits alongside these, though a replacement controller usually needs programming and setup to match the vehicle. At the top end are internal repair, a rebuild or a remanufactured unit. Each step up costs more and should be justified by the evidence collected, not by how dramatic the symptom feels.
Be skeptical of marketing labels. Words like heavy duty, upgraded, performance or limp mode fix on a part or additive are not evidence that it solves your fault. Useful evidence includes a confirmed match to your variant, a clear description of what the part or service changes, a written warranty with stated terms and, for remanufactured units, a description of what was replaced and tested. Additives cannot repair a wiring fault, a failed sensor or worn clutches, and some may conflict with the fluid specification. If a shop recommends a rebuild, ask which code, test or inspection finding supports it.
Limitations and ownership costs
Even a correct repair has follow-up work. After solenoid, valve body, controller or internal repairs, many applications need adaptive values reset and a relearn drive so shift quality settles; skipping this can leave harsh or delayed shifts that look like a failed repair. Programming may require professional equipment and software access. If an internal failure produced debris, the cooler and lines need attention, or contamination can damage the replacement. Budget for the correct fluid, a filter, gaskets, labor and diagnostic time, not just the headline part.
Some problems a parts swap cannot solve. It will not fix overheating caused by a restricted cooler, towing beyond the vehicle rating, or an engine fault that sends bad information to the transmission controller. Aftermarket tuning can also change transmission behavior, so tell the technician about any modifications. Keep a service history that records fluid changes, codes, parts and dates; it speeds up diagnosis of repeat faults and supports warranty claims on replaced components.
Build a practical shortlist
Before paying for a repair, run through a short checklist. Confirm the transmission type, gear count, drive configuration and model year. Record every stored code with its status and freeze-frame data, using a tool that reads the transmission controller. Verify fluid level and condition with the correct procedure and the approved fluid specification. Inspect connectors, harness routing, battery condition and grounds. Review live data for speed sensors, fluid temperature and range position while the fault is present.
Then compare repair options on the same terms: what evidence supports the repair, whether parts are confirmed for your fitment, whether programming or a relearn is included, what the warranty covers and for how long, and what happens if the code returns. A quote that answers each point is easier to trust than a lower price with vague scope. If the evidence points to internal damage, compare a rebuild and a remanufactured unit on included parts, cooler service, warranty terms and downtime rather than on price alone.