6L80 Transmission Shift Solenoid Replacement
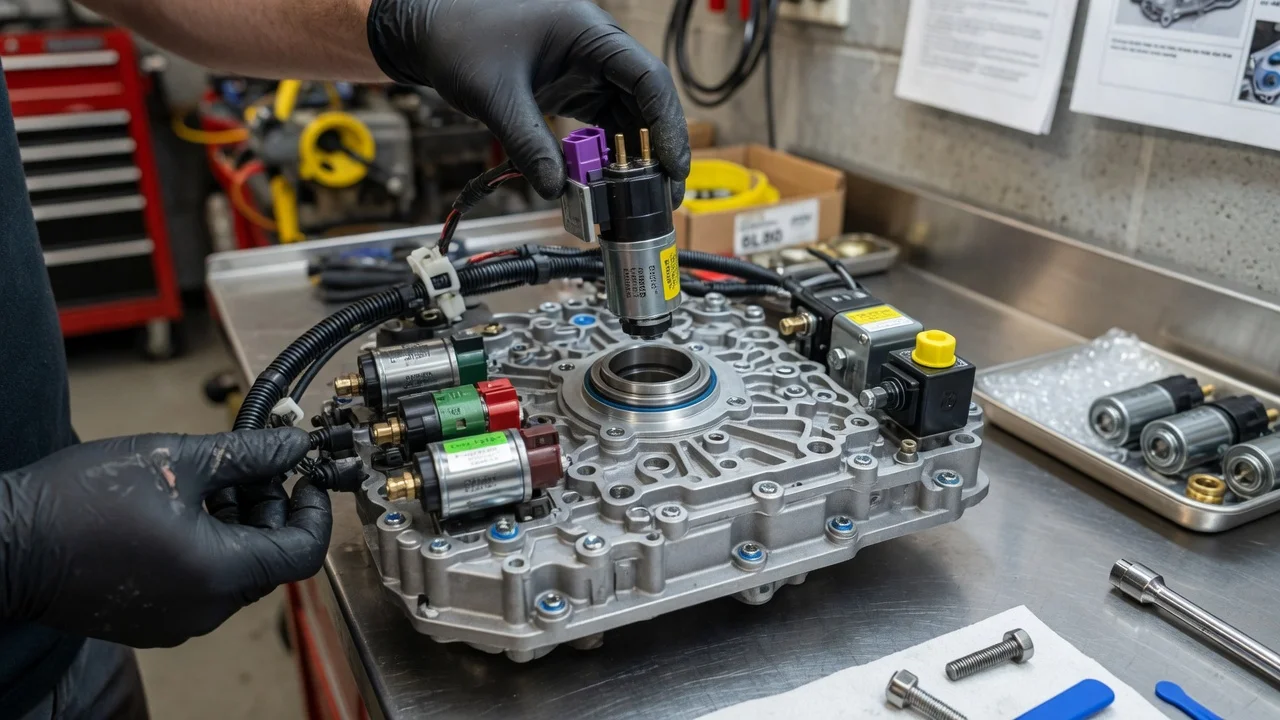
On a GM 6L80 six-speed automatic, shift solenoid trouble usually shows up as harsh or delayed shifts, a stuck gear, limp mode or a stored transmission code. Before you order parts, it helps to know how this unit is built. The solenoids sit inside the transmission pan as part of an integrated control assembly, and replacing them often means programming afterward. This guide covers confirming the repair, preparing the vehicle, removal, installation and final checks. It does not replace the factory procedure for your exact vehicle.
Confirm the part and repair scope
The 6L80 is a six-speed automatic used in many GM trucks, SUVs and performance cars, in rear- and four-wheel-drive layouts. Confirm the transmission type from the RPO codes on the service parts label or from a VIN-based parts lookup. Don't assume it from the model name, because model years and drivetrain packages differ. On this transmission, the shift and pressure control solenoids are mounted to the transmission electro-hydraulic control module, usually called the TEHCM. That single assembly bolts to the valve body and combines the solenoid body, the transmission control module and the internal mode switch. Dealers typically supply it only as a complete unit. The aftermarket also offers individual solenoids, remanufactured assemblies and units preprogrammed to a VIN. Whichever you choose, fitment must match your transmission version and calibration.
A symptom is not a diagnosis. Harsh engagement, flare between gears, limp mode or a solenoid-related code can also come from other causes: low or degraded fluid, a damaged harness or connector, low system voltage, outdated control software, worn clutches or valve body problems. Start with a scan tool that reads transmission diagnostic codes and live data, and note whether each code is a circuit fault or a performance fault. Check the fluid level and condition using the correct procedure. Then review the service history for fluid changes, software updates or earlier control module work, and check for applicable service bulletins. Circuit codes that persist after wiring checks point more strongly toward the control assembly. Performance codes and slipping usually call for hydraulic or mechanical diagnosis before you replace any solenoid.
Weigh your repair options early. Replacing a single solenoid can cost less, but it leaves the original module in service. A new or remanufactured TEHCM usually needs programming and an adaptive relearn, which require dealer-level or capable aftermarket scan equipment. If you cannot program the module yourself, you can have a shop finish the job or buy a unit sold preprogrammed for your VIN. Confirm what the seller needs from you before ordering.
Prepare tools and safe access
Get the service procedure for your model year before starting. Bolt sequences, torque values, fluid capacity and fill instructions are not universal, and guessing risks leaks or a distorted valve body. You will typically need: • a way to lift the vehicle and hold it level on rated jack stands; • a drain pan; • metric sockets; • a torque wrench that is accurate at low values; • a new pan gasket, plus a filter and seal if the procedure calls for them; • enough fresh fluid to the listed fluid specification, which for the 6L80 is Dexron VI or a fluid licensed to that standard; If the module is being replaced, you also need a scan tool that can perform programming and the transmission relearn.
This is not a job for an inexperienced owner. It involves working under a raised vehicle, handling hot fluid, aligning internal components and often programming electronics, and a mistake can leave the vehicle undrivable. Let the transmission cool fully, and disconnect the battery as the procedure directs. Treat the control assembly as static-sensitive: handle it by its housing, keep it in its protective packaging until installation and avoid touching connector pins.
Remove without avoidable damage
With the vehicle supported and level, drain the fluid. Remove the pan bolts and lower the pan carefully, because it still holds fluid. Inspect the pan contents before cleaning. Fine gray paste on the magnet is normal wear. Metal chunks, heavy clutch material or a burnt smell suggest internal damage that a new solenoid assembly will not fix. If the procedure requires removing the filter for access, note how its seal sits in the case.
Disconnect the vehicle harness at the transmission case connector, then release the case connector as the service information describes. Before loosening anything, note how the internal mode switch engages the manual shift linkage. Follow the specified bolt removal order. The bolts may differ in length, so record where each one goes. Lower the assembly straight and evenly, because the solenoids seal against valve body passages. Never pry on the module housing, watch for loose seals or small parts, and keep dirt away from the exposed valve body.
Install and restore the system
Compare the replacement with the original, including part number, connector shape and any calibration notes from the supplier. If you are fitting an individual solenoid to the existing module, install it in the same position and orientation, seat its seal fully and secure its retainer as specified. If you are fitting a complete assembly, make sure the internal mode switch engages the manual linkage correctly. Start the bolts by hand, then tighten them in the specified sequence to the specified torque. Overtightening can distort the assembly and cause leaks or shift problems.
Reseat the case connector and its retainer, and push the vehicle harness on until it locks. Install the filter if it was removed, then fit the pan with a new gasket. Torque the pan bolts and drain plug to specification. Add the specified fluid, then complete the fill and level check exactly as written for your vehicle. Many 6L80 applications use a check-plug method with the engine running and the fluid within a specified temperature range read on a scan tool, so filling by guesswork is a common source of later trouble.
If the control module was replaced, program it with the correct calibration for your VIN. Then clear codes and perform the transmission adaptive relearn, often called a service fast learn, with compatible equipment. Skipping programming or relearn can cause harsh shifts, wrong shift points or limp mode even when the hardware is correct.
Check the completed work
Before driving, inspect the pan, drain plug and case connector for leaks, and scan for codes. With the engine running, confirm that the gear position on the scan tool matches the selector in every position. Recheck the fluid level at operating temperature. On the road test, watch shift behavior through all six gears at light and moderate throttle. Also check downshifts, torque converter clutch apply and manual or tap-shift mode if equipped. Live data showing commanded versus actual gear and converter slip helps reveal problems you might not feel.
Some signs mean the job needs further diagnosis: • returning codes; • delayed engagement; • flare or slipping; • harsh shifts that do not settle after the relearn; • a gear position mismatch; • fluid seeping from the pan or connector; Don't keep swapping parts. Recheck wiring, programming status and fluid level first, then move to hydraulic and mechanical testing, which may call for a transmission specialist. Record the work done, the parts used and the relearn date in the vehicle's service history.