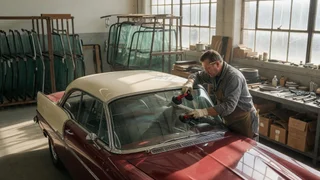
Vintage auto glass replacement
Choosing vintage auto glass replacement is rarely a simple glass swap. Older vehicles often have curved panes, unique tint bands, scarce moldings, and aged sealing surfaces that modern universal windshields cannot satisfy. The immediate answer is to identify the correct glass specification for the model year, check the fitment and mounting points, and select a shop or supplier that understands adhesive compatibility with original bodywork. Glass condition also affects visibility and safety, so matching the part and the installation method matters more than price alone.
The direct answer
The direct answer is that vintage auto glass replacement should begin with confirming the exact glass specification and fitment for the specific body style and production period. Older cars changed windshield curvature, gasket depth, and trim retention from year to year, even within the same model name. A replacement that looks close in photographs may sit proud of the pinch weld, leak at the corners, or leave the brightwork unable to clip onto the original mounting points.
Before buying, inspect the sealing surface and old adhesive or rubber channel. If the frame shows rust scaling, pitted metal, or layers of prior urethane, the fresh glass cannot bond reliably until that surface is corrected. Also check visibility through any available reproduction because waviness in aftermarket glass can be distracting on a long drive. The workable next step is to compare the seller's part number, date range, and glass markings against the vehicle's build data rather than relying on make and model alone.