Toyota Corolla Brake Pad Replacement: What to Expect and How to Do It Right
What is the essential answer?
Brake pad replacement on a Toyota Corolla involves removing the front or rear wheels, unbolting the caliper, removing the old pads, retracting the caliper piston, and installing new pads with fresh hardware where required. The work is generally accessible to a home mechanic with basic hand tools and a safe jacking setup, but the exact procedure changes by model year, brake package, and whether the vehicle uses conventional rear disc brakes or rear drum brakes.
What the replacement job covers
The front brakes on most Corolla models use a single-piston sliding caliper over a ventilated rotor. The rear setup is the main point of variation. Many current Corolla models use solid rear discs with a caliper that may require the piston to be twisted back in rather than simply compressed. Some older or lower-trim models use rear drum brakes, in which case the rear service item is a brake shoe replacement rather than a pad replacement. The term brake pad replacement applies only to disc brake axles; rear shoes are serviced differently.
A complete pad replacement should include cleaning and lubricating the caliper slide pins, checking the caliper bracket and hardware, and inspecting the rotor surface. Replacing pads without servicing seized slide pins can cause uneven pad wear and a brake pull soon after the job.
When to replace Corolla brake pads
Brake pads should be replaced when the friction material reaches the manufacturer's minimum service thickness. On many pads, a wear indicator contacts the rotor and produces a squeal when the lining is nearly gone. Other signs include a brake pedal pulsation from uneven rotor wear, scoring on the rotor face, reduced braking response, or visible thickness of about three millimeters or less when inspected.
Front pads normally wear faster than rear pads because the front axle does more of the braking work under forward stopping. Replacement intervals therefore vary widely with driving conditions. City driving, frequent stops, and hilly routes shorten pad life. There is no single mileage that applies to every Corolla generation, trim, and driving pattern.
Tools and supplies
Jack and jack stands; Wheel chocks; Lug wrench or impact wrench; Socket set and ratchet; Torque wrench; Brake caliper piston compressor or rear caliper wind-back tool; C-clamp where applicable; Brake cleaner; Brake lubricant for slide pins and pad contact points; Wire brush; New brake pads; New hardware kit if the pads do not include it
A torque wrench is important because caliper bracket and caliper bolts have specific tightening values. Reusing old hardware is possible when it is clean and undamaged, but worn anti-rattle clips or damaged slide boots should be replaced.
Basic front pad replacement steps
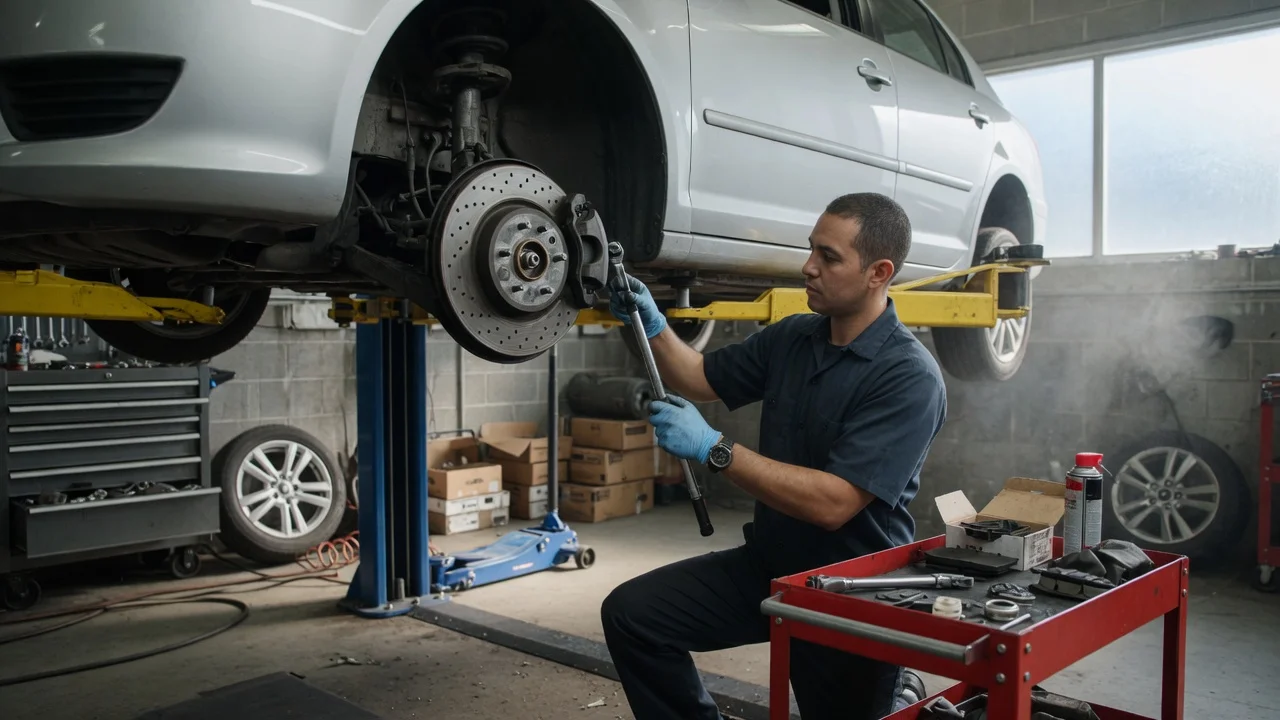
Park on a level surface and chock the rear wheels. Loosen the front lug nuts slightly before lifting. Raise the front of the car and support it on jack stands. Remove the wheel. Unbolt the caliper and suspend it so the brake hose is not strained. Remove the old pads and hardware. Clean the caliper bracket and inspect the slide pins. Lubricate the slide pins and pad contact areas. Compress the caliper piston slowly. Install new pads and hardware. Reinstall the caliper and torque the bolts. Reinstall the wheel and lower the car. Pump the brake pedal before driving to seat the pads against the rotor.
When the caliper piston is retracted, brake fluid level in the reservoir can rise. It is useful to monitor the reservoir and remove fluid only if needed to prevent overflow. Do not introduce dirt into the reservoir and use only a compatible brake fluid if adding fluid is necessary.
Rear discs and wind-back calipers
Some Corolla rear calipers incorporate the parking brake mechanism into the piston. On these calipers, the piston is rotated back into the bore rather than pressed straight in. A generic C-clamp can damage the mechanism. The correct approach is to use a caliper wind-back tool matched to the piston face, or to follow the service procedure for the specific model year. If the rear caliper also has a separate lever for the parking brake cable, the procedure can differ again.
Because rear brake layouts changed across Corolla generations and markets, the safest preparation is to confirm whether the vehicle has rear discs or drums before buying parts. Trim level alone does not always identify the rear brake type, especially on older used cars that may have received replacement components.
Electronic parking brake and brake service mode
Corolla models equipped with an electronic parking brake may require a service or maintenance mode before the rear caliper can be retracted. On systems with an electric motor at the caliper, forcing the piston back without placing the system in service mode can damage the actuator or prevent correct operation after reassembly. The exact method depends on the model year and system generation. The issue is most relevant to rear disc brake service, not front pad replacement.
Rotor condition and bed-in
New pads perform best when the rotor surface is clean and within specification. Deep scoring, heavy rust, or thickness below the minimum stamped or specified limit means the rotor should be replaced or machined. Installing pads over a badly worn rotor can cause noise, vibration, and short pad life.
After installation, some pad manufacturers recommend a bed-in procedure of moderate stops from legal road speeds, followed by a cooling period. This transfers a thin layer of pad material to the rotor and can improve even braking. Avoid heavy repeated stops immediately after the job unless the pad manufacturer's instructions call for them.
What the work may cost
Parts cost depends on brand, friction compound, and whether the car needs only front pads or pads for both axles. Budget-oriented pad sets are lower in price, while premium ceramic or low-dust formulations cost more. A shop quote normally adds labor, which varies by region and by whether rotors, hardware, or caliper service are included. A front pad replacement is generally cheaper than a full four-wheel brake service, but quoting a universal price is not reliable because model year, brake package, and local labor rates change the total.
Safety limits and what to leave to a shop
Brake work is safety-critical. If any part of the hydraulic system is opened, if a caliper is replaced, or if the brake fluid must be bled, the job requires more care and often a second person or a pressure bleeder. A seized caliper slide pin, torn piston boot, leaking caliper, or damaged brake hose is not resolved by a pad swap alone. In those cases, the brake system should be inspected and repaired before or during the pad replacement.
After any brake service, test the pedal feel while stationary and begin driving at low speed in a safe area before entering traffic. A soft or sinking pedal, brake warning light, fluid leak, or persistent noise means the repair should not be considered complete.
Uncertainty in this guide
The information here is general because exact torque specifications, rear brake procedures, service mode sequences, and fluid specifications vary by Corolla generation and market. This article does not supply model-year-specific torque figures. Before starting, the applicable repair information for the vehicle identification and brake configuration should be confirmed. This guide is not a substitute for a factory service procedure where exact values are required.