Shock Absorber Replacement: Front and Rear Service Explained
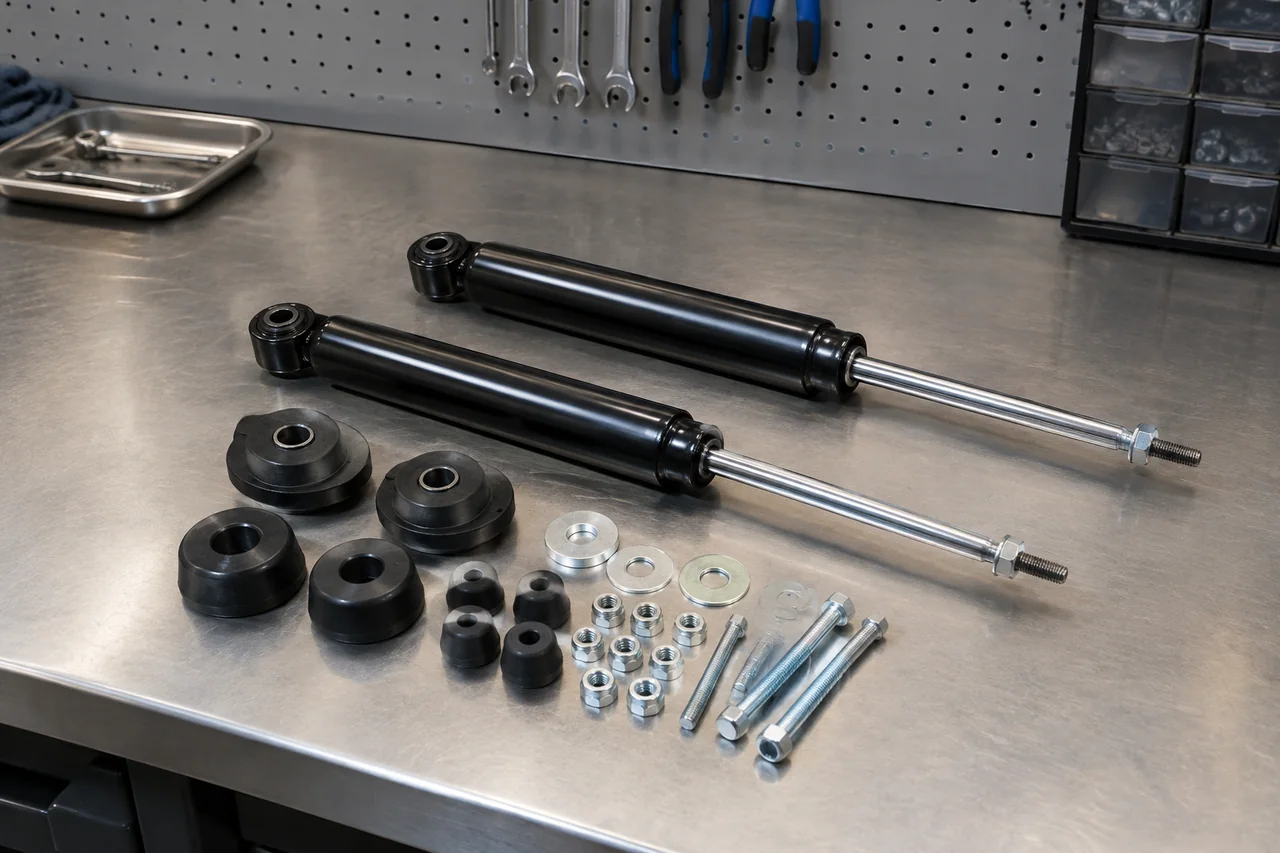
Shock absorber replacement looks simple on paper, but the work involves spring-loaded parts, brake and sensor lines, and fasteners that keep the wheel in position. Front and rear jobs differ, kits vary widely, and some vehicles require disconnecting a stabilizer link along the way. Knowing what the service involves helps you judge whether a shock is really the problem and whether the job belongs in a shop.
Confirm What the Suspension Needs Before Replacing Shocks
A car that keeps bouncing after a dip, floats over crests, dives hard under braking, or clunks over broken pavement is giving you reasons to inspect the suspension. Oily residue coating a shock body also deserves attention. None of these signs proves the damper has failed, though. Worn mounts, tired bushings, loose links, uneven tire pressures, and damaged springs can cause similar symptoms, and light misting on a shock is not always the same as an active leak.
Start by learning the layout. Many vehicles use a separate shock mounted beside the spring, while others use a strut that carries spring load and helps locate the wheel. Checks done while parked, such as pushing down on a fender, reveal little, and noises often need a trained ear with the vehicle raised. A proper assessment should confirm which axle is affected, the condition of the damper and nearby parts, the correct replacement components, and whether the job is a simple swap or a larger strut service.
Choose Replacement Shocks and Check Kit Contents
Fitment starts with year, make, model, trim, drivetrain, and axle position, but suspension options matter just as much. Heavy-duty, sport, towing, or leveling packages can change shock length, valving, and mounting style, so check the manufacturer's application information or a parts lookup tied to your vehicle's details. Kit contents vary. One listing includes only the shocks, another adds bushings, sleeves, washers, and nuts, and a third bundles mounts, dust boots, and bump stops. Read the actual listing instead of assuming.
Shocks are generally replaced in axle pairs, because a new damper next to a worn one can make the vehicle react unevenly in turns, under braking, and over bumps. Vehicle-specific guidance still governs the decision, especially when one side was replaced recently. Confirm the system type before buying. Electronic damping uses wired dampers and sensors, and air or self-leveling suspension may call for specific parts, calibration, or scan-tool steps that a conventional shock and basic tools cannot handle.
Understand the Safety Requirements Before Removal
The biggest risks come from energy you cannot see. A compressed coil spring stores enough force to cause serious injury if it releases unexpectedly, and suspension parts can swing or drop once a fastener lets go. A floor jack is a lifting device, not a support, so never put any part of your body under a vehicle held up only by a jack. Hydraulic seals can leak down, and a vehicle can shift when someone forces a stubborn bolt.
Your vehicle's service information should specify the lifting points, how the suspension must be supported, which fasteners are single-use, and the tightening requirements. On many designs the shock also limits suspension droop, so releasing it without controlled support lets an axle or control arm fall. That can stretch brake hoses and wiring or hit whoever is nearby. If the assembly holds a spring, corrosion has seized the hardware, support requirements are unclear, or you lack factory procedures, professional service is the sensible choice.
What Front Shock Replacement Involves
Front access depends on the design. A vehicle with separate front shocks may let the damper come out while the spring stays in place, whereas a strut layout combines the damper, spring, and upper mount into one load-bearing unit. Attachment points might sit at the upper tower under the hood, at a lower control arm, or at the steering knuckle. That layout sets the tools, time, and risk before any work begins.
A technician identifies each attachment, protects the brake hose, wheel-speed sensor wiring, and nearby components, replaces the specified part, and verifies that everything is secure. Hoses and harnesses are often clipped to the strut or knuckle, and stretching them can cause brake problems or warning lights. Worn mounts and bushings are commonly inspected at the same time. Spring handling and alignment needs depend on the assembly and which connections were disturbed, so the applicable procedure, not a universal guide, sets those requirements.
What Rear Shock Replacement Involves
Rear shocks can be in unexpected places. Some upper mounts are reached from underneath the vehicle, while others sit behind trunk trim, cargo-area panels, or rear seat components. Axle design matters too, because a solid axle, twist beam, or independent setup behaves differently once a shock no longer limits its travel. On certain designs the shock is what keeps the axle from dropping far enough for the spring to unseat, so support must be in place before anything is released.
The service follows clear stages: verify the layout, establish safe support, replace the damper along with any required hardware, and inspect the finished installation. Before any attachment is loosened, rear brake hoses, parking brake cables, and sensor or ride-height wiring need enough slack for the axle's full range of movement. While the parts are apart, check the mounting bushings, torn dust boots, crumbling bump stops, and corrosion around attachment points that could weaken the new installation.
Why a Stabilizer Link May Need to Be Disconnected
A stabilizer link connects the sway bar to a suspension point, commonly a control arm, and on some layouts it bolts directly to the strut body. The bar resists body roll by transferring load between the left and right sides, so the link is often under tension even when the vehicle is sitting still. Where the link attaches to the strut, it has to come off before the strut can be removed, which is why many guides mention it.
A vehicle-specific procedure may also call for disconnecting the link to free a lower attachment or to let the suspension move in a controlled way for access. That is not true of every shock replacement, so do not assume it based on a generic video. Complications show up quickly: a loaded bar can spring when released, corroded link studs often spin in their joints, and worn link joints may break apart. A shop with the right equipment is better suited to those situations.
Installation Checks and When to Use a Shop
Installation details come from the applicable service procedure, not from memory. That covers which way the shock faces, the order of bushings, washers, and sleeves, the tightening specifications, and whether fasteners must be tightened with the suspension at a specified position to avoid preloading rubber bushings. Afterward, confirm that the mounts are secure and that hoses and wiring are routed and clipped with adequate clearance, and complete any required electronic setup. An alignment assessment may be needed if steering or strut connections were disturbed.
Knocking, a new warning light, fresh leakage, or handling that still feels unsettled calls for an inspection, not an assumption that the new parts need time to settle. A loose mount or misrouted line can get worse quickly. Use a shop when the job needs spring compression, specialized lifts or scan tools, repair of damaged mounting points, or when the procedure is unclear. If you suspect a suspension attachment is loose, don't drive the vehicle. Arrange a tow or a mobile inspection instead.