How to Replace a Car Fuel Filter
Before you start
Fuel filter replacement is a hands-on vehicle task, not something handled through a camera or media tool. You need a flat, stable work area away from flames, sparks, and hot surfaces. Confirm which filter type your car uses, because some vehicles use a serviceable in-line filter near the chassis, while others have a filter that is part of the in-tank fuel pump assembly and may require professional service. If the filter is inside the tank, replacing it usually means removing the fuel pump module, which involves working with fuel vapors and sealed components.
Have the replacement filter that matches the vehicle application, along with hand tools such as a ratchet, sockets, wrenches, pliers, safety glasses, and nitrile gloves. Use a container for any fuel that drains from the lines. A fire extinguisher rated for flammable liquids should be nearby. Do not guess at the location or type: check your owner's manual or service data for the specified filter position and replacement interval before opening the system.
Relieve fuel system pressure
Park the vehicle and let the engine cool. Disconnect the fuel pump fuse or relay, or use the manufacturer-recommended procedure for relieving fuel pressure. Once the fuel pump circuit is disabled, try to start the engine briefly. On many vehicles, the engine will crank and then stall or fail to start, which reduces pressure in the lines. Check the service information rather than relying on a single method, because the pressure-relief procedure can differ between models.
Disconnect the battery before working on the filter or fuel lines. Fuel vapor can ignite from a spark, so remove the negative terminal and keep it away from the battery post while you work.
Step-by-step instructions
Work on an accessible in-line filter only when you can identify the inlet and outlet clearly. Raise the vehicle safely if the filter is underneath, using jack stands on a firm surface rather than supporting the car with a jack alone.
Remove the old filter
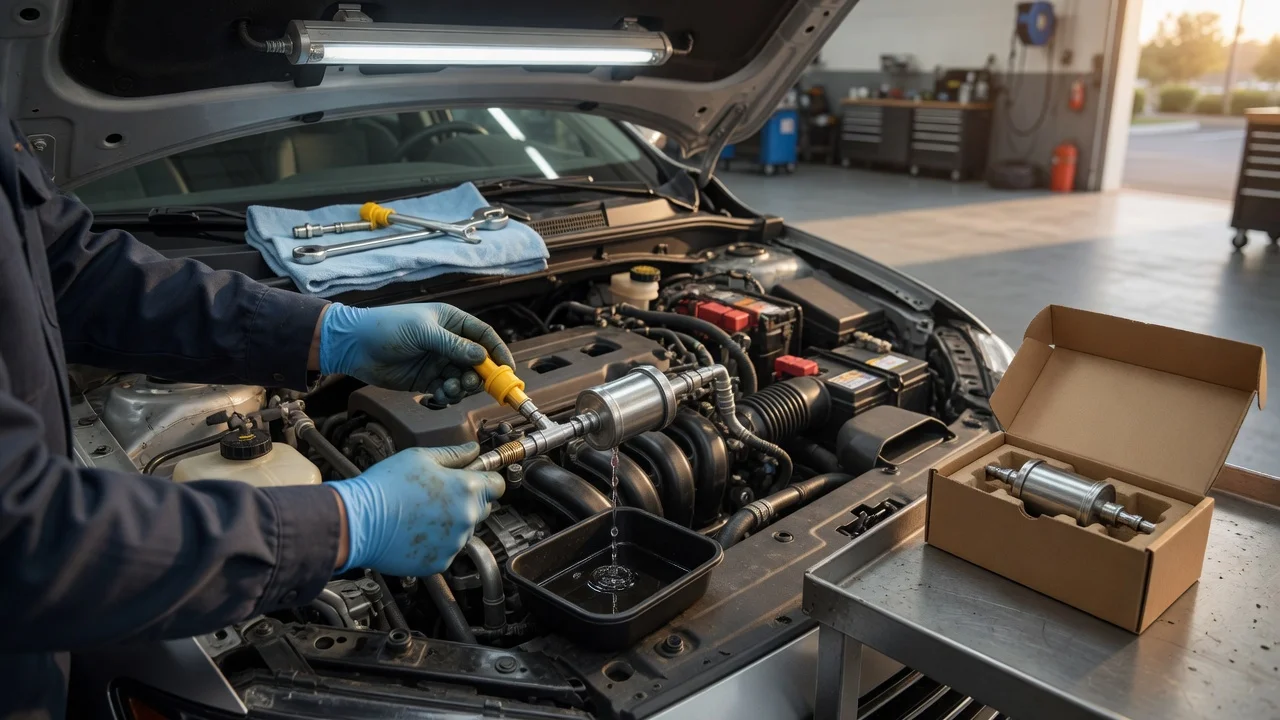
Place a drain pan under the filter before opening any fitting. Wear eye protection and gloves, then loosen the fittings carefully. Some filters use threaded fittings, while others use quick-release connectors or clips. Use the correct tool for the connector type; forcing a plastic connector can break it.
Note how the old filter is oriented before removing it. An arrow printed on the filter body shows the intended fuel flow direction. Capture or photograph the installation angle so the new filter can be fitted the same way.
Remove the old filter and pour any remaining fuel into the catch container. Wipe the line ends clean without letting debris enter the open fuel lines. Replace any O-rings or sealing washers supplied with the new filter if the service parts are specified for replacement.
Install the new filter
Position the new filter so the flow arrow points from the fuel tank toward the engine. Most replacement filters have the same end connections as the old unit, but confirm the inlet and outlet locations before tightening.
Tighten threaded fittings to the vehicle service specification. Quick-connect fittings should be pushed together until the retainer engages. After assembly, reconnect the fuel pump fuse or relay and reconnect the battery.
Restart the engine
Turn the ignition to the run position without starting the engine and listen for the fuel pump. Repeat this a few times to build pressure through the new filter. Then start the engine and inspect the connections while it runs.
Check the output
Look and smell for fuel around the new filter with the engine running. Dampness, dripping, or a noticeable fuel odor means the fitting is not sealed. Switch off the engine and correct the connection before continuing. Do not rely on a visual check alone if a repair uses a pressurized line that was disturbed.
Confirm that the engine starts and idles normally. A short road test in a safe area can show whether acceleration and steady-speed operation feel normal, but vibration, misfires, or a stalling condition may have other causes such as pump wear, contaminated fuel, or an air leak.
Common problems and next steps
If the engine cranks but will not start after filter replacement, the first check is fuel pressure at the fittings. A partially engaged quick connector can allow air in or fuel out, while a filter installed backward can restrict flow to the engine.
Fuel leakage is the immediate safety issue. If a fitting was cross-threaded or a clip was damaged during removal, replace the affected connector or line rather than reusing a broken part. Some vehicles have fuel line clips that are single-use and may not hold properly after removal.
For filters mounted in the tank or filters that require removing the fuel tank, stop if the vehicle service procedure is not available. Handling the pump module, sealing ring, and fuel level sender without the correct replacement parts can cause leaks or gauge faults. In those cases, leave the system sealed and use a qualified repair facility.
Do not test a fuel leak with a flame or smoke source. After the repair, dispose of the old filter and drained fuel according to local hazardous waste rules.