How to Change a Fuel Filter Step by Step: Tools, Safety, Installation and Leak Check
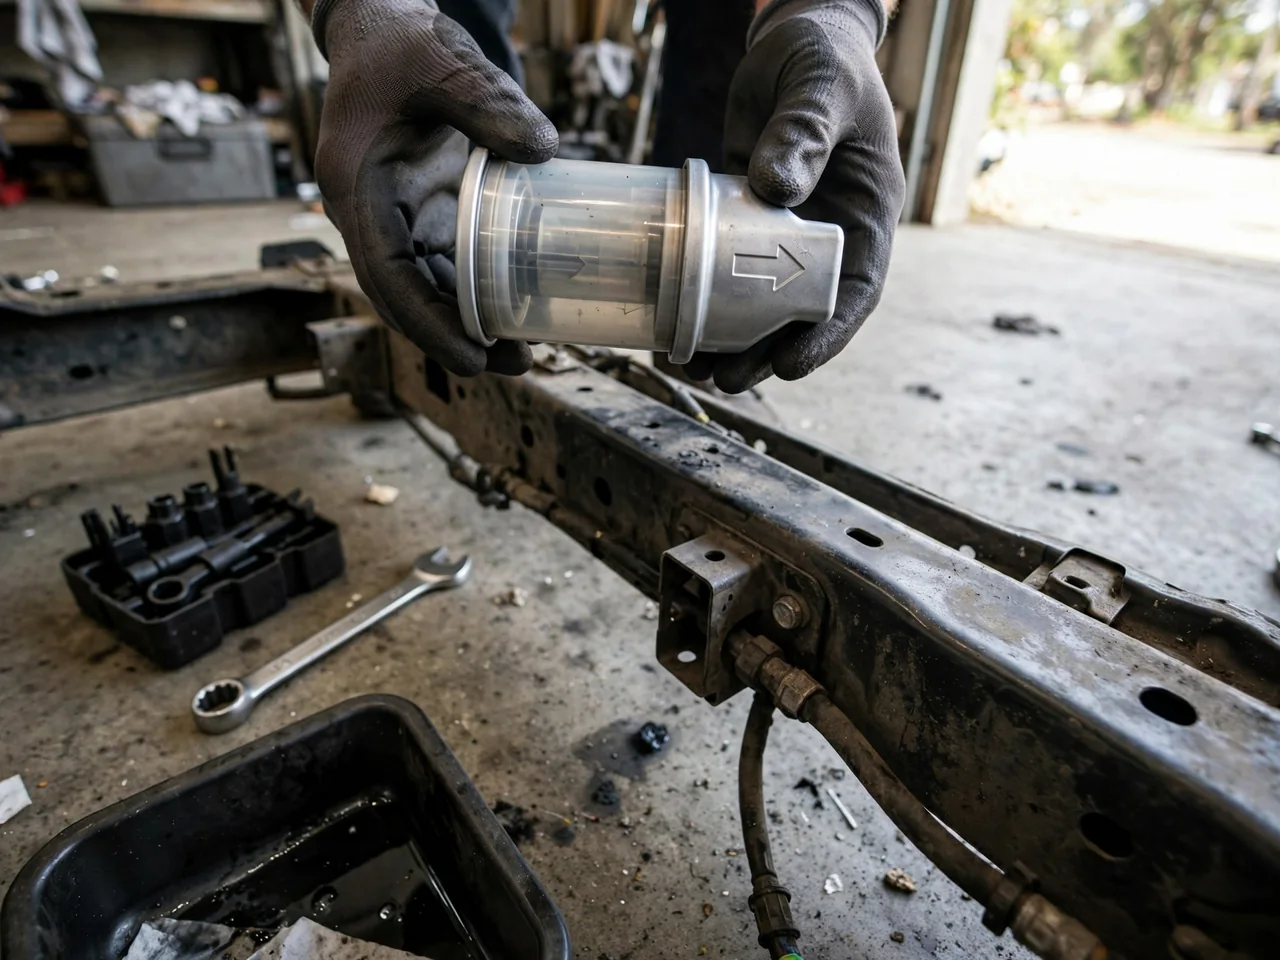
Replacing an external fuel filter is one of the easier fuel system jobs on a gasoline car or light truck. It still involves pressurized, flammable fuel, so preparation matters as much as the wrench work. This guide covers how to confirm that your vehicle has a serviceable filter, gather the right tools, relieve pressure safely, remove the old unit, install the new one correctly and check for leaks.
What a fuel filter change involves and which vehicles have a serviceable filter
The job itself is simple. You remove the inline filter that sits between the tank and the engine, put a new unit in its place and reseal the fuel lines on each end. The filter traps rust, debris and sediment before they reach the injectors. What makes the task demanding is the care it takes, not its complexity. Every connection you open has to seal perfectly again, and the system it belongs to is designed to hold fuel under pressure.
Before you buy parts, confirm that your vehicle actually has an external filter. Many modern vehicles build the filter into the fuel pump module inside the tank, where it isn't a routine owner service item. Where an external filter exists, it's usually along the frame rail, near the tank or in the engine bay. Your owner's manual or service manual will show exactly where. This guide covers gasoline vehicles only. Diesel filters, water separators and high-pressure direct-injection hardware follow different procedures.
Tools, replacement filter selection and safety preparation
Fitting styles vary, so look at your filter before you gather tools. A typical kit includes line wrenches for threaded fittings, a set of quick-connect disconnect tools, screwdrivers for clamps and brackets, a drain pan, plenty of rags, safety glasses and fuel-resistant gloves. Use a parts catalog to match the replacement by model year, engine and fitting type. Then compare the new filter's ends and size against the old one instead of trusting the listing alone.
Work outdoors or in an open, well-ventilated garage, well away from open flames, pilot lights, sparks and smokers. Keep a fire extinguisher rated for flammable liquids within reach. Park on level ground and chock the wheels. If you need to lift the vehicle, support it on proper stands, never on a jack alone. A low fuel level means less spillage and less fuel siphoning from the tank side. If the manufacturer's procedure calls for it, disconnect the battery negative terminal after relieving pressure.
Relieving fuel system pressure before touching any line
Fuel-injected systems stay pressurized after the engine shuts off. If you open a pressurized line, fuel can spray across the engine bay or into your face, so relieve the pressure before a wrench touches any fitting. The right method depends on the vehicle and should come from the service manual. One common approach is bleeding through a Schrader-style test port on the fuel rail, with a rag around it and a container underneath. Another is pulling the fuel pump fuse or relay and running the engine until it stalls.
Don't improvise. Loosening a filter fitting to bleed off pressure is a real fire risk, especially near a hot engine or exhaust, and it gives you no control over where the fuel goes. Let the engine and exhaust cool completely before you start, because gasoline spilled on a hot manifold or catalytic converter can ignite. Keep rags and a catch container ready even after you've relieved the pressure properly, since fuel left in the lines will still drain out when you open the connections.
Removing the old filter and disconnecting the fuel lines
Identify the fitting on each end before you choose tools. Threaded flare fittings need a line wrench. Banjo bolts take a standard socket but use sealing washers. Quick-connect fittings need the matching disconnect tool, and older setups may use simple hose clamps. Take a photo of the filter's orientation and line routing first. Then put the drain pan underneath, loosen the bracket clamp and release each fitting slowly, holding a rag to catch the leftover fuel.
A seized or corroded fitting is your signal to stop. Forcing it can twist or crack a steel line or split a plastic fitting. That turns a filter change into a line replacement and may leave the vehicle undrivable. If a fitting won't release with the correct tool and reasonable effort, let a professional take over. Pour the fuel you collected into a sealed, approved container, and dispose of it and the old filter according to your local hazardous-waste rules.
Installing the new filter with the correct flow direction
Fuel filters only work in one direction. Look for a flow arrow or inlet and outlet markings on the housing. The arrow must point toward the engine, away from the tank. A filter installed backward can restrict flow or fail. Check the new filter against your photo before you install it. Use any new O-rings, sealing washers or retaining clips that come in the box instead of reusing the old ones, which may have hardened or lost their shape.
Push quick-connect fittings straight on until they click, then tug gently to make sure each one is locked. A fitting that only feels seated can blow off under pressure. Tighten threaded fittings snugly with a line wrench. It grips more of the hex than an open-end wrench and helps keep it from rounding off. Don't overtighten, which can distort the flare or sealing surface. Finally, secure the bracket so the filter can't vibrate, rub against the body or touch the exhaust or any moving parts.
Priming the system, first start and checking for leaks
Put the fuse or relay back in, and reconnect the battery if you disconnected it. Before you crank the engine, turn the ignition to run for a few seconds, then back to off, and repeat several times. On most injected systems, this runs the pump briefly and refills the new filter and lines without starting the engine. Then check every fitting you touched for seeping or drips. Press a clean rag or paper towel against each joint to reveal any trace of fuel.
If you find a leak, shut the engine off right away, relieve the pressure again and reseat the connection. If it still leaks after that, don't drive the vehicle until it has been inspected. The first start may take longer than usual while air purges from the lines. A check engine light or rough running afterward, though, needs to be diagnosed rather than ignored. Recheck the fittings with the engine idling, take a short low-speed drive, then inspect once more and check for any fuel smell.
When to hand the job to a professional instead
Some filter jobs aren't suited to DIY. That includes in-tank filters that require dropping the tank or pulling the pump module, high-pressure direct-injection lines and corroded steel lines that may crack when you move them. Not having a safe outdoor space to work in is also a good reason to book a shop. The same goes for any time you're unsure of the pressure relief method, can't identify a fitting type or have doubts about the lines once you see them.
It's also worth thinking about why you're changing the filter. Hard starting, hesitation and loss of power under load are classic signs of a clogged fuel filter. They can also come from a weak pump, a faulty pressure regulator, dirty injectors, ignition faults or air intake problems, so a new filter isn't a guaranteed fix. A technician with a fuel pressure gauge and a scan tool can test pressure and volume and confirm which part is actually at fault.