Replace a brake caliper
The short answer
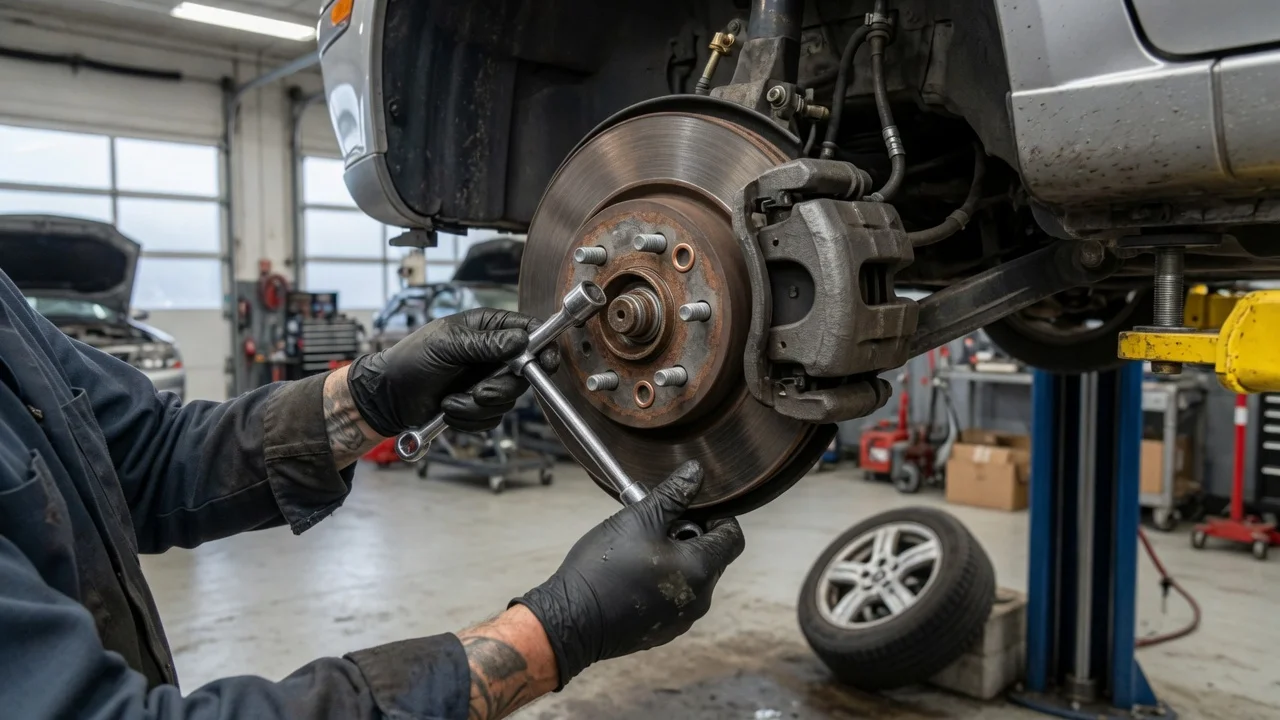
Replacing a disc brake caliper means removing the wheel, disconnecting the brake hose from the caliper, unbolting the caliper from its mounting bracket, fitting the new or remanufactured unit, reconnecting the hose, bleeding air out of the hydraulic system and confirming a firm pedal before driving. The caliper is the clamp that houses one or more hydraulic pistons. When you press the brake pedal, fluid pressure pushes the pistons out, squeezing the brake pads against the rotor.
Two things change the job significantly. First, opening the hydraulic system makes bleeding mandatory, unlike a pad-only change. Second, many rear calipers integrate the parking brake. Some use a mechanical mechanism with a screw-type piston that has to be wound back rather than pushed. Others use an electronic parking brake, which on many vehicles has to be put into a service mode with a diagnostic tool before the caliper can be removed. Check the procedure for your specific make, model, model year and brake system before starting.
When a caliper actually needs replacing
Common reasons to replace a caliper include:
Brake fluid leaking from the piston seal or caliper body; A piston that is seized or sticks, causing the brake to drag, the wheel to run hot, or the car to pull to one side; Noticeably uneven pad wear between the inner and outer pads, or between the left and right sides of the same axle; Physical damage, heavy corrosion or stripped threads on the caliper
Not every symptom points to a failed caliper. On floating calipers, which slide on guide pins, the pins can corrode or lose lubrication and cause the same drag or uneven wear. Cleaning and re-greasing the pins, or replacing them along with their boots, may solve the problem without a new caliper. A collapsed brake hose can also hold pressure on the caliper and mimic a sticking piston, so it is worth ruling out.
Replace, rebuild or buy remanufactured
There are three broad options. A new caliper is the simplest. A remanufactured caliper is a rebuilt used unit, usually sold with a core charge that is refunded when you return the old caliper. Rebuilding the original with a seal kit is possible but depends on the bore and piston being free of pitting. In practice, many owners and shops choose a loaded or semi-loaded remanufactured caliper, meaning one supplied with pads or hardware already fitted, because it saves time. Whether that is the best value depends on parts pricing and availability for your vehicle.
Calipers are commonly replaced in pairs on the same axle so braking force stays balanced. This is widely recommended practice rather than a universal rule, and some manufacturers and technicians accept replacing a single caliper when the other is in good condition.
Typical tools and supplies
Jack and properly rated jack stands, plus wheel chocks; Sockets and wrenches for the caliper and bracket bolts; A flare-nut (line) wrench if the hose uses a threaded fitting rather than a banjo bolt; New sealing washers for banjo-bolt connections, since these are generally treated as single-use; A hose clamp designed for brake lines, to limit fluid loss (optional); Fresh brake fluid of the type specified by the manufacturer, usually printed on the reservoir cap or listed in the owner's manual; A bleeding kit or a helper to work the pedal; A torque wrench and the manufacturer's torque specifications; Brake cleaner, high-temperature brake grease for slide pins and contact points, and gloves and eye protection
The main steps
1) Park on level ground, chock the wheels and loosen the lug nuts. Raise the vehicle and support it on jack stands, never on the jack alone. 2) Remove the wheel. If the rear caliper has an electronic parking brake, put the system into service mode as the manufacturer requires. 3) Clamp the flexible brake hose if you have a suitable clamp, then loosen the banjo bolt or hose fitting at the caliper. 4) Remove the caliper mounting bolts or guide pin bolts and lift the caliper off. Remove the pads and inspect the pads, rotor and bracket. 5) Disconnect the hose fully and cap or position it to minimize fluid loss and keep dirt out. 6) Transfer or install pads and hardware, then fit the new caliper. Clean and lubricate slide pins and contact points as specified. 7) Connect the brake hose using new sealing washers where applicable, without twisting the hose. 8) Tighten all fasteners to the manufacturer's torque specifications. 9) Bleed the brakes, at least at the replaced caliper, keeping the reservoir topped up so air is not drawn into the system. Some vehicles, particularly those with ABS or stability control, may need a specific bleeding sequence or scan-tool procedure. 10) Pump the pedal until it is firm before moving the vehicle, so the pistons seat against the pads. Refit the wheel and torque the lug nuts to specification. 11) Check for leaks, confirm the fluid level, and test the brakes at low speed in a safe area before normal driving. Follow any pad bedding procedure recommended by the pad manufacturer.
Torque values, bleeding order and parking brake procedures vary by vehicle. No vehicle-specific figures were provided for this guide, so use the service information for your exact model. Because brakes are safety-critical, it is sensible to have a professional do the job or inspect it if you are unsure about any step, or if the pedal feels soft or sinks after bleeding.
What brake caliper replacement costs
No pricing data was supplied for this article, so it gives no dollar figures. The total depends on several factors:
Vehicle type and brake design, including performance multi-piston calipers and rear calipers with integrated or electronic parking brakes; New versus remanufactured parts, and whether a core charge applies; Whether one caliper or both on the axle are replaced; Labor time and local shop rates, including any scan-tool work for electronic parking brakes; Additional parts often replaced at the same time, such as pads, rotors, hardware, hoses and brake fluid
To compare quotes fairly, ask shops to itemize parts, labor, fluid and any related work, and to say whether they recommend replacing calipers in pairs and why. For a do-it-yourself job, check current parts prices for your exact vehicle and include fluid, sealing washers and any tools you need to buy.