Parking Brake Cable Adjusters and Tensioners: Choosing the Right Part
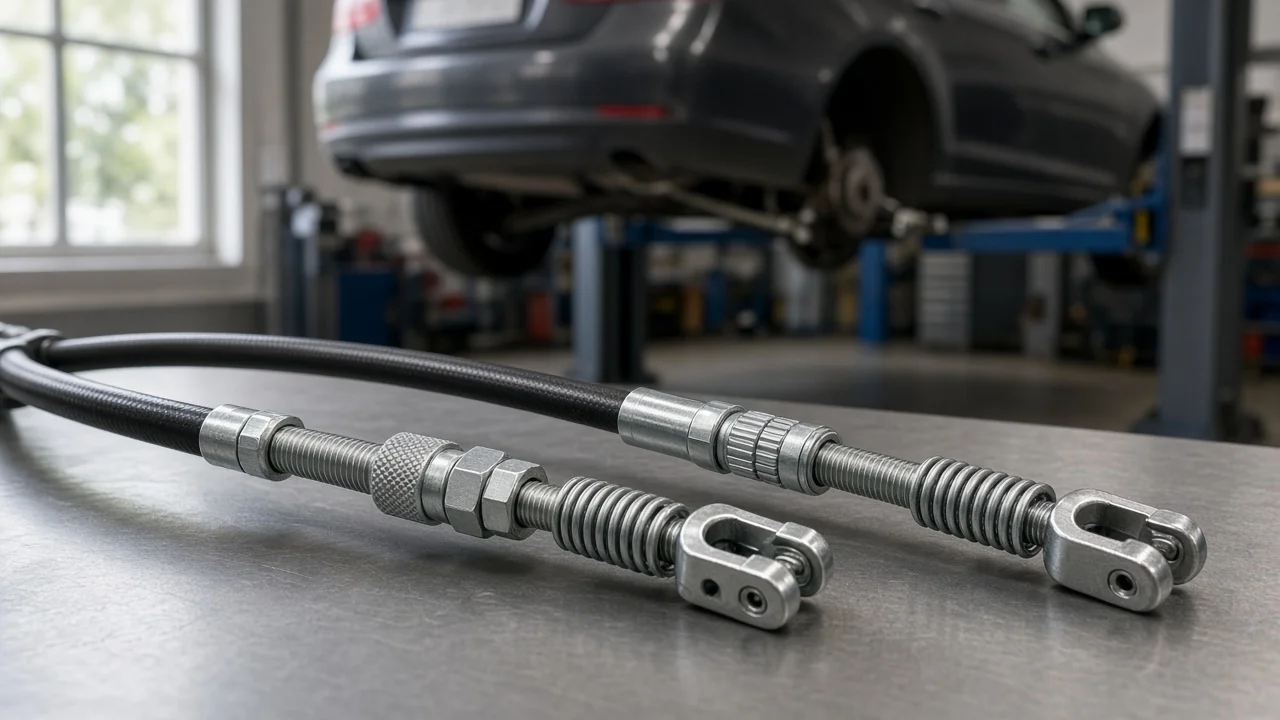
A parking brake that pulls up too far, holds weakly, or drags after release often points to the cable adjuster or tensioner. Choosing a replacement depends less on brand names than on matching the adjustment design your vehicle already uses and confirming the rest of the system is healthy. This guide explains how to identify the right part, which features actually matter, and where an adjuster's job ends and other brake repairs begin.
Define the job the product must do
A parking brake cable adjuster takes up slack that develops as cables stretch and as rear friction material wears, keeping lever or pedal travel within the manufacturer's range so the brake holds the vehicle. Depending on the design, the adjuster may sit at the equalizer under the vehicle, inside the hand lever or pedal assembly, or inline between cable sections. Some vehicles use a spring-loaded tensioner in the pedal or lever mechanism that maintains cable tension automatically instead of relying on a manual nut.
Start by describing the problem precisely. Excessive lever travel, a brake that will not hold on a slope, a rear wheel that drags or runs hot, or a parking brake warning light that stays on are different symptoms with different causes. Before ordering a part, determine whether the slack comes from a stretched cable, stripped or seized adjuster threads, a failed self-adjusting tensioner, or the rear brake itself. If the parking brake will not hold or the service brakes feel abnormal, stop using the vehicle until it is inspected, because both are safety systems. Also note that most vehicles with an electronic parking brake have no manual cable adjuster and follow a different service procedure.
Check compatibility
Adjuster designs are not interchangeable. Common types include a threaded rod and nut at the equalizer, a turnbuckle-style inline adjuster, a ratcheting self-adjuster in the pedal assembly, and an adjuster built into the lever housing. Vehicle fitment can change with model year, drivetrain, wheelbase, trim and rear brake type, such as rear drums, discs with a drum-in-hat parking brake, or rear calipers with an integrated parking brake mechanism. Use your VIN, the original part number and the vehicle's service information rather than relying on make and model alone.
Then compare the interfaces that decide whether the part physically works. These include thread diameter and pitch, rod length and available adjustment range, end fittings such as barrels, eyelets or clevises, the shape of the equalizer, and how cable housings and retaining clips seat in their brackets. Confirm whether you need the front cable section, a rear cable, or only the adjuster hardware. When an adjuster is sold as part of a cable assembly, overall cable length and routing must match the original. Laying the old part beside the new one before installation catches most mismatches.
Features that affect the choice
Corrosion resistance matters because adjusters mounted under the vehicle face water, road salt and debris. Plated or stainless hardware and protective boots help threads remain adjustable years later. Look at how the adjustment is locked: a jam nut, a prevailing-torque lock nut or a clip should hold the setting without loosening from vibration. A self-adjusting tensioner, sometimes listed as a parking brake cable tightener, removes routine manual adjustment, but it depends on spring and ratchet quality, and many designs must be locked or reset according to the service procedure when cables are replaced.
Separate useful evidence from marketing labels. Terms like heavy duty, universal fit or lifetime quality do not prove anything about your application. Useful evidence includes a published cross-reference to the original part number, listed thread and length dimensions, clearly stated fitment by year, model and rear brake type, and a description of included hardware. Universal adjusters may require cutting, drilling or improvised fittings; avoid modifications on a braking system unless the vehicle's service information supports them. Kits that include new clips, nuts and retainers can prevent reusing fatigued hardware.
Limitations and ownership costs
An adjuster only removes slack. It cannot repair a seized or frayed cable, broken return springs, contaminated shoes, friction material worn below its wear limits, or a seized parking mechanism inside a caliper. On drum-in-hat systems, shoe-to-drum clearance is usually set first, then the cable. On rear calipers with an integrated mechanism, the caliper typically self-adjusts as brake pads wear, and the cable is set with minimal slack; installing new pads often requires retracting the piston with the correct tool, and replacing pads, shoes or brake rotors can change the cable setting. Because the cable system is mechanical, brake fluid leaks or a soft pedal point to a separate hydraulic problem.
Over-tightening is a common mistake. A cable left under tension keeps shoes or pads in contact, causing drag, heat and accelerated wear of rotors, drums and linings. Follow the vehicle's adjustment procedure, which typically specifies lever travel and requires checking that the wheels turn freely when released and hold when applied. Ownership costs include penetrating treatment or replacement when threads seize, replacing corroded cables at the same time as the adjuster, and periodic inspection. Some cables have lined housings that should not be oiled, so lubricate only where the manufacturer specifies.
Build a practical shortlist
Narrow options with a short checklist. Confirm the adjuster type matches the original design and location. Verify fitment against your VIN or original part number, including rear brake type and drivetrain. Match thread size, pitch, length and end fittings. Check that the locking method holds the adjustment securely. Prefer corrosion-resistant hardware and boots if the vehicle sees salted roads. Note whether retaining clips and nuts are included. For self-adjusting tensioners, read the reset or lock procedure before purchase so installation does not stall halfway.
Finally, decide whether the adjuster alone solves the problem. If the cable is frayed, seized or kinked, replacing the cable assembly is usually the sound choice. If rear shoes, pads or rotors are at their wear limits, or a caliper parking mechanism is binding, address those first, then set the cable. When the brake still fails to hold after correct adjustment, or a wheel continues to drag, have a professional brake technician diagnose the system before driving the vehicle further.