How to Install an Infant Car Seat Base: What a Good Installation Video Should Show You
The short answer
An infant car seat base is installed rear-facing in a back seat. It is secured with either the vehicle's lower anchors (part of the LATCH system) or the vehicle seat belt, adjusted to the correct recline angle, and tightened until it moves less than about an inch side to side or front to back at the belt path. The exact steps depend on your specific car seat model and your vehicle. The two documents that govern your installation are the car seat's instruction manual and the child restraint section of your vehicle owner's manual.
If you are looking for a video, the most reliable one is usually made by your car seat's manufacturer for your exact model. Generic videos can help you understand the general process, but bases differ in their lock-offs, recline adjusters, tightening mechanisms and accessories such as load legs or anti-rebound bars. Use a video alongside the manual, not instead of it.
What the base is and why it exists
Most rear-facing infant seats are two-part systems. The carrier holds the baby, and the base stays installed in the vehicle. The carrier clicks into and out of the base, so you can move a sleeping infant without reinstalling anything. Many infant seats can also be installed without the base using the vehicle seat belt. This is useful in taxis or second vehicles, but the method differs from a base installation and is described separately in the manual.
Before you start
Read the car seat manual's installation section and the vehicle manual's child restraint section. Note which seating positions the vehicle maker approves for car seats and which positions have lower anchors. Choose a back seat position. Never place a rear-facing seat in front of an active frontal airbag. Check whether your vehicle permits a lower anchor installation in the center seat. Many vehicles do not have dedicated center anchors and do not allow borrowing the inner anchors from the outboard seats. Follow both manuals on this point. Check the car seat's lower anchor weight limit, which is listed on the seat's labels and in the manual. Once the child plus seat exceeds it, you must switch to a seat belt installation.
Choosing lower anchors or the seat belt
Both methods are considered equally safe when done correctly. The better choice is the one that gives you a tight, correct installation in your vehicle. Lower anchors are metal bars located in the crease between the seat back and the seat cushion. Some people find connectors easier to get right. A seat belt installation works in any seating position with a lap-and-shoulder belt and is not affected by anchor weight limits.
Do not use both methods at the same time unless your car seat manual specifically allows it. Most manuals prohibit this.
Step-by-step: general process
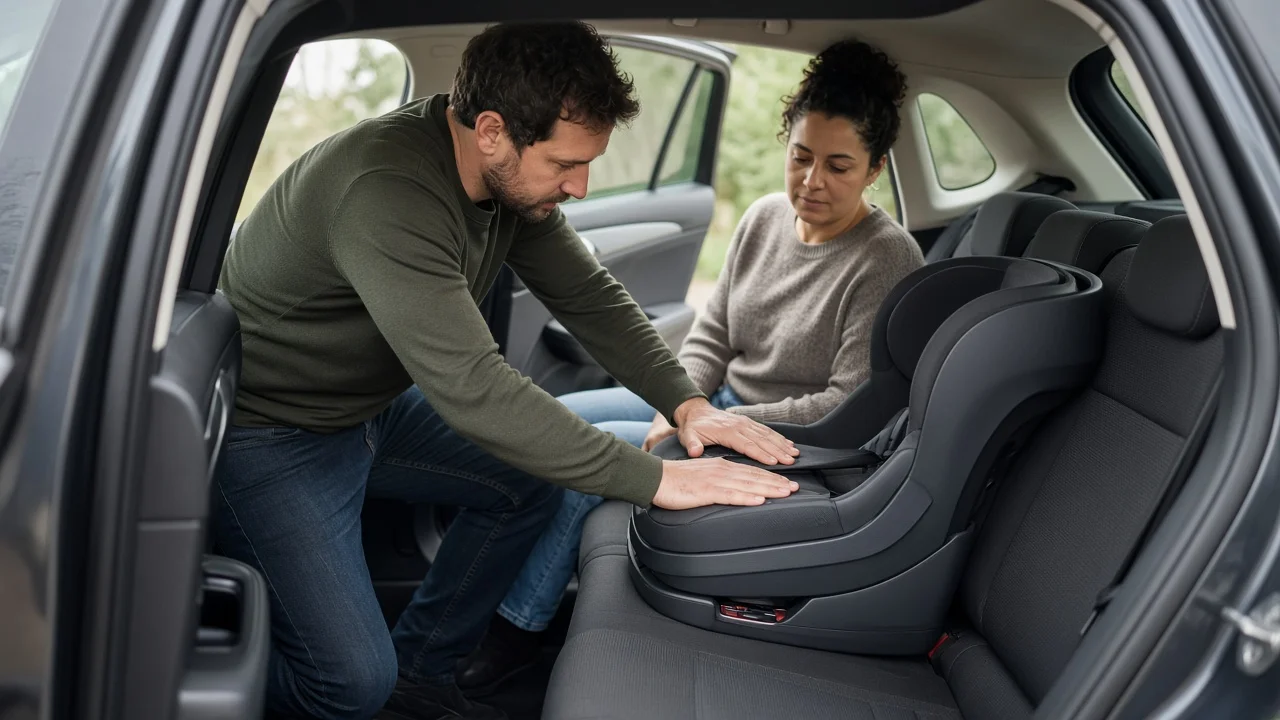
Set the recline first. Adjust the base's recline foot or dial until the angle indicator shows the correct range for a newborn or infant. Some indicators also change with the vehicle's parking surface, so install on level ground when possible. Place the base flat on the vehicle seat, facing the rear of the car. For a lower anchor installation, attach both connectors to the vehicle's lower anchor bars and listen or look for the click or color indicator. Remove slack from the strap. For a seat belt installation, route the belt through the base's marked belt path, which is often color-coded for rear-facing use, and buckle it. Then lock the belt. Use the base's built-in lock-off if it has one. Otherwise, use the vehicle's locking retractor, which on many vehicles engages when you pull the shoulder belt all the way out and let it retract. Tighten. Press down firmly into the base, often with a hand or knee near the belt path, while pulling the strap or belt tight. Some bases use a tensioning panel or a built-in tightener that does much of this work. Deploy any extra features your base includes, such as a load leg or anti-rebound bar, exactly as the manual describes. Recheck the recline indicator. Tightening can change the angle.
How to check that it is tight enough
Hold the base at the belt path, which is where the belt or lower anchor strap passes through, not at the far end. Tug side to side and front to back with moderate force. A common guideline is movement of less than about one inch. Then click the carrier into the base, tug its handle to confirm it is latched, and check that the base's angle indicator still reads correctly.
What to look for in an installation video
It names your exact car seat model, or one that the manufacturer confirms uses the same base. It shows both lower anchor and seat belt methods, including how to lock the belt. It shows the recline indicator and how to adjust it. It demonstrates the tightness check at the belt path. It does not contradict your printed manual. If it does, follow the manual and contact the manufacturer.
Gaps and limits of this guide
No model-specific specifications were available for this article. It does not list weight limits, recline angles, compatible vehicles or particular videos. Those details vary by car seat brand, model and sometimes production date. They also vary by vehicle make, model year and seating position. Check the labels on your seat and both manuals for the figures that apply to you.
Next step
After installing, consider having the base checked by a certified Child Passenger Safety Technician. These technicians are trained to inspect installations and teach you to repeat them, and checks are often free through community programs in the US. This is especially worthwhile if you cannot get the base tight, the recline indicator won't settle in range, or your vehicle's seats make the manual's instructions hard to follow.