How to Pressure Test a Radiator Cap
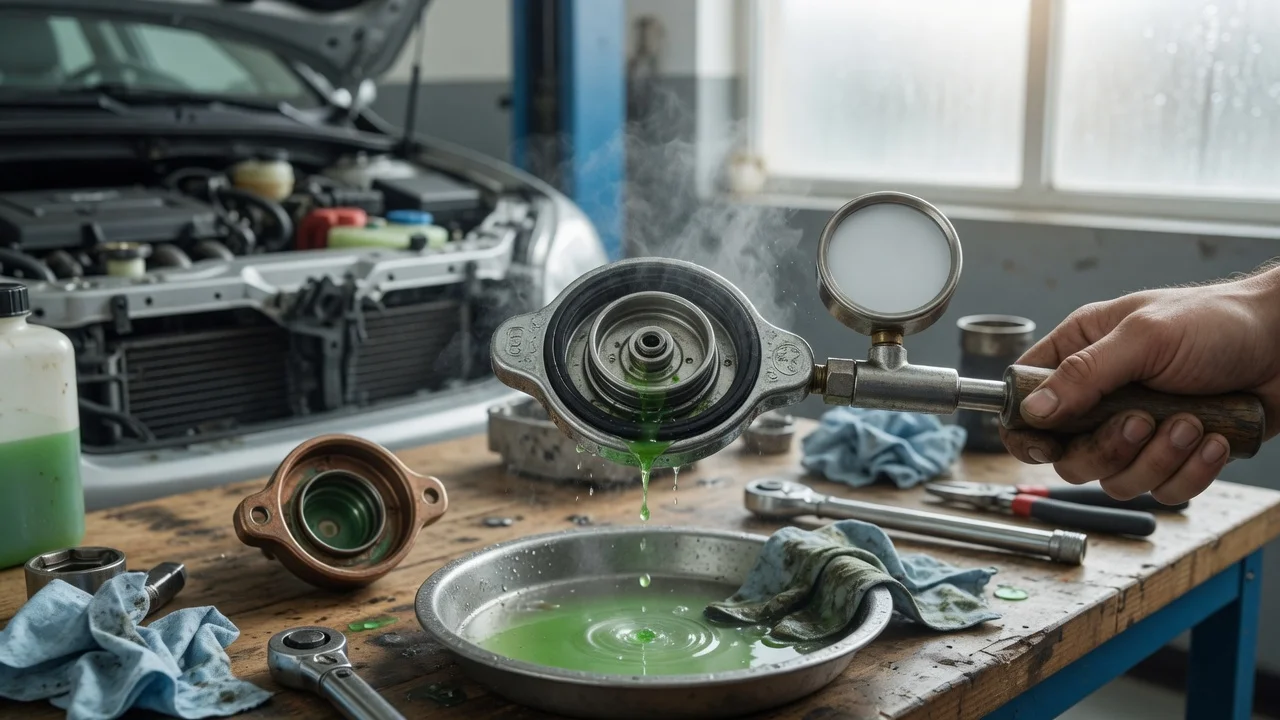
What a radiator cap pressure test tells you
A radiator cap pressure test checks whether the cap holds its rated pressure and releases excess pressure through its pressure relief valve. A cap that opens too early can allow coolant to boil at a lower temperature, while a cap that does not vent can let pressure climb until a hose, heater core, radiator tank, or gasket fails. The test requires a cooling system pressure tester fitted with the correct radiator cap adapter for the cap being tested. Because caps are vehicle-specific in diameter, depth, and pressure rating, a universal adapter that does not seal properly can produce a false result.
Prerequisites and safety
Let the engine cool completely before removing the radiator cap or pressure cap. Even a warm cooling system can contain steam and pressure that can spray hot coolant. Wear safety glasses and gloves. Work in a well-ventilated area and keep your face away from the cap when releasing pressure. The procedure applies to a threaded coolant pressure cap or surge tank cap, not to a purely decorative cap on a non-pressurized overflow bottle.
Equipment needed
Cooling system pressure tester with hand pump and gauge; Correct radiator cap adapter for the cap design; Clean water or a small amount of coolant for wetting the cap seal; Safety glasses and chemical-resistant gloves; Clean cloth
Step 1: Check the cap visually
Remove the cold cap and inspect the rubber or silicone sealing gasket, the metal spring disc, and the vacuum valve if fitted. Replace the cap if the gasket is cracked, hardened, swollen, or torn, or if the spring is corroded or collapsed. A visual defect is enough to fail the cap; a pressure test cannot restore a damaged seal.
Step 2: Install the cap on the tester adapter
Wet the cap gasket with clean water or coolant so it seats without sticking. Thread or press the cap onto the correct adapter for the pressure tester. Follow the tester manufacturer's instructions for the adapter and cap type. The adapter must engage the cap the same way the radiator or surge tank neck does. If the cap rocks, leaks at the adapter base, or cannot seat fully, stop and use the matching adapter for that cap.
Step 3: Pump to the rated pressure
The cap's pressure rating is usually stamped on the cap, for example 13 psi, 15 psi, 16 psi, or 1.1 bar. Pump the tester slowly until the gauge reaches the rating. Watch the needle. The cap should hold that pressure without dropping more than a small amount for the period specified by the tester manufacturer, often around 30 to 60 seconds. Some caps may drop slightly as they settle; a steady, continuous fall indicates a sealing problem.
Step 4: Check the pressure relief opening
Continue pumping slowly above the rated pressure only if the tester and cap instructions allow it. The cap should vent through its pressure relief valve within roughly 10 to 15 percent above its rating, but the exact vent point varies by cap design and manufacturer. If the cap does not vent and the gauge climbs well beyond the rating, stop pumping and release pressure safely. A cap that cannot vent can damage the cooling system.
Step 5: Release pressure and remove the cap
Use the pressure tester's pressure release valve to bleed pressure slowly before removing the cap. Keep your hands clear of the cap and adapter. When the gauge reads zero, unscrew or release the cap from the adapter and dry it with a clean cloth.
Interpreting the results
Pass: The cap holds its rated pressure for the tester manufacturer's specified period and vents before pressure rises far beyond its rating. Fail: The gauge falls steadily below the cap rating. Fail: The cap vents well below its rating. Fail: The cap does not vent above its rating and pressure keeps rising. Fail: The cap leaks at the adapter seal after confirming the adapter is correct and tight.
What to do after the test
If the cap fails, replace it with a cap rated for the specific vehicle, model year, engine, and cooling system. A cap with a different pressure rating can alter boiling protection and system stress even if it threads on. If the coolant system still overheats or loses coolant after a cap that passes the test, the fault may be elsewhere, such as a leaking radiator, hose, water pump, thermostat, heater core, or head gasket.
Limits of a radiator cap pressure test
A pressure test checks the cap under static air pressure, not under the hot, vibrating, coolant-wetted conditions of normal operation. It does not measure how the cap behaves during thermal cycling or after long service. The exact pressure hold time, acceptable drop, and relief pressure band should be confirmed in the pressure tester manual and the vehicle service information for the cap being tested. If the correct adapter or specifications are not available, have a qualified workshop test the cap.