How to Change a Tire Valve Core
A leaking tire often traces back to a small Schrader valve core, the spring-loaded poppet inside the valve stem that seals air under pressure. Changing this core is a quick alternative to replacing the entire tire or wheel when the leak is isolated to the fill port. A compatible valve core tool, replacement core, and attention to inflation pressure make the job straightforward. This guide explains how to identify core-related leaks, perform the replacement safely, and confirm a proper seal without guessing.
Direct answer
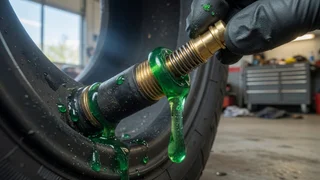
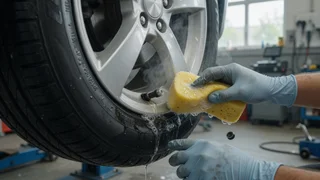
To change a tire valve stem core, first position the valve stem near the ground and remove the plastic cap. Unscrew the old core with a dedicated valve core tool by turning counterclockwise. Expect a brief hiss of escaping air as the seal breaks. Thread in a new core clockwise until snug, but avoid overtightening the fine brass threads. Re-inflate the tire to the pressure shown on the vehicle placard or driver’s door jamb, then test the fill port with soapy water.
A failed core may produce a slow, difficult-to-locate leak that drops inflation pressure over days. Corrosion, road debris, or a weakened spring can hold the poppet slightly open. Because the core is a consumable seal, replacement is appropriate before condemning the rim or tire sidewall. The tire size, load index, and speed rating do not need to change for this repair, but the new core must match the valve stem design and be compatible with the wheel’s service environment.
How to proceed
Gather a metal valve core tool with a long reach, a fresh compact core, and a pressure gauge. Park on level ground, set the parking brake, and chock a wheel if needed. Remove the hubcap or access cover if it blocks the fill port. Starting with the stem at the 6 o’clock position can reduce strain, though the valve can be serviced in any orientation. Work only on a cool, fully supported tire; do not begin this repair if the vehicle is lifted by a jack alone.
Use the slotted end of the tool to engage the two flats inside the stem, then turn counterclockwise. The escaping air should stop once the old core is out because the outer stem remains sealed. Thread the new core in by hand for the first turn, then finish gently with the tool. Reinstall the cap, inflate to the recommended pressure, and check tread depth and sidewall condition while the gauge is in hand. A bubble test at the core confirms that the seal is stable before driving.