How to Adjust a Brake Proportioning Valve
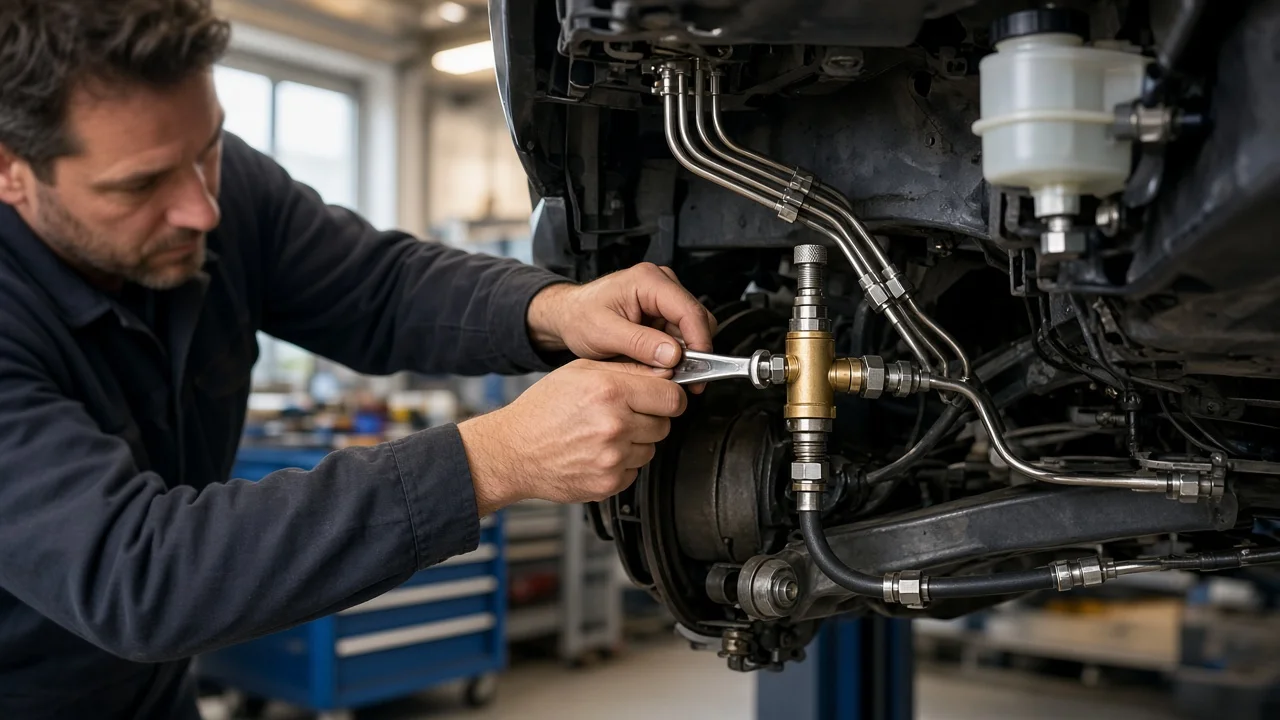
Only certain vehicles have a brake proportioning valve that can be adjusted. A wrong setting can make the rear wheels lock before the fronts, which is one of the fastest ways to lose control under hard braking. This guide explains what the valve does, which types can be adjusted, how the setting is normally dialed in, and when the job belongs in a shop rather than a driveway.
The short answer
Whether you can adjust a brake proportioning valve depends on the type installed. Most factory valves on passenger cars are fixed. The pressure split is set at the factory, and the only fix for a faulty one is replacement. Two types are adjustable. Load-sensing, or height-sensing, valves are found on many trucks and vans and some cars. They are adjusted by setting the length or position of the linkage that connects the valve to the rear axle, using the dimension or gauge procedure in the vehicle's service information. Aftermarket adjustable valves are common on custom builds, disc brake conversions and race cars. They are set with a knob or lever and then fine-tuned by testing, so the front wheels reach lockup slightly before the rears.
Many modern vehicles with anti-lock brakes have no mechanical proportioning valve at all. The ABS module controls rear pressure electronically through electronic brake force distribution, and there is nothing for an owner to adjust. If the brake warning light or ABS light is on, the fault needs diagnosis, not an adjustment.
How a proportioning valve works
When you brake, weight shifts toward the front of the vehicle. The front tires gain grip and the rear tires lose some, so the rear brakes need less pressure than the fronts to avoid locking up. A proportioning valve sits in the rear brake line. It passes pressure unchanged up to a set point, often called the split or knee point. Above that point, rear pressure rises more slowly than master cylinder output, so the rear brakes get a smaller share of each further increase in pedal force.
On a fixed valve, an internal spring and piston determine the split point. A load-sensing valve changes its split point based on the distance between the body and the rear axle. A loaded vehicle sits lower, the linkage moves, and the valve allows more rear pressure because the heavier rear axle can use it. An aftermarket adjustable valve changes the spring preload, and therefore the split point, as you turn the knob or move the lever. On older vehicles the proportioning valve is often part of a combination valve. That housing also contains a metering valve for the front brakes and a pressure differential switch for the warning light.
What changes the correct setting
There is no universal number for adjusting a brake proportioning valve. The right setting depends on several factors: the vehicle's weight distribution, wheelbase and center of gravity height, how much load sits over the rear axle, tire size and grip, and the relative size of the front and rear brake components. Changing caliper piston size, rotor diameter, drum size or pad friction material at one end shifts the balance. That is why disc brake conversions and big-brake kits so often call for an adjustable valve.
Suspension changes matter too. Lifting or lowering a vehicle moves the linkage geometry of a height-sensing valve. A valve that was correct from the factory may then send too much or too little pressure to the rear. Towing, a loaded bed or a camper shell changes rear load. A sensing valve compensates for that, but a fixed or manually adjusted valve does not. Some brake faults can mimic a bias problem: worn, glazed or contaminated brake pads, scored brake rotors, a sticking caliper, or air in the brake fluid. Correct these before any adjustment is meaningful.
Before you touch the valve
First, confirm what is fitted. Follow the rear brake line from the master cylinder and look for one of three things: a valve with a knob or lever, a valve with a linkage running to the rear axle, or a sealed block that can only be replaced. Check vehicle fitment for any aftermarket parts and read the valve manufacturer's instructions. The direction of rotation that increases or decreases rear pressure is not the same on every product.
Then bring the rest of the system to a known good state. Inspect pads and rotors against the wear limits in the service information. Check for leaks and seized slide pins, and confirm that the parking brake and any rear drum adjusters are set correctly. Bleed the system with the fluid type specified for the vehicle. Bed in new pads and rotors as the manufacturer recommends before you judge balance.
Adjusting an aftermarket valve
The usual method is incremental testing. Start with a conservative setting that limits rear pressure, so the rear brakes begin weaker than they should be. Test on a closed, dry, empty surface with no traffic, ideally with a helper watching the wheels. Make firm stops from a moderate speed and note which wheels lock first, or which end squeals or skids first. Allow slightly more rear pressure and repeat. Continue until the rear wheels approach lockup at roughly the same time as the fronts. Then back the setting off slightly so the fronts always lock first. A rear-first lockup can spin the vehicle, so err toward front bias.
Pressure gauges teed into a front and a rear caliper give more repeatable results than feel alone. Some builders use gauges to confirm the knee point before testing on the pavement. After any adjustment, tighten the lock nut or set screw if the valve has one, and check the fittings for leaks. Recheck the setting whenever you change tires, brake components or how the vehicle is normally loaded.
Adjusting a load-sensing valve
Height-sensing valves are adjusted to a specification, not by trial and error. A typical procedure has four steps. Place the vehicle at a specified ride height or load condition. Loosen the linkage or bracket. Set a gap or length with a gauge or measured dimension. Tighten the fasteners to the specified torque. Some manufacturers supply a plastic setting gauge with the replacement valve and specify that it be removed or broken off after installation. These details differ by make, model and year, so use the service information for your exact vehicle rather than a generic diagram.
Watch for a seized or bent linkage, a broken spring, or corrosion where the lever pivots on the valve body. A sensing valve that cannot move stays at whatever position it seized in. That can mean weak rear brakes when loaded, or rear wheels that lock easily when empty. Free or replace the linkage instead of adjusting around the fault.
Limitations and when to get help
This article explains common practice, not the specification for your vehicle. Split points, linkage dimensions, gauge procedures and torque values come from the manufacturer's service information or the valve maker's instructions, and they should be followed exactly. Stop driving the vehicle and have the braking system inspected by a qualified technician if any of these occur: it pulls hard, the rear end steps out under braking, the pedal is low or spongy, a brake warning light is on, or the rears lock during normal stops.
Professional service is also the right choice for vehicles with ABS and electronic brake force distribution. The same applies to combination valves that need replacement or resetting after bleeding, and to any custom build where you are unsure about master cylinder sizing or overall front-to-rear balance. A shop with pressure gauges and the correct procedures can confirm the setting and document it, which is worth more than any rule of thumb.