How Are Car Emblems Attached to Paint?
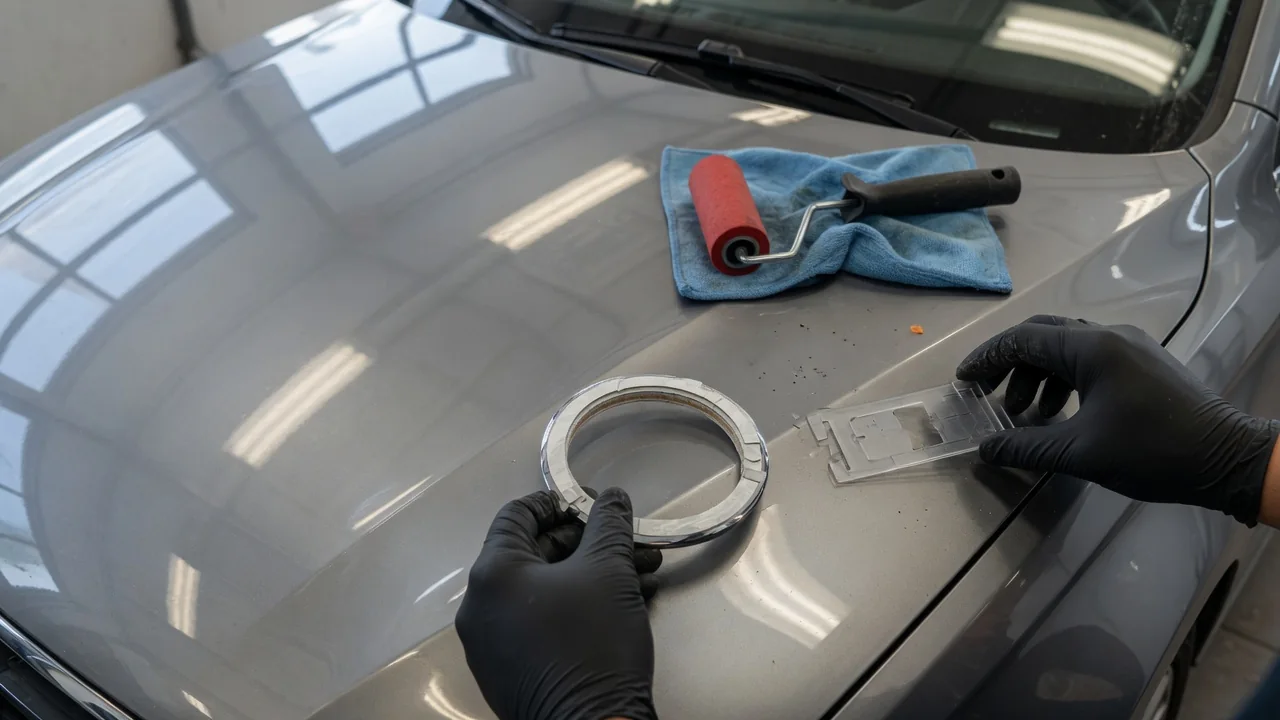
On most modern vehicles, car emblems are held to the paint by a thin layer of double-sided foam tape rather than screws or rivets. Some badges also use locating pins or clips that pass through holes in the panel. Understanding how this automotive badge adhesive works explains why emblems survive car washes and highway speeds, how to care for the paint around them, and how to remove one without damaging the finish.
Mounting tape
The usual answer to how car emblems are attached to paint is a double-sided pressure-sensitive tape with an acrylic foam core. Unlike a liquid glue, this tape does not need to cure through a chemical reaction before it starts holding. The adhesive layers on each face wet out against the surface when pressed firmly, and the bond continues to build over the following hours and days as the adhesive flows into the microscopic texture of the clear coat and the back of the emblem. Pressure during application matters as much as the adhesive itself, because firm, even contact is what creates full surface engagement.
The foam core does more than fill space. It is viscoelastic, meaning it can stretch and recover slowly. That lets it follow slight curves in a body panel, absorb vibration, and accommodate the different rates at which a plastic emblem and a metal or composite panel expand and contract with temperature. A rigid glue line would concentrate those stresses at the edges; the foam spreads them across the whole bond. The tape also seals the area under the badge against water and road grime.
Not every emblem relies on tape alone. Some designs add molded pins that fit into holes in the panel to locate the badge precisely, and some older or larger emblems are secured with studs, clips, or push nuts reached from behind the panel. Whether a particular vehicle uses tape only, pins plus tape, or mechanical fasteners varies by manufacturer, model and year, so service information for the specific vehicle is the reliable reference.
Surface care
Once an emblem is bonded, its edges become the weak point for both the adhesive and the surrounding finish. Dirt, wax and polish residue tend to collect in the narrow gap between the badge and the paint. Gentle cleaning with a soft brush or detailing swab and a pH-neutral car wash solution removes that buildup without stressing the tape. When using a pressure washer, keep the spray moving and avoid aiming the jet directly at the badge edges from close range, since a concentrated stream can lift tape that is already aging.
Chemicals deserve the same caution. Strong solvents, aggressive bug and tar removers, and some degreasers can soften the exposed edge of the adhesive or dull a plated finish if they are left to sit on the emblem. Many badges are molded plastic with a chrome-look plating or painted surface that is thinner and more delicate than automotive clear coat, so abrasive compounds and machine polishing pads should stay off the emblem itself. Masking the badge with painter's tape before machine polishing the panel protects both the plating and the tape edge.
Wax, sealants and coatings can be applied to the surrounding paint normally, but buffing residue should be cleared from the seam rather than left to harden there. Checking the edges occasionally for lifting is also worthwhile. An edge that has begun to peel lets water and grit work under the tape, and catching it early makes reattachment simpler.
Removal
Before removing an emblem, confirm whether pins or fasteners are involved, because pulling a pinned badge off an otherwise smooth panel will reveal holes. For tape-only emblems, the standard approach is to warm the area with a hair dryer or a heat gun on a low setting, keeping the heat moving so the paint and nearby plastic trim do not overheat. Warmth softens the adhesive and makes the foam easier to cut.
With the adhesive softened, fishing line or dental floss can be worked behind the emblem in a sawing motion to slice through the foam core. Plastic trim tools are safer than screwdrivers or metal scrapers, which can easily gouge the clear coat. The goal is to separate the badge with minimal leverage against the paint, letting the line do the cutting instead of prying the emblem away from the panel.
Foam and adhesive residue usually remain on the panel. An adhesive remover labeled as safe for automotive paint, used according to its directions, softens what is left so it can be rolled off with a thumb or a plastic tool. Rubber eraser wheels on a drill are also used for this job, but they generate heat and can burn through paint if held in one spot. After the residue is gone, wash the area, inspect it under good light, and polish if needed before applying wax or sealant to the newly exposed paint.
Practical implications and limits
Because the bond depends on the paint underneath, an emblem can only be as secure as the finish it sits on. On original factory paint, careful removal rarely harms the clear coat. On a panel that has been repainted, especially if the refinish had poor preparation or adhesion, the tape can grip more strongly than the paint grips the primer, and removal may pull paint away with it. Aging or single-stage finishes carry a similar risk, so on older or refinished panels patience matters more than speed.
Removing a badge also exposes paint that has been shielded from sunlight and weather. On some vehicles that area looks slightly different from the surrounding finish, leaving a faint outline that polishing may reduce but not always eliminate. Holes left by locating pins require plugging or filling and refinishing, which is body shop work rather than a quick detailing step.
Reinstalling an emblem, or fitting a replacement, generally calls for new tape rather than reusing the old foam. Both surfaces should be clean and free of wax, often wiped with isopropyl alcohol, and the badge can be aligned using masking tape guides before firm pressure is applied. Tape makers publish application temperature recommendations, and a cold panel reduces initial grip, so working in a warm garage helps. Aftermarket emblems and tapes vary in quality, and none of these general steps replaces the vehicle manufacturer's own procedure where one exists.