Graco Click Connect Installation Instructions and Manual: What to Know Before You Install
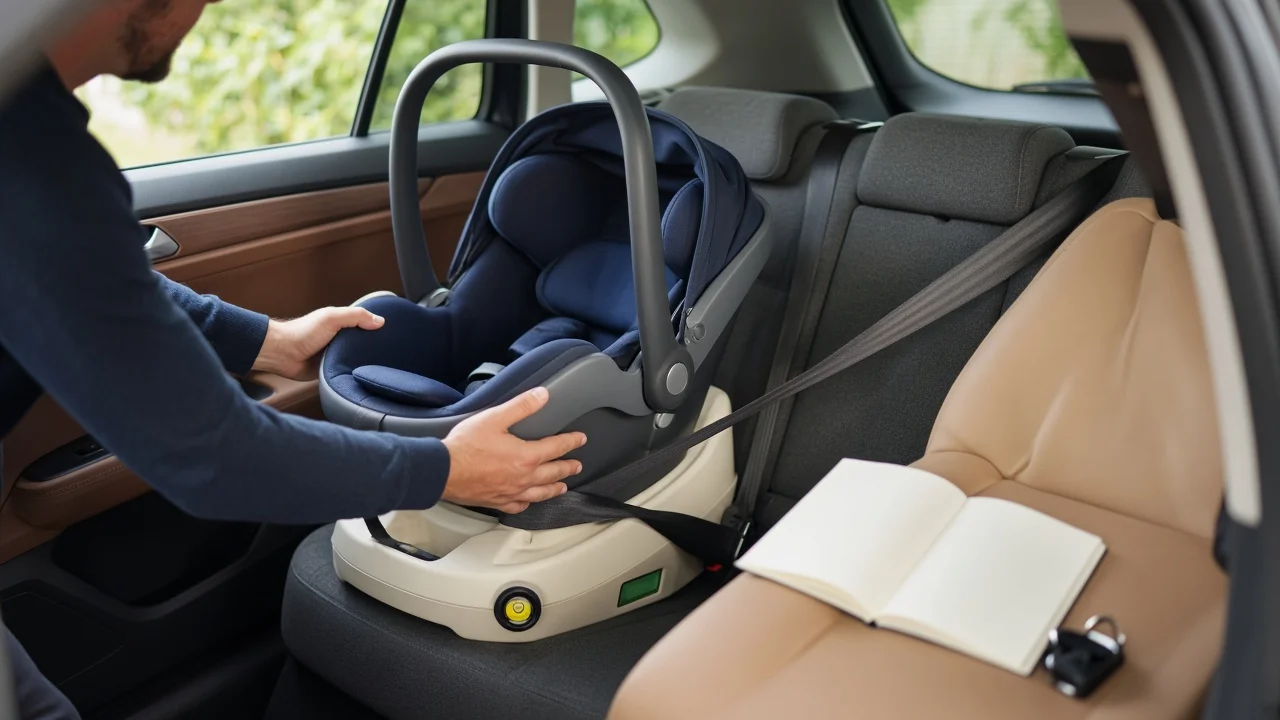
The short answer
Click Connect is Graco's name for the attachment system that lets a compatible Graco infant car seat click into its matching vehicle base and into compatible Graco strollers. It is not a single car seat model. Several Graco infant seats have used Click Connect, and their weight limits, base designs and installation options can differ.
Because of that, the only installation instructions that fully apply to your seat are in the manual for your exact model. Use this guide to understand how a Click Connect installation generally works and how to find the right manual. Where your manual differs from anything here, follow the manual.
What this guide does not include
No model-specific evidence was available when this article was prepared. It therefore gives no weight or height limits, lower-anchor limits, expiration periods, model numbers, prices or recall details for any Click Connect seat. Those figures vary by model and production period, so take them from your seat's labels and manual.
How to find the correct Graco Click Connect manual
Read the labels on the car seat shell and the base. They normally show the model name, model number and date of manufacture, which you need to match the right manual. Check whether the seat or base has a manual storage compartment or pocket. Many child seats include one so the instructions stay with the seat. Get the manual for that model number from Graco's official website or from Graco customer service. Avoid third-party copies, which may describe a different version. Also open your vehicle owner's manual to its child restraint section. It shows which seating positions have lower anchors and tether anchors, how to lock the seat belts, and any position restrictions.
If you bought the seat secondhand without a manual, confirm the model number from the label before downloading anything. Also check the manufacture and expiration information on the seat.
Before you start
Have the Graco manual for your exact model and the vehicle owner's manual. Confirm the infant seat and base are a matching, compatible pair, as listed in the Graco manual. Check the labels to confirm the seat has not expired and has no visible damage. If the seat has been in a crash, follow Graco's guidance on whether it must be replaced. Register the seat with Graco so you are notified about any safety recall. Choose a rear seating position the vehicle manual approves for a child restraint. Never put a rear-facing seat in front of an active frontal airbag.
Choose how to secure the base: lower anchors or seat belt
Most Click Connect bases can be installed with either the vehicle's lower anchors or the vehicle seat belt. Lower anchors are part of the LATCH system (Lower Anchors and Tethers for Children). Neither method is safer by default. The correct method is the one that gives a tight installation in your vehicle and is permitted by both manuals.
Method | How it attaches | Points to check in your manuals; Lower anchors | Connectors on the base clip to the anchor bars in the vehicle seat bight, which is the crease between the seat cushion and the seatback | Which positions have anchors, whether the vehicle allows borrowing anchors for the center seat, and the lower-anchor weight limit stated by Graco; Vehicle seat belt | The belt is routed through the base's marked belt path and locked | How to lock the belt, using the vehicle's locking retractor or a lock-off on the base if your model has one
Do not use the lower anchors and the seat belt together unless your Graco manual specifically allows it.
Typical installation steps for a Click Connect base
1) Place the base rear-facing on the chosen vehicle seat, flat against the cushion. 2) Set the recline. Adjust the base's recline foot or setting until its level indicator shows the correct range for a rear-facing infant. The indicator design varies by model, so check the manual for how yours reads. 3a. For a lower-anchor installation, extend the connectors, attach them to the vehicle's lower anchor bars and listen for a click. Then press down firmly on the base while pulling the adjustment strap to remove slack. 3b. For a seat-belt installation, route the lap and shoulder belt through the base's marked belt path, buckle it, and lock it as your manuals describe. Press down on the base while removing slack from the belt. 3) Recheck the level indicator, since tightening can change the angle. 4) Test for movement. Grip the base at the belt path and tug side to side and front to back. It should move less than one inch in either direction. If it moves more, tighten it again or try the other method. 5) Attach the infant seat. Lower the carrier onto the base until it clicks, then pull up on the carrier handle to confirm it is locked.
Some Graco infant seats can also be installed without the base, using the vehicle seat belt routed through guides on the carrier itself. Whether your model allows this, and how the belt must be routed, depends on the model. Only use a baseless installation if your manual describes it.
Securing the baby in the harness
Use the harness slot at or just below the baby's shoulders, which is the standard for rear-facing seats. Buckle the harness and tighten it until you cannot pinch any slack in the strap at the collarbone. Position the chest clip at armpit level. Avoid bulky coats and aftermarket inserts or padding the manual does not approve, because they can stop the harness fitting snugly.
Final checks
The base moves less than one inch at the belt path. The level or recline indicator reads correctly for your baby's weight or age, as your manual specifies. The carrier is clicked into the base and does not lift when pulled. The harness passes the pinch test and the chest clip is at armpit level. The seat is not in front of an active frontal airbag. The carrier handle is in the position the manual requires for travel.
When to get a professional inspection
Get help from a certified Child Passenger Safety Technician if you cannot get the base to move less than one inch, cannot get the level indicator into range, or find the vehicle manual and seat manual seem to conflict. Technicians check installations in person, often at no cost. Also contact Graco customer service if a part is damaged, missing or does not click as the manual describes. Do not improvise with a substitute part.