Electronic Parking Brake Retrofit Kits: Choosing a Compatible System
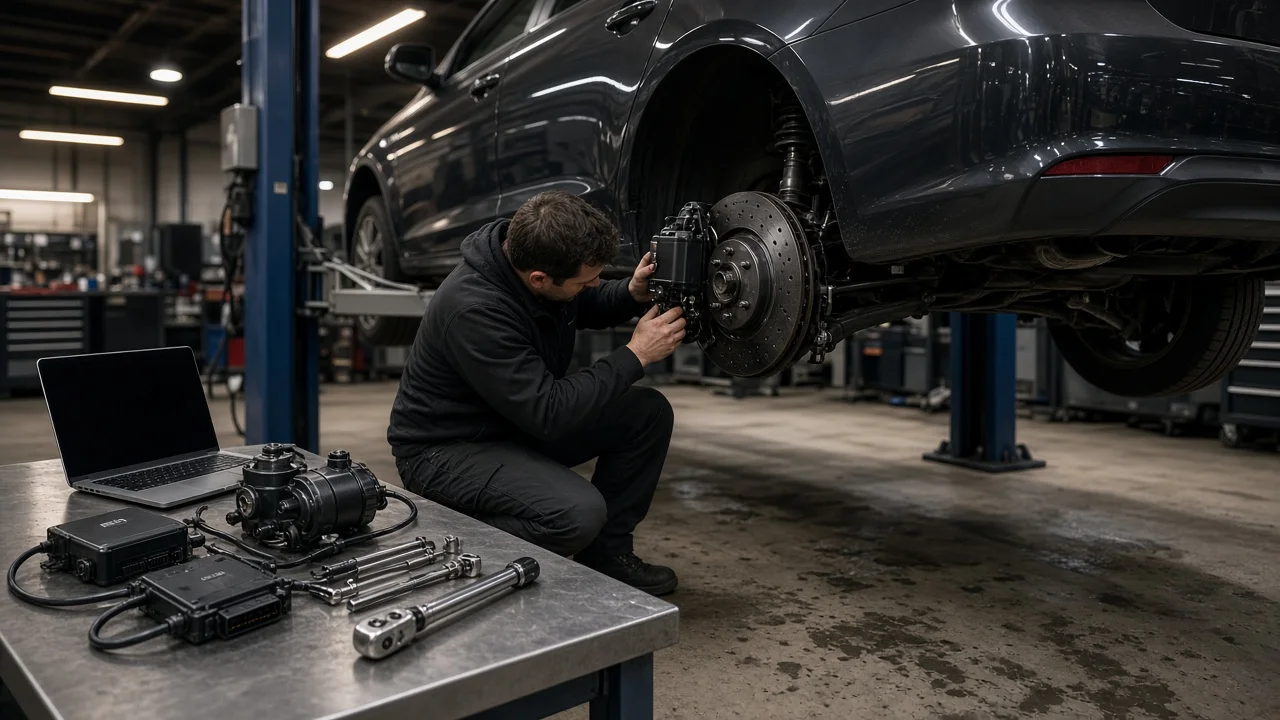
An electronic parking brake retrofit kit replaces a hand lever or foot pedal with a switch-operated actuator. Done well, it frees up console space and makes the parking brake easier to apply. Done poorly, it can leave a vehicle that creeps or rolls when parked. This guide explains how to match a kit to your vehicle, which features deserve attention and what ownership involves. Your vehicle's service information remains the authority on parking brake design, adjustment and wear limits.
Define the job the product must do
Start with why you want the conversion. Common reasons include custom interiors and restomods where the original lever no longer fits, drivers who find a hand lever or pedal physically difficult to operate, and builds where console space is needed for other equipment. Each goal points to different priorities. A daily driver needs dependable holding power, a simple emergency release and clear fault warnings. A show or project car may put more weight on compact packaging and a clean switch installation. An electronic parking brake is a holding device. It is not intended for handbrake turns or for slowing a moving vehicle in normal driving, so if that is part of your plan, an electric conversion is the wrong tool.
Then list your practical constraints. Consider the heaviest load the parking brake must hold, such as a loaded vehicle on a steep driveway or a vehicle parked while hitched to a trailer. Note your climate, because road salt and water exposure affect cables and electrical connectors. Decide whether you will install the kit yourself or pay a shop, and check whether your state inspection rules or your insurer have requirements for modified parking brake systems before you buy anything.
Check compatibility
Most retrofit kits fall into two broad designs. Cable-pulling units use an electric actuator to tension the existing parking brake cables, so the rear mechanism stays as it is, whether that is drum shoes, a drum-in-hat assembly inside the rotor or a caliper with a mechanical parking lever. Caliper-integrated systems instead replace the rear caliper with one that has a built-in motor, and they need a matching control module. The cable-pulling type is generally the simpler retrofit; the caliper type changes hydraulic and mounting hardware and demands much closer vehicle fitment matching.
For a cable-pulling kit, confirm that the actuator's rated pulling force and cable travel suit your rear mechanism, that cable end fittings or adapters match your cables, and that there is a mounting location with adequate clearance from the exhaust, driveshaft and suspension movement. For a caliper-integrated kit, check rotor diameter and thickness, bracket and wheel clearance, hydraulic line fittings and how the replacement caliper piston size affects front-to-rear brake balance. Ask the kit supplier for these figures rather than assuming a universal label covers your vehicle.
Electrical integration matters for both designs. Confirm the kit runs on your vehicle's 12-volt system, what fuse and wiring gauge it specifies, and which inputs it expects, such as ignition, brake light switch or vehicle speed signals. Finally, inspect the existing rear brakes. A kit can only hold as well as the cables, shoes, brake pads and brake rotors it works through, so seized cables or worn parts must be corrected first.
Features that affect the choice
Some features change daily safety and usability. A manual or emergency release method is essential, because a flat battery or electrical fault should not leave the vehicle locked in place or impossible to tow. A dashboard or switch fault indicator tells you when the system has not applied or released fully. Automatic apply at shutdown and automatic release on drive-away are convenient, but they rely on correct signal inputs and careful wiring, so they add installation complexity. Check how the controller confirms that the brake is applied, for example by monitoring motor current or position, and whether it reports faults rather than silently failing.
Separate useful evidence from marketing language. Stated pulling force, current draw, operating temperature range and an ingress protection rating are specifications you can compare and question. Labels such as heavy duty, OEM quality or plug and play describe nothing measurable on their own. Look at what is actually included, such as harness length, connectors, brackets and cable adapters, and whether the kit comes with a wiring diagram, an adjustment procedure and clear warranty terms. Availability of replacement actuators and switches also matters if you plan to keep the vehicle for years.
Limitations and ownership costs
Installation involves more than mounting a motor. Expect wiring work, cable routing and adjustment, and often new cables, an equalizer or rear parking brake shoes if the old parts are stretched or worn. Check the friction material on shoes or pads and confirm that drums and rotors are within the wear limits in your service information before installation. The total cost therefore includes the kit, extra hardware and labor, and those additions can exceed the kit price on an older vehicle.
Ongoing maintenance depends on the design. Cable systems still need periodic adjustment as cables stretch, plus inspection for corrosion and binding. Caliper-integrated systems usually require the motor to be retracted through the controller or a service mode before rear pad replacement; forcing the piston back can damage the mechanism. Any job that opens the hydraulic system requires refilling and bleeding with the brake fluid specified for the vehicle. Battery condition also matters, since a weak battery can affect actuator operation.
Know the warning signs. If the vehicle creeps when parked, the fault light stays on, the brake does not fully release or the rear brakes run hot after driving, stop relying on the parking brake, secure the vehicle with wheel chocks and have the system inspected by a qualified brake technician. A fault that affects service braking means the vehicle should not be driven until it is repaired.
Build a practical shortlist
Before comparing prices, record your rear brake type, cable layout and fittings, available mounting space and electrical capacity. For each candidate kit, check whether the actuator type matches your rear mechanism, whether rated force and travel suit it, what hardware is included, which electrical signals it requires, how the manual release works, how faults are indicated, what sealing information is provided, whether installation documentation is complete, and what warranty and parts support are offered. A kit that cannot answer these points clearly should drop off the list regardless of price.
Narrow the field to two or three options and send each supplier your vehicle details, asking for fitment confirmation in writing. If any part of the installation is beyond your experience, have a brake specialist review the plan before you buy. After installation, verify holding and full release using the procedure in your service information, and recheck cable adjustment and connections after the first weeks of use.