Convert 3rd-gen Tacoma brakes to disc
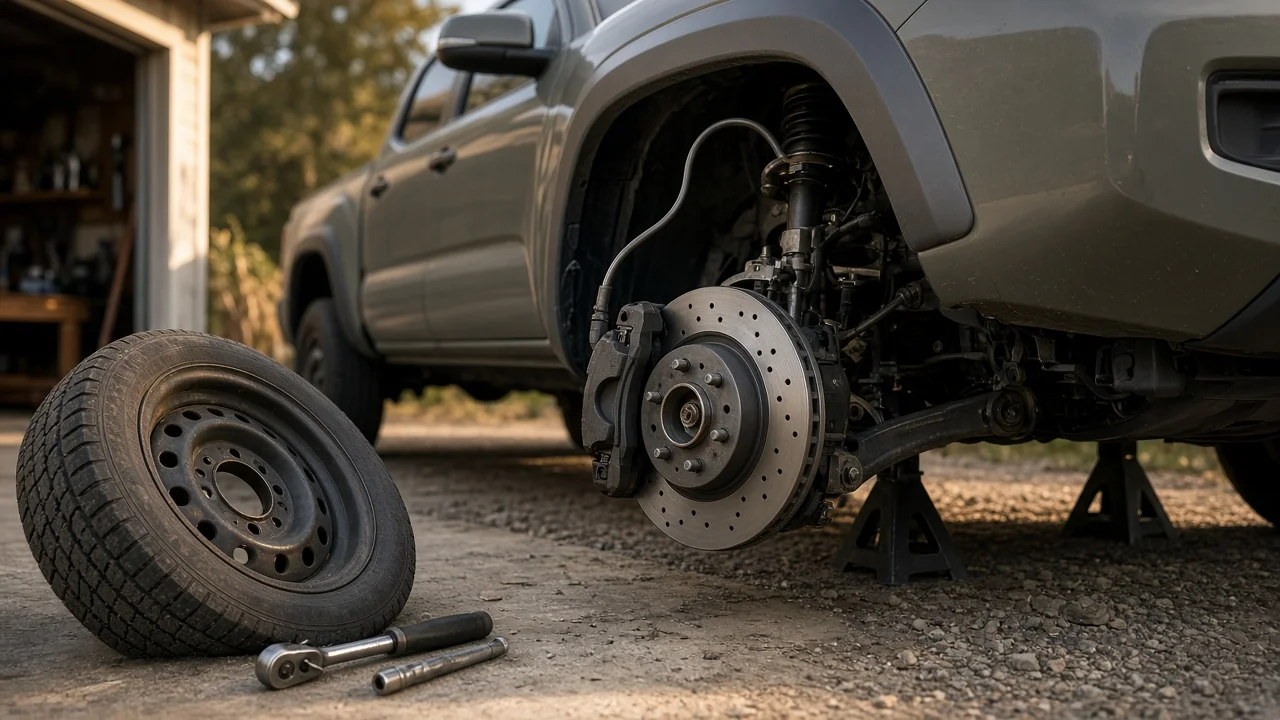
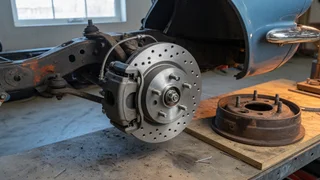
Swapping the rear drums on a third-generation Tacoma for disc brakes is a popular upgrade for owners who want more consistent pedal feel, easier inspection, and cleaner wheel maintenance. A disc setup replaces the drum’s enclosed friction surface with an exposed rotor and caliper, which can shed water and debris more readily. Because the newer Tacoma platform already shares many braking components across trims and Toyota models, this conversion is often understood as a parts-compatibility question rather than a one-size-fits-all kit. The right approach depends on axle type, wheel size, and the braking balance you expect from the truck.
Essential answer
A 3rd gen Tacoma disc brake conversion typically means replacing the factory rear drum brake assemblies with rotor-and-caliper hardware from a compatible donor axle or an aftermarket kit. The essential answer is that it can be done, but it is not simply a bolt-on change for every truck. The parking brake, hydraulic proportioning, wheel speed sensors, and axle flange dimensions all affect how the swap behaves. On Tacomas equipped with rear drums, the drum itself serves as the parking brake mechanism, so a disc conversion must also retain or replace that function with a caliper-integrated or internal drum-in-hat parking brake.
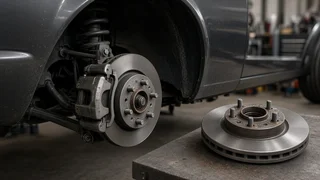
The practical scope includes the rotor, caliper, caliper bracket, brake pads, flexible brake hose, dust shield or backing plate, and the correct hardware for the axle housing. Brake fluid and the master cylinder remain part of the discussion because a caliper’s piston can demand a different fluid volume than a wheel cylinder. The conversion may also change rear brake bias enough to affect ABS calibration and rear wheel lockup on loose surfaces. Owners researching this upgrade generally find that successful results come from matching an entire brake assembly from a known compatible application rather than mixing individual parts by guesswork.
Procedure
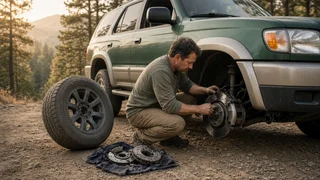
Begin by confirming the truck’s axle, wheel bolt pattern, and whether the rear brakes use the same service and parking brake layout as the intended donor parts. Support the vehicle safely, remove the rear wheels, and relieve brake fluid pressure before opening any hydraulic line. The drum, hub, brake shoes, wheel cylinder, and backing plate are removed as an assembly, but the axle shaft and bearing arrangement must remain undisturbed unless the selected rotor or caliper bracket requires a different flange. Clean the axle flange and test-fit the rotor and caliper bracket before tightening anything.
Once the rotor and caliper bracket are positioned correctly, mount the caliper and new brake pads, then install fresh brake fluid-compatible hoses without twisting them. Bleed the rear circuit thoroughly and check the brake pedal for a firm, consistent stroke before moving the truck. Reconnect and adjust the parking brake so it holds the vehicle without dragging, then perform a low-speed test where the brakes are applied progressively. Because this conversion changes how the rear friction material reacts to heat and water, evaluate the truck’s stopping behavior and make sure no warning light, noise, or pulling develops before normal driving resumes.