ATE Brake Booster Check Valve: Choosing the Correct Part
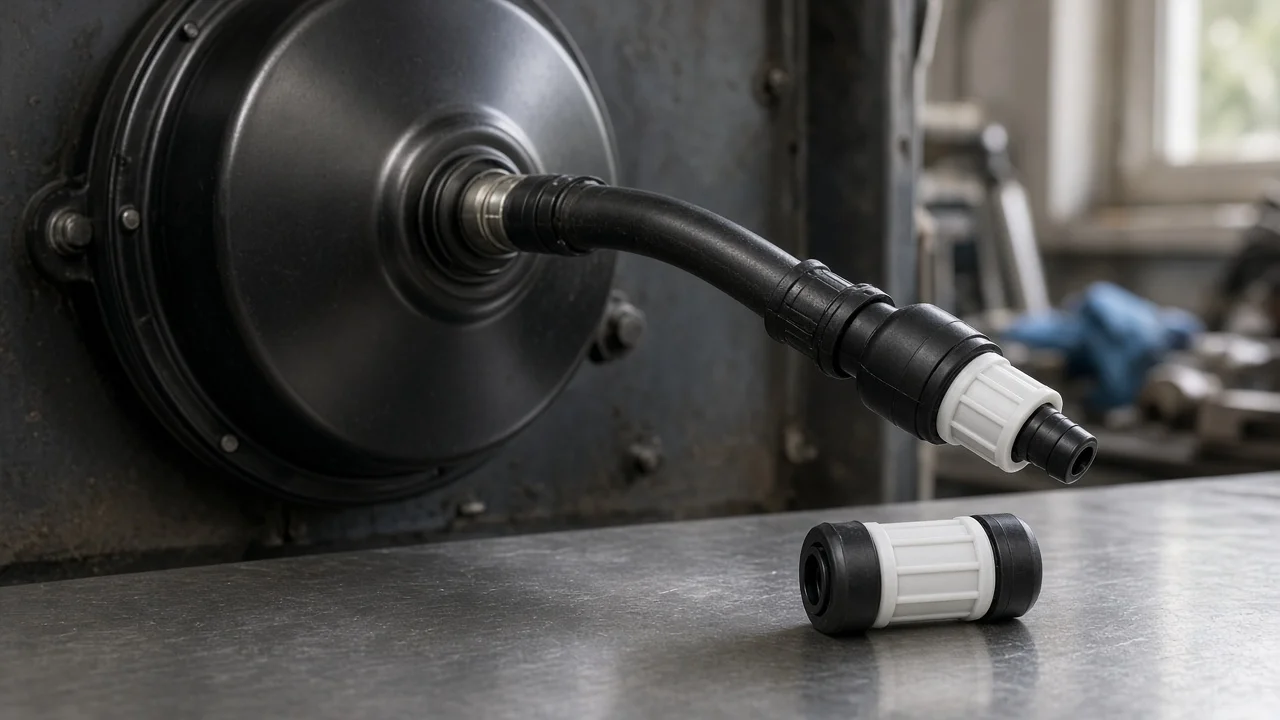
A brake booster check valve is a small one-way valve, but when it fails the brake pedal can turn hard and stopping takes more effort. If you are shopping for an ATE brake booster check valve, the goal is to find the version made for your vehicle's vacuum source, hose sizes and mounting style. Before ordering, confirm that the fault really lies with the valve. This guide covers fitment, features that matter, ownership limits and a short checklist.
Define the job the product must do
The check valve sits between the vacuum source and the brake booster. When the source is pulling vacuum, the valve opens and lets air leave the booster. When vacuum drops, the valve closes so the booster keeps a reserve. Vacuum can drop during heavy throttle, when a turbocharged engine is under boost, or when the engine stops. Many gasoline engines draw vacuum from the intake manifold. Diesels and many turbocharged or direct-injection engines use a mechanical or electric vacuum pump instead. In both cases the valve protects the stored reserve. On boosted engines it also keeps pressurized intake air out of the booster.
Several symptoms point toward the valve: • a hard pedal on the first stops after the car has been parked; • a hard pedal right after strong acceleration on a turbo engine; • a hiss near the booster grommet; • little or no assisted braking after the engine is switched off; Other symptoms have different causes. A soft or spongy pedal usually means air or a leak in the brake fluid system. Pulling to one side often traces to a caliper. Grinding usually means brake pads worn past their wear limits or damaged brake rotors. A suddenly hard pedal or a lit brake warning light is a braking fault. Stop driving the vehicle and have it inspected professionally rather than treating it as a parts-shopping problem.
Check compatibility
Start by identifying which valve style your vehicle uses. There are three common designs: • a grommet-mounted valve, usually an elbow, that pushes into the booster shell; • an inline valve spliced into the vacuum hose; • a valve built into a molded hose assembly or hard line, where the replacement is the whole line; Some valves also have an extra port that feeds other vacuum consumers. The most reliable starting point is a VIN-based lookup in a parts catalog or the vehicle's service information. Fitment can change within one model year depending on engine, transmission, steering side or booster supplier.
Next, confirm the physical interfaces against the old part: • the hose inner diameter on each side; • port angles and lengths; • grommet size; • how the booster side attaches: push-in, clip-in or threaded; • the flow-direction marking, which must point toward the vacuum source when installed; • whether the valve is meant for manifold vacuum or a vacuum pump; Lay the old valve beside the catalog image and compare it detail by detail. Do not rely on a resemblance in a thumbnail. Do not force a mismatched hose over an oversized port, or tighten clamps to make up for a loose fit. Either one can create the vacuum leak you are trying to cure.
Features that affect the choice
For a check valve, the useful features are functional, not cosmetic: • It must seal and release correctly for its application, which you cannot verify from a product listing. That is why catalog fitment carries the most weight. • Its body and seat materials must tolerate heat and any crankcase vapor that reaches the vacuum line. • Some applications need a valve with an integral restrictor, a filter or a secondary port. Whatever the original part had, the replacement should match. • A fresh grommet or seal, either included in the package or ordered separately, makes installation more reliable.
Labels such as universal, heavy duty or high performance tell you little about a check valve. A universal inline valve may slip onto your hose and still have the wrong port size, flow behavior or orientation for your booster. Stronger evidence includes: • catalog fitment tied to your VIN or engine code; • an original-equipment reference number cross-referenced in the catalog; • product photos that match your old part; • sealed, undamaged packaging; ATE is a Continental brand with a long background in braking components. That history is a fair reason to consider its valve, but it does not replace checking the part number for your car.
Limitations and ownership costs
Replacement is usually short work. You either remove the hose or carefully lever the valve out of its grommet. Plan for a few extras: • Replace the grommet at the same time, because old rubber hardens and leaks. • Use only a lubricant approved in the service information, since petroleum-based products can swell rubber seals. • Inspect the connecting hoses and clamps. Cracked, collapsed or oil-soaked hoses are worth replacing while you are there. On some engines the valve sits behind other components, which adds labor time. Beyond that, the ongoing cost is small: the valve, possibly a grommet and occasionally a hose.
A new valve has firm limits. It cannot fix: • a torn booster diaphragm or an internal master cylinder leak; • a weak vacuum pump or a vacuum leak elsewhere; • worn brake pads or glazed friction material; • warped brake rotors or a sticking caliper; • old, moisture-laden brake fluid; If valves keep failing or arrive full of oil, look for the underlying cause, such as a crankcase ventilation fault or oil seepage from a vacuum pump, instead of buying valves repeatedly.
After installation, test the valve with the procedure in your vehicle's service information. A common bench check uses a hand vacuum pump: the valve should hold vacuum from one side and pass air freely from the other. A common in-car check has three steps. First, run the engine, switch it off and press the pedal several times; you should get a few assisted applications before the pedal firms up. Second, hold the pedal down. Third, start the engine; the pedal should sink slightly as assist returns. If the pedal stays hard after the new valve is fitted, the problem lies elsewhere. Have the system diagnosed before driving further.
Build a practical shortlist
Before buying, run each candidate through this checklist: 1) Is the part number confirmed for your VIN or engine code? 2) Does the valve style match: grommet-mounted, inline or integrated in a hose? 3) Do the port sizes, angles and flow direction match the old part? 4) Does it suit your vacuum source, manifold or pump? 5) Is a new grommet or seal included, or do you need to order one? 6) Are the hoses and clamps you plan to reuse in good condition? 7) Did your diagnosis actually point to the check valve rather than the booster, master cylinder or another part of the brake system?
Once a listing passes those points, compare only practical details: genuine new packaging, a clear return policy and availability of the matching grommet. Star ratings and generic best-part claims say little about whether a valve fits your car. If two options both match the catalog for your vehicle, choose the one whose reference number and photos most closely match the original. If you are unsure about any braking symptom, have a qualified technician confirm the fault before the car goes back on the road.